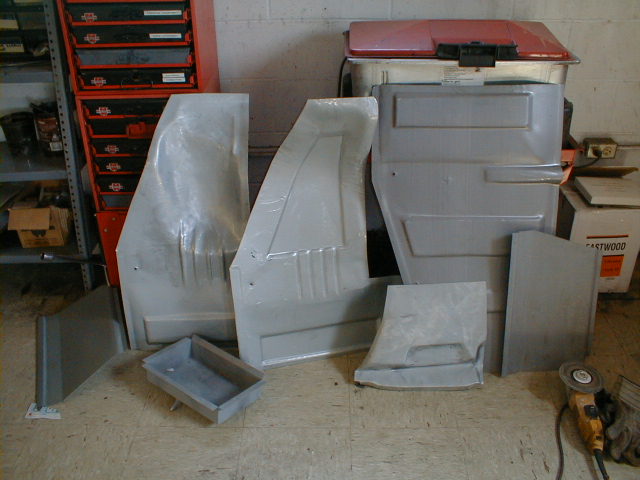
New correct, stamped panels ready to go in.
Floor pan repair
New correct, stamped panels ready to go in.
This is the shot under the passenger floor section.
Here is a shot underneath after the section is cut out.
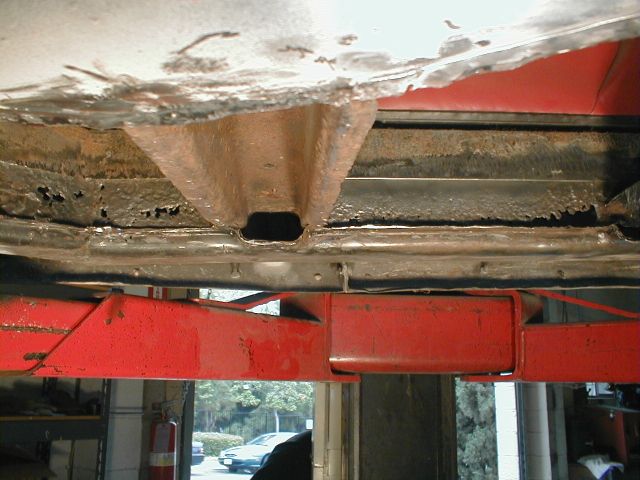
After the old fiberglass "repair" is removed one can see
additional damage to what makes up the frame rails. This will also need to
be cut out and re-fabricated.
Here the toe panel is tacked in place. This new panel
replaces the 3/8" thick fiberglass mass as seen in the last photo on the
preceding page.

Here the floor sections are tack welded in place.
Here the floor board is partially welded in place.
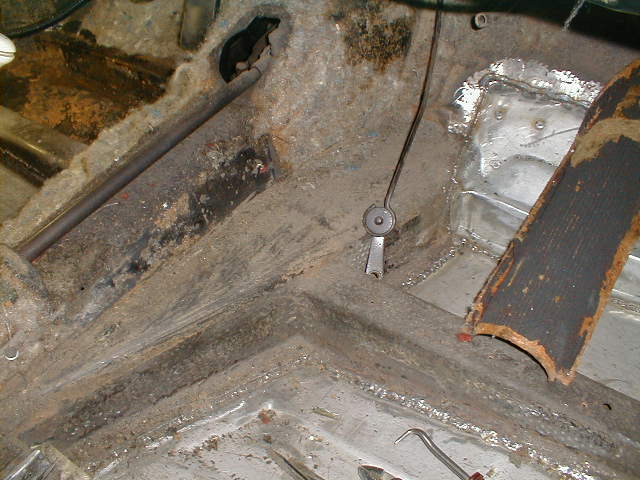
Continuously welded on the inside as well.
The seam between the toe panel and the floor board has not yet
been welded out.
A shot from the rear
Notice that the new right seat pedestal is not yet in place.
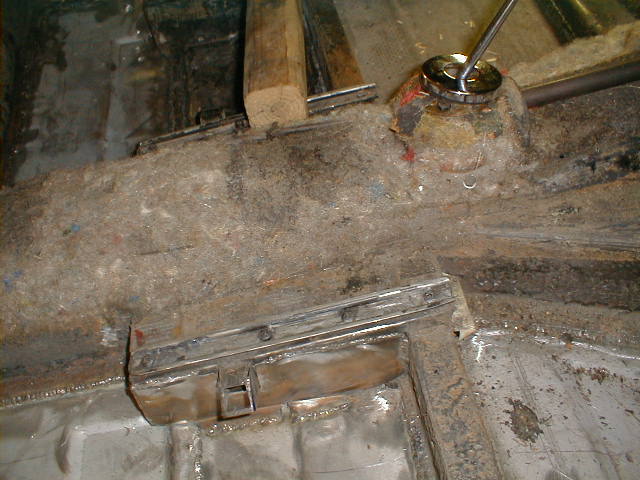
The left seat pedestal was repaired.
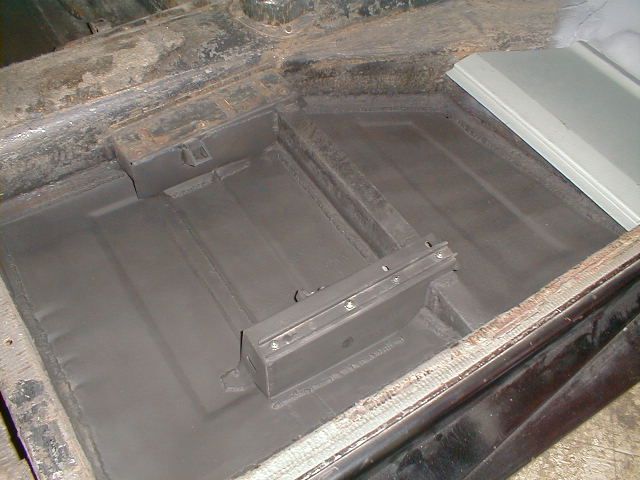
The passenger side floor board in etching primer with the new
right side seat pedestal in place. The panel at the front is a new metal
false-floor that is held in place with sheet metal screws(when you lift up the
floor mat on a 190SL this is the panel that you see).
Only the rear section on the driver's side was bad.
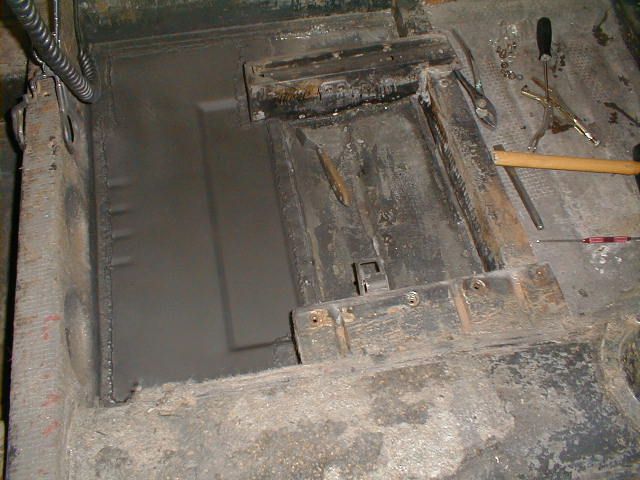
Below is the driver's side frame rail repair.
One of the last steps in the restoration will be the undercarriage re-finishing in correct-for-this-car semi-gloss black(190SL undercarriages came in three different colors).