|
 |
 |
 |
|
|
|
|
|
 |
These
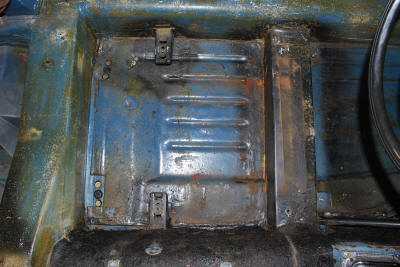
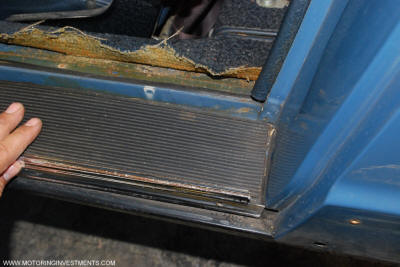
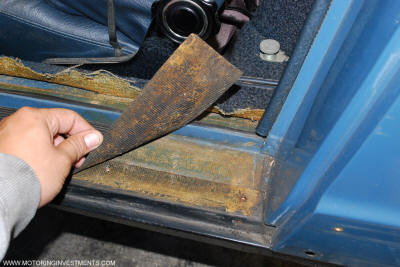
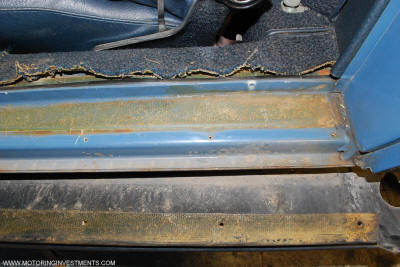
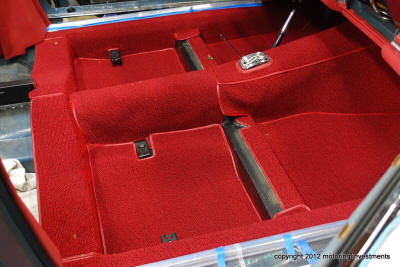
pictures display the interior after
disassembly. Notice the waffle pattern floor
insulation in the picture above. This insulation is
factory correct and was installed as a insulation
or sound deadening material. The above photos
also display the interior floor boards and their
exceptional and original condition. |
 |
|
|
|
|
|
 |
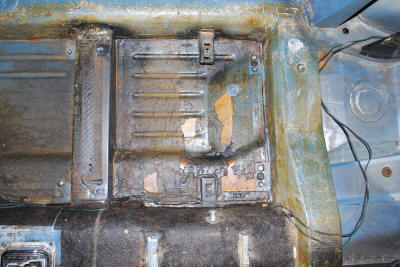
If you
look closely at these pictures to the left,
right and below, you will see traces of satin black
paint
sprayed on the seat pedestals and around the
rear shelf area. The factory did this to hide the
body color in the cockpit. |
 |
|
|
|
|
_small.JPG) |
_small.JPG) |
_small.JPG) |
|
|
|
|
 |
 |
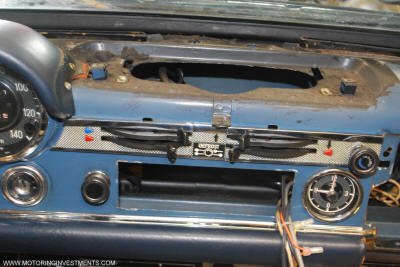 |
The above
row displays pictures
of the dash disassembly.
All switches, knobs, lever and connections
are documented and checked for serviceability. |
_small.JPG) |
We
disassemble the dash and
replace all heater temperature sliders
along with properly lubricate all cables
and connectors. |
_small.JPG) |
With the
dash board apart and all
other misc. trim, we can further inspect
all areas of the rebuild.
You can also see the
satin black brushed
on around speaker grill and etc... |
_small.JPG) |
|
|
|
|
_small.JPG) |
_small.JPG) |
_small.JPG) |
These
pictures above highlight the protection
level the factory set in place long ago. |
After
removing the plastic liner to the door panel,
we have a more accessible view to all
working mechanisms for further inspection. |
Above: Notice
the plastic liner that was glued on
from factory to limit the outside elements
from entering the cabin. |
_small.JPG) |
_small.JPG) |
_small.JPG) |
A close
up view at the masking tape that
Mercedes Benz used for
that extra layer of protection. |
Mercedes used this material to safeguard the paint.
Adding to the tradition of engineering
to only the finest standards.
|
From behind the front chrome grill
to the backside
of the door panel chrome trim. |
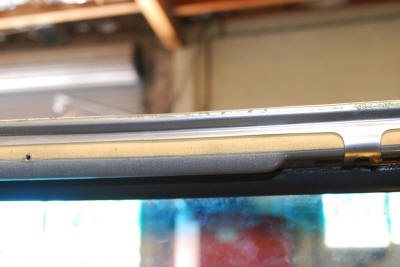 |
We
document the placement and extent
of this material. We then duplicate it to reflect
the standards all Pagodas were born to. |
 |
The
pictures below highlight the interior details,
and how they all come together to match up.
|
From the
backside of door panels,
to kick panels and glove box undersides.
All interior panels match. |
Below is
a close up at the backsides
of the door panels. |
 |
_small.JPG) |
 |
| |
|
|
 |
 |
 |
| |
|
|
 |
 |
 |
| |
|
|
 |
 |
 |
| |
|
|
 |
_small.JPG) |
_small.JPG) |
| |
|
|
 |
 |
_small.JPG) |
| |
|
|
 |
_small.JPG) |
 |
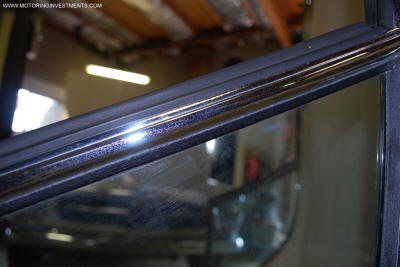
The
pictures below shows just how much
caulking the factory used to finish assembly
of the hard tops. |
The color code was marked with grease
pencil under the rear shelf covering.
|
The body
number is visible
on the bottom side of the hard top. |
 |
_small.JPG) |
_small.JPG) |
| |
|
|
_small.JPG) |
_small.JPG) |
_small.JPG) |
_small.JPG) |
_small.JPG) |
_small.JPG) |
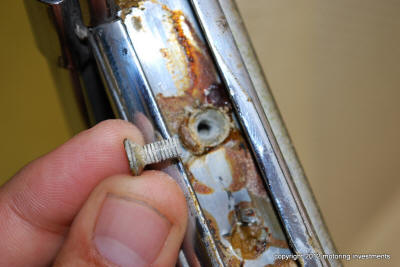
The factory applied caulking to every step as they assembled the hard
top. From under all the chrome, to in between the
channel guides. We carefully heat up and remove all the caulking along
with the chrome from the hard top.
|
 |
 |
 |
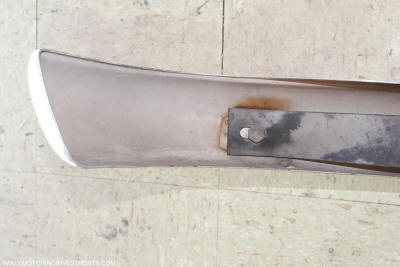
The factory painted the
backside of the chrome bumpers. Here we see the paint color is a light
beige.
This process helped with corrosion prevention.
|
| |
|
|
_small.JPG) |
_small.JPG) |
_small.JPG) |
The detailed pictures above
and below are of some chrome interior parts.
The fresh air vents and flaps are completely disassembled and re-plated.
The velvet lining on the backside of some interior trim is cleaned and
reapplied to protect the
new interior dash panels. |
_small.JPG) |
_small.JPG) |
_small.JPG) |
The fresh
air vents before
disassembly. |
A close
up picture of the fresh air
vent units from the backside. |
The ashtray chrome bezel is
attached
with three small tabs. Our advise is to gently
heat up the tabs when
disassembling the ashtray.
|
 |
 |
 |
A close up picture of the fresh air vent and flaps before the re-plating
process. Notice the small round tabs on
the ends of the vent flaps. Any chrome build up must be filed down to
fit back into the holder.
|
_small.JPG) |
_small.JPG) |
_small.JPG) |
| |
|
|
_small.JPG) |
_small.JPG) |
_small.JPG) |
Pictures of the new oil
pump, new cylinder head, and new pistons.
We double check all clearances and surfaces before mating the
cylinder head to the block.
|
_small.JPG) |
_small.JPG) |
_small.JPG) |
| |
|
|
_small.JPG) |
_small.JPG) |
_small.JPG) |
| |
New gears, new intake and
exhaust valves
and rotocaps. |
|
_small.JPG) |
_small.JPG) |
_small.JPG) |
| |
|
|
 |
 |
 |
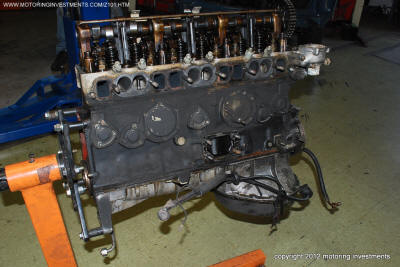
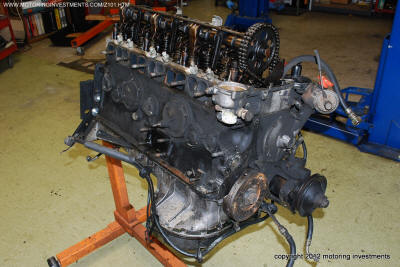
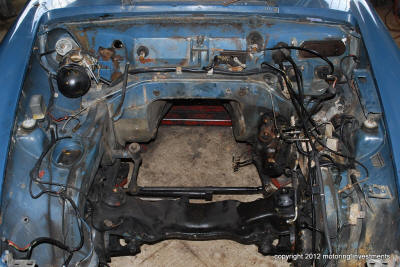
Above are some pictures of the engine before we disassembled and started
the full rebuild.
Below are all the pictures during the engine rebuilding process.
|
_small.JPG) |
_small.JPG) |
_small.JPG) |
| |
|
|
_small.JPG) |
_small.JPG) |
_small.JPG) |
| |
|
|
_small.JPG) |
_small.JPG) |
_small.JPG) |
| |
|
|
_small.JPG) |
_small.JPG) |
_small.JPG) |
| |
|
|
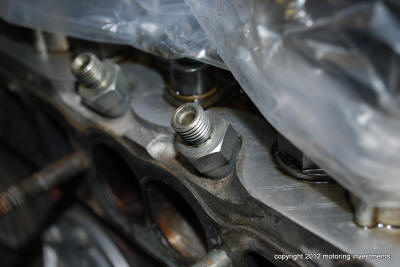 |
The right and left pictures
shown
of the fuel injectors, before and after. |
 |
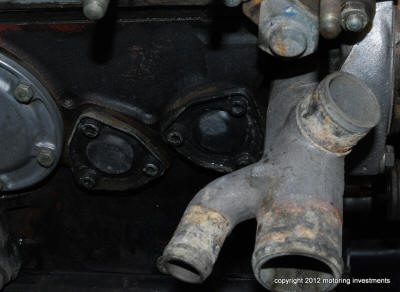 |
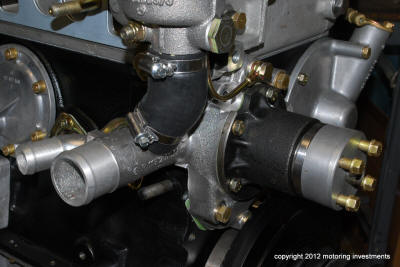
The water pump and side
plates,
before and after. |
 |
| |
|
|
 |
 |
 |
| |
|
|
 |
 |
 |
| |
|
|
_small.JPG) |
 |
 |
| |
|
|
 |
 |
Before
|
After |
 |
 |
| |
|
|
 |
 |
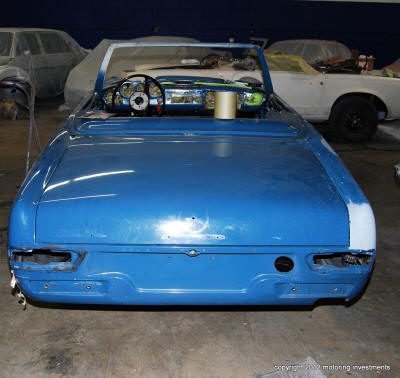 |
Here are pictures of the body during the paint process.
|
 |
The
pictures of the 280SL with
new paint.
|
 |
| |
|
|
 |
 |
 |
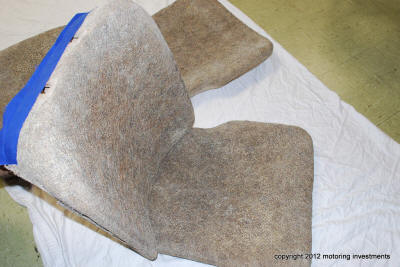
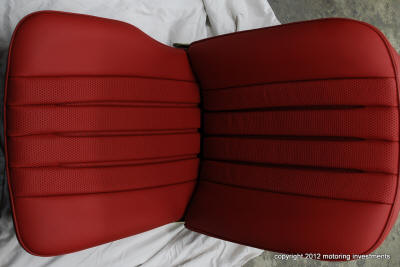
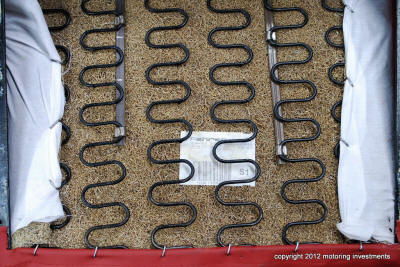
The pictures shown above and
below show us the seats during restoration,
using new Mercedes pads.
|
 |
 |
 |
| |
|
|
 |
 |
 |
| |
|
|
 |
 |
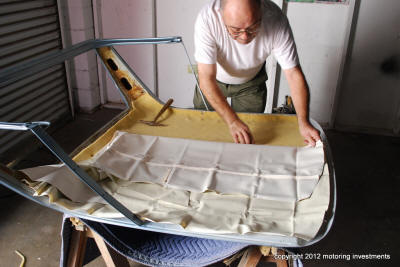 |
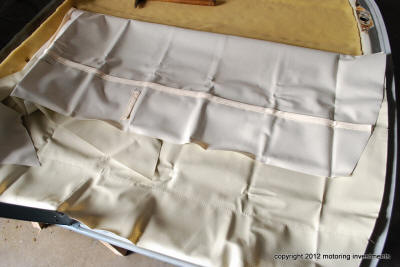
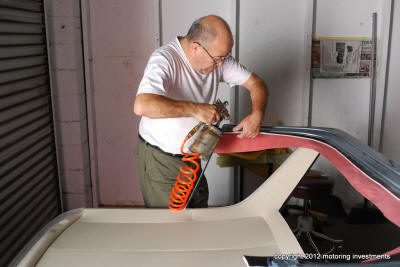
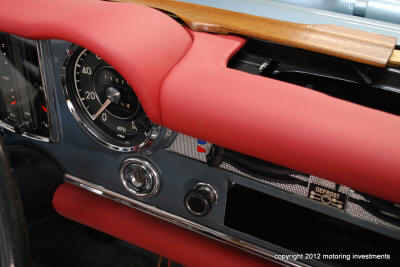
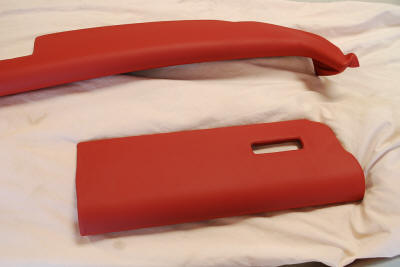
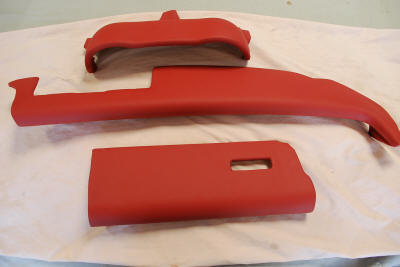
The above picture shows us
the new headliner and new foam being installed. All the leather is
trimmed and
the backsides are skived to fit the panels together correctly.
|
 |
 |
 |
| |
|
|
 |
 |
 |
| |
|
|
 |
 |
 |
| |
|
|
 |
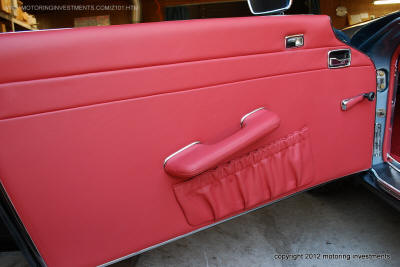
The new door panels
are fitted to the doors. |
 |
| |
|
|
 |
The tail lights lenses and
bezels
are replaced with new lenses and re-plated
bezels. The new lenses are exact
duplicates of the originals. |
 |
| |
|
|
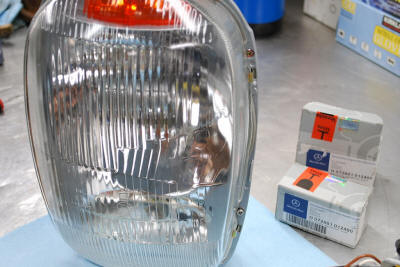 |
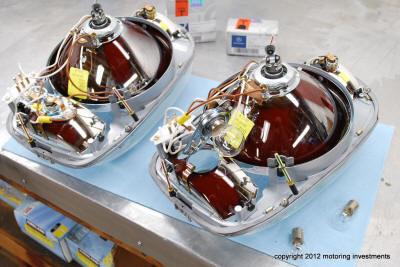
The European headlamps are
being fitted with
all the correct bulbs. |
 |
| |
|
|
 |
 |
 |
The pictures above and below
show us the headliner and hard top assembly. Along with the new foam,
weather seals,
headliner and re-plating all the chrome,
we replaced every screw with new hardware. The pictures below
show of how flush all the new hardware sets into the channel.
|
 |
 |
 |
| |
|
|
 |
The pictures to the left and
right
display the cloth tape applied to the
front of the bug grills to mate up with the body.
We duplicate every detail that Mercedes
factory technicians completed over
40 years ago.
|
 |
| |
|
|
 |
 |
 |
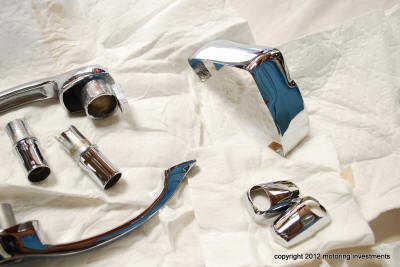
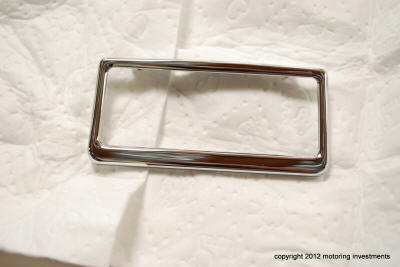
These pictures are of the
fresh air vents flaps, bezels and
all interior parts back from re-plating and ready for reassembly.
|
 |
 |
 |
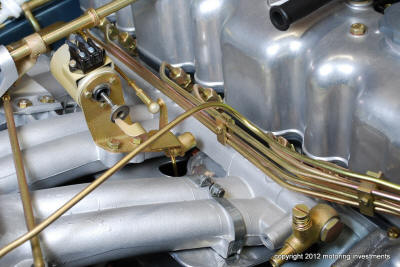
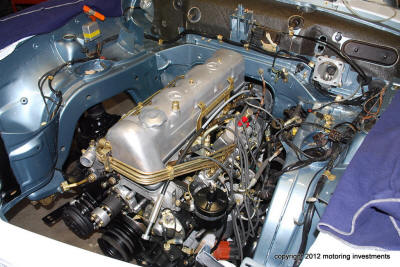
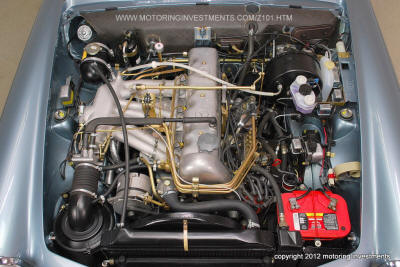
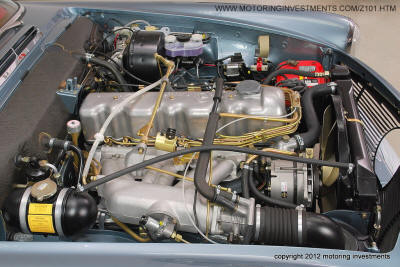
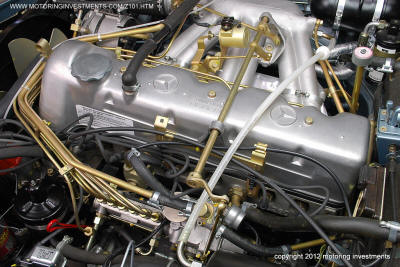
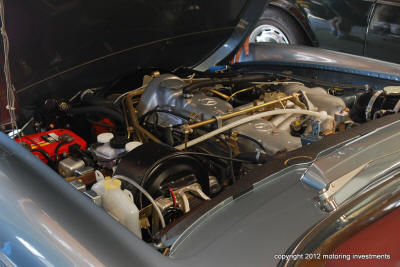
Below are the final engine
bay pictures with all the
correct clamps and accessories as well as the painted dotology in place. |
 |
 |
 |
| |
|
|
 |
 |
 |
| |
|
|
 |
 |
 |
| |
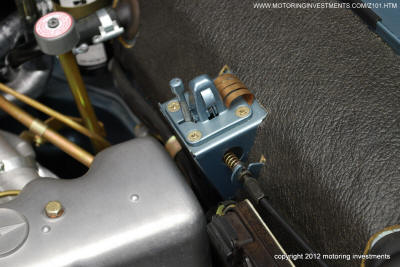
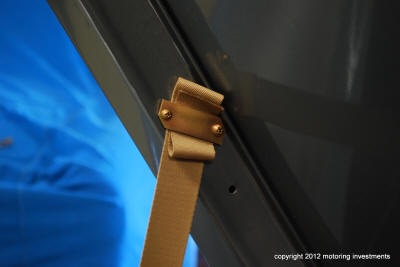
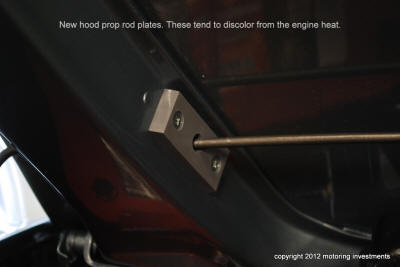
The picture above displays
the
N.O.S ( new old stock )
hood limiting strap in the correct color. |
|
 |
 |
 |
| |
|
|
 |
 |
 |
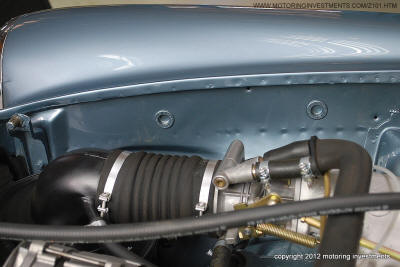
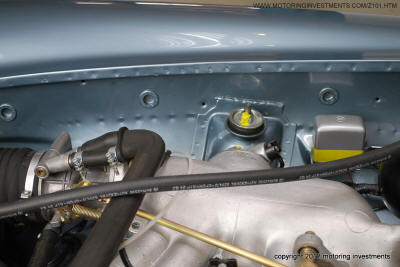
The spot welds along the
inner fenders and painted inner fender plugs.
|
 |
 |
 |
| |
|
|
 |
 |
 |
| |
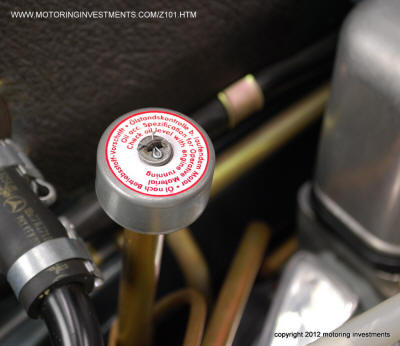
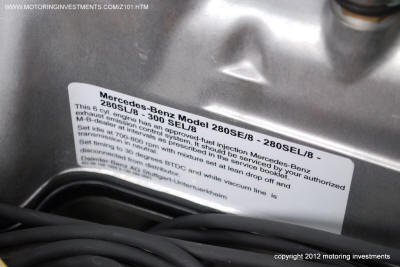
Early 280SL models were equipped with a label
on the transmission dip stick. Later
models have an embossed (Bakelite)
lid with no label.
|
|
 |
 |
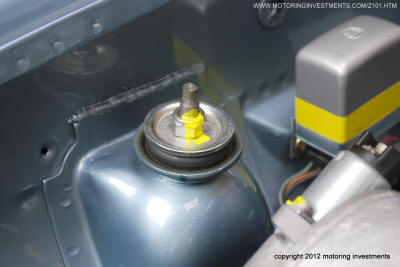 |
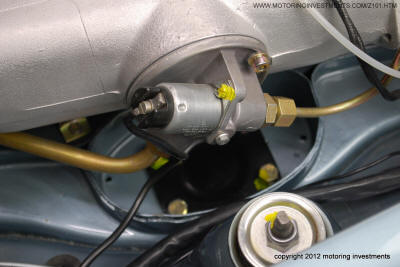
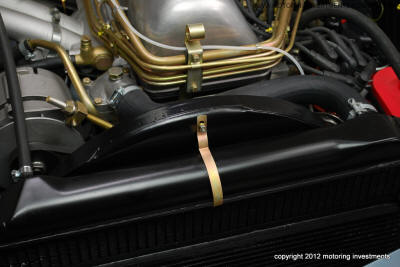
The pictures above and below
display all the details we add to complete the engine bay.
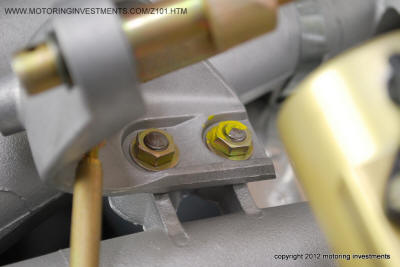
The dotology marks at the factory indicated locations, new decals and
labels that
finalize the look.
|
 |
 |
 |
| Valve
cover label |
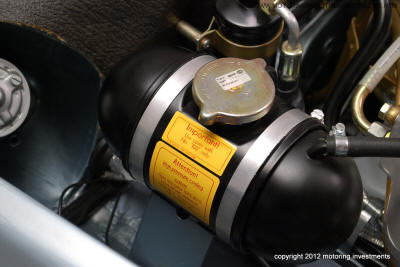
Brake booster label |
shock
tower dotology |
 |
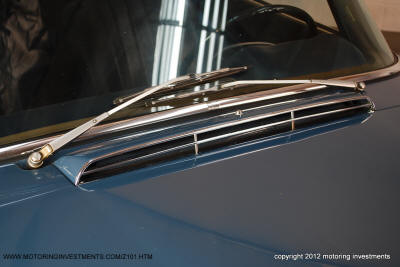
The picture to the left
shows the
wiper motor base and motor in new condition.
We remove the base plates to
the wiper motor
and have them re-plated to factory standards.
|
 |
| |
|
|
 |
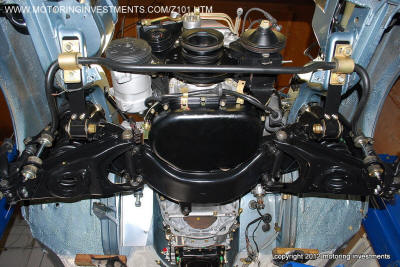
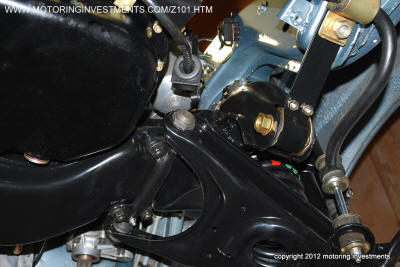
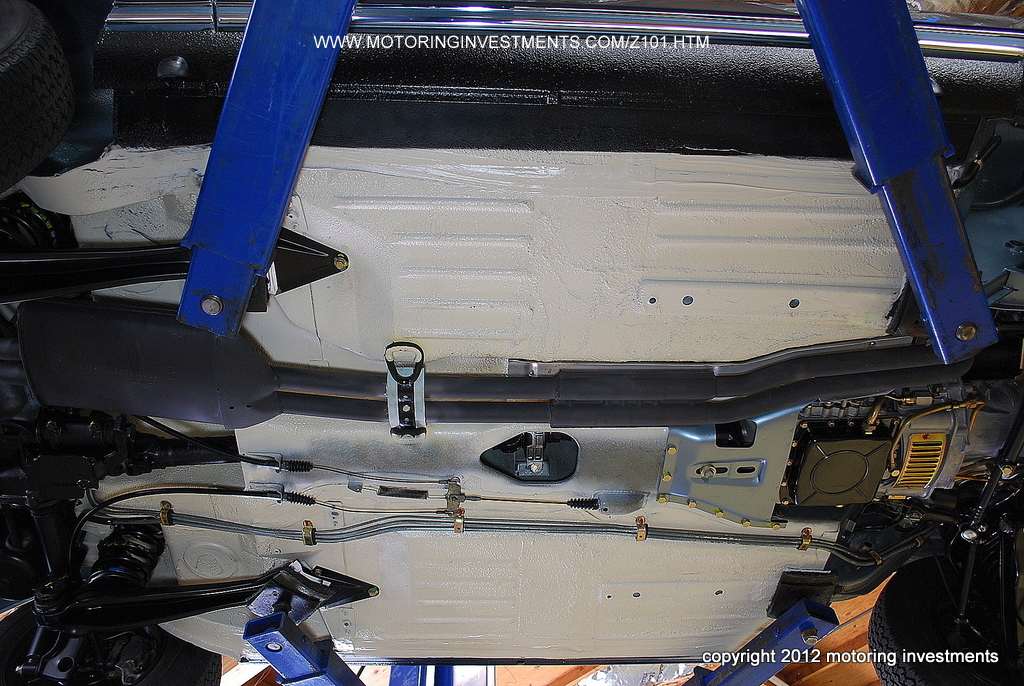
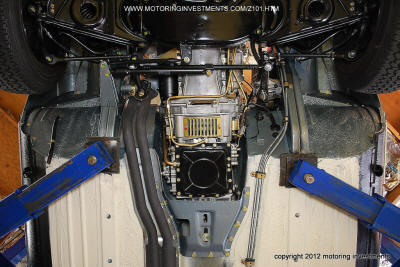
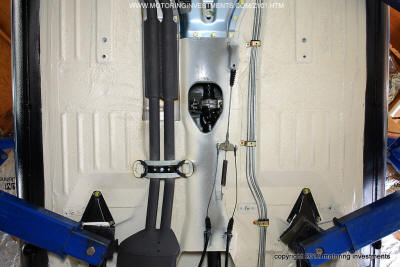
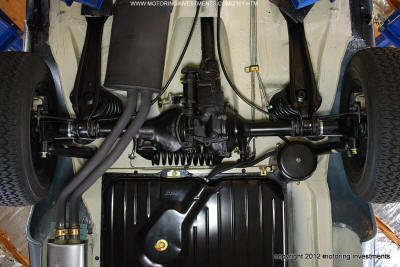
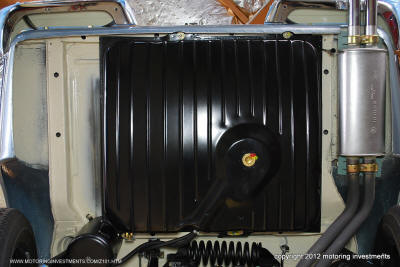
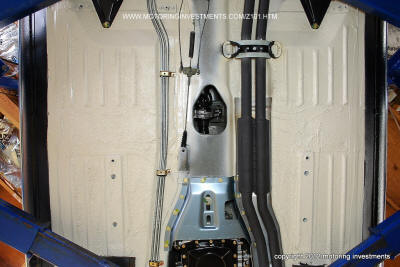
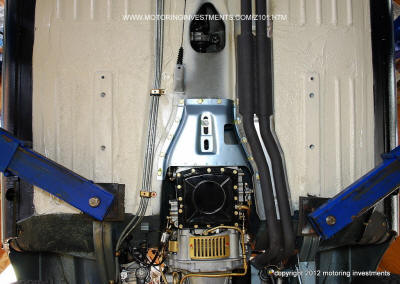
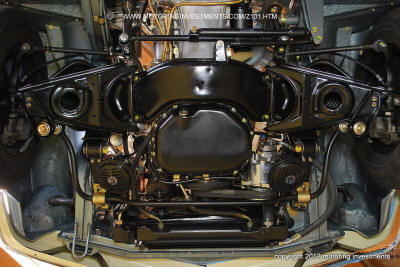
Below are the final
undercarriage pictures. |
 |
| Before |
|
After |
 |
| |
|
|
 |
 |
 |
| |
|
|
 |
 |
 |
| |
|
|
 |
 |
 |
| |
|
|
 |
 |
 |
| |
|
|
 |
 |
 |
| |
|
|
 |
|
 |
| |
 |
| |
|
|
 |
 |
 |
| |
|
|
 |
 |
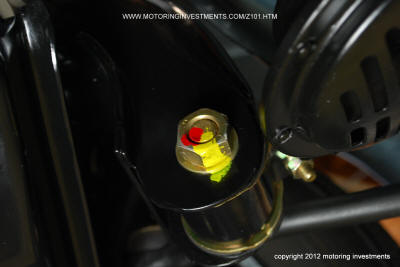 |
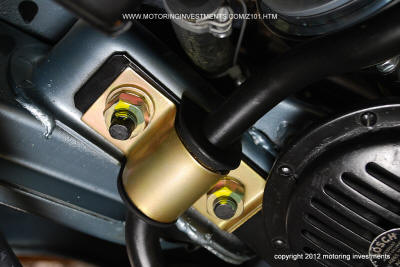
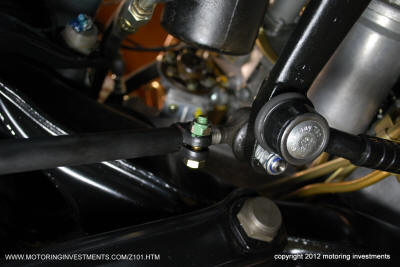
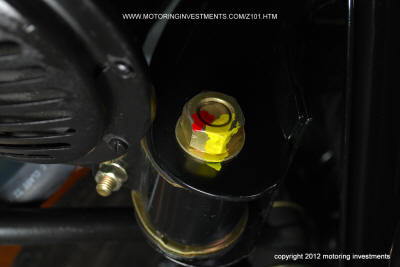
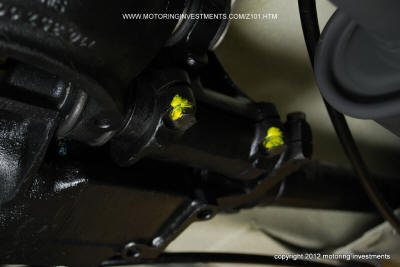
The above photos show us the
dotology markers we duplicate through out the undercarriage.
|
 |
 |
 |
| |
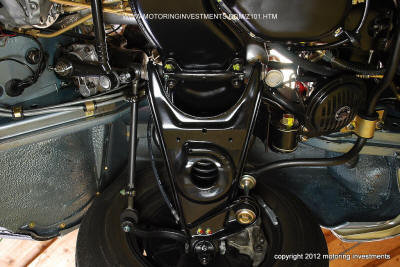
The picture above displays the white paint behind
the bumpers. We duplicate every detail in our
restorations. The factor did this to protect the
from the elements.
|
|
 |
 |
 |
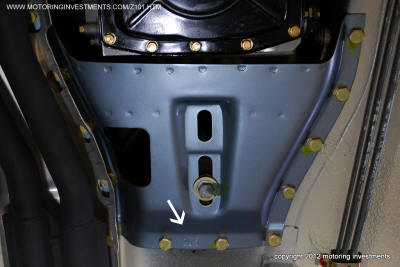
The
picture above is of the transmission
mounting plate body number. |
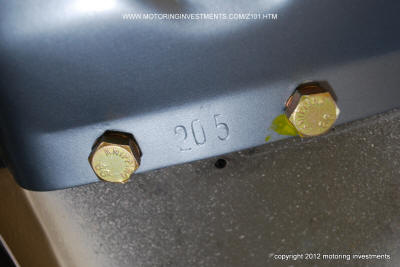
A close up shows up the # 205.
This number coincides with the last
sequence of numbers on the last line,
pictured below.
|
The
picture below shows the
new transmission I.D. plate in place
with the correct rivets. |
 |
 |
 |
The last of the dotology
spots are applied to the undercarriage.
|
 |
 |
 |
| |
|
|
 |
 |
 |
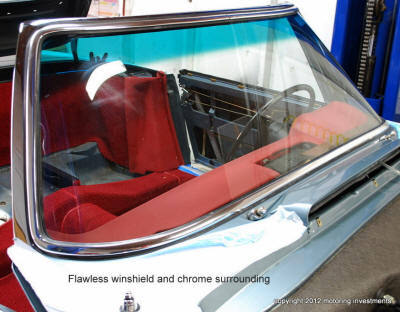
The pictures above show the process of installing the windshield. To
facilitate the install of the windshield and trim,
install the drivers side wooden bow at the topside of dash, first. Then
the windshield and surrounding trim.
This will help fit all other related parts and panels perfectly.
|
 |
 |
 |
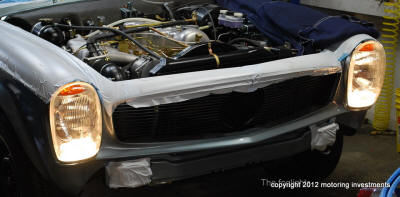
The photo above is with the European
lights activated in the fog light position.
|
|
The photo
above is with the European
lights activated in the running light position. |
 |
 |
 |
| |
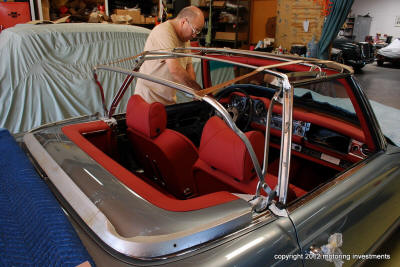
The pictures below display
the canvas top
and frame in the final steps of restoration.
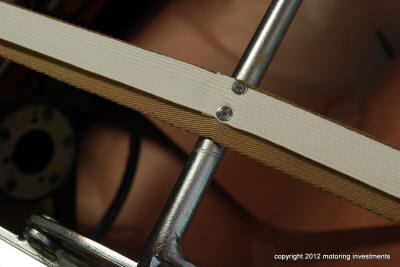
New tensioning cable, foam, straps,
and new vinyl.
|
|
 |
 |
 |
| |
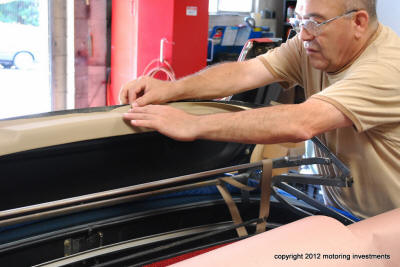
The new vinyl is glued down
firmly and
fitted to perfection.
|
|
 |
 |
 |
| |
|
|
 |
 |
 |
Applying the right type of glue to the outside of the canvas top for
the new moss rubber strips is crucial
for a lasting hold.
|
 |
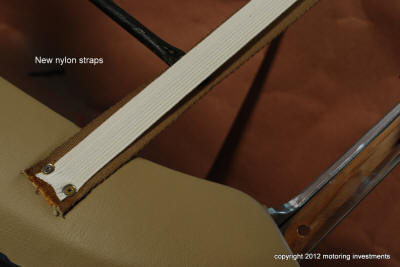
The canvas top frame has
been reconditioned
with new vinyl at the header bar, new nylon
straps that affix the bows together, new foam
and all new weather seals. |
 |
| |
|
|
 |
 |
 |
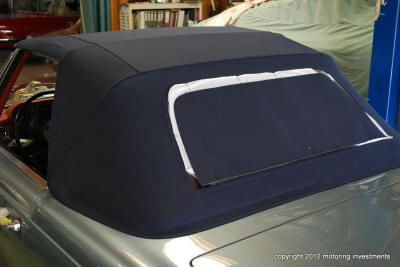
After the new canvas top is
installed, the protective rear window material and waxy tissue paper is
removed.
|
 |
 |
 |
| |
|
|
 |
 |
 |
| |
|
|
 |
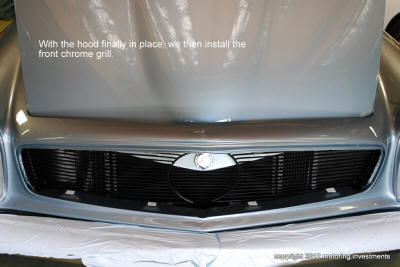
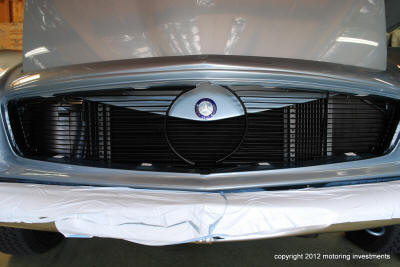
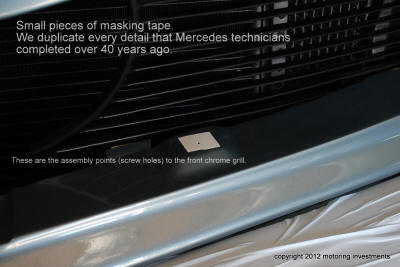
The pictures above and below
display the bug grills as well as the
small pieces of masking tape we apply
to the assembly points at the front grill. |
 |
| |
|
|
 |
 |
 |
| |
|
|
 |
 |
 |
| |
|
|
 |
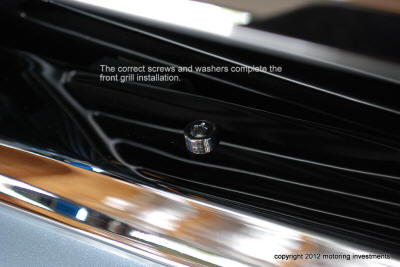
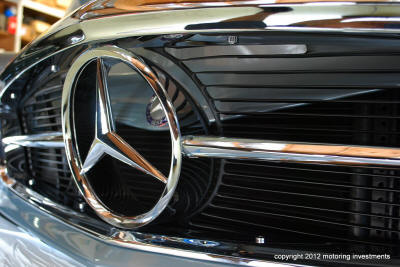
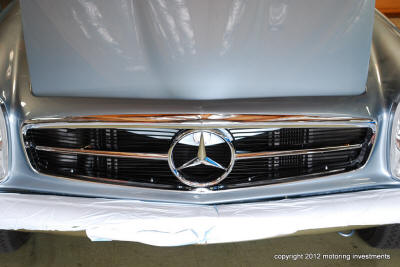
The pictures below display
the
chrome grill in its flawless condition.
From fitting the grill before re-plating and
during the painting process to installation
of the buffer tape, we overlook no detail.
|
 |
| |
|
|
 |
 |
 |
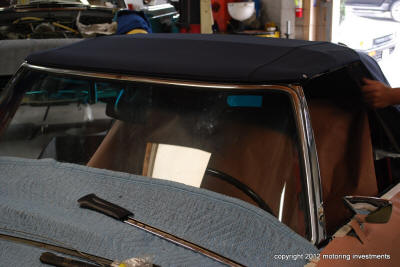
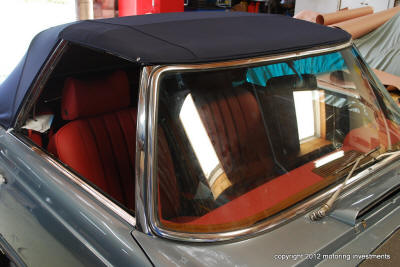
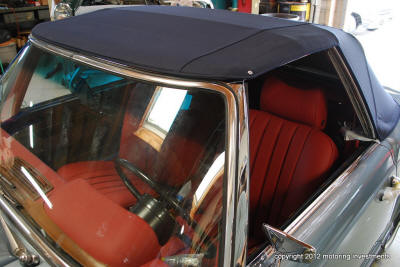
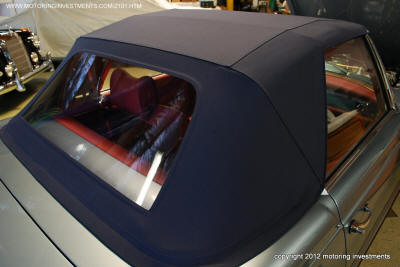
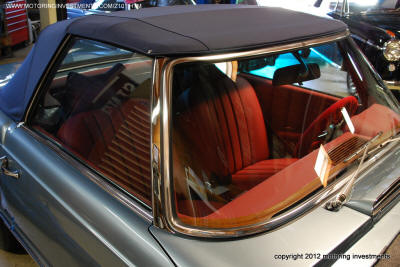
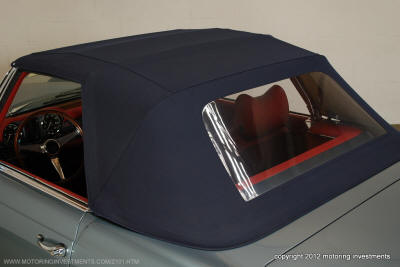
The pictures below show us the final look of the canvas soft top. We
carefully remove the
waxy protective coating on the rear window.
|
 |
 |
 |
| |
|
|
 |
The hubcaps are painted
using the
same techniques that the factory technicians
used in the day; even down to
the use of the factory
hubcap stencil.
|
 |
| |
|
|
 |
The new hubcaps are
installed using
the correct yellow cadmium plated clips.
|
 |
| |
|
|
 |
 |
 |
|
Mercedes stencil still "in box". |
 |
 |
 |
|
|
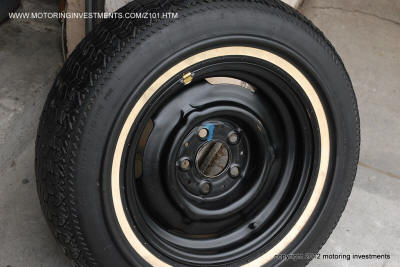
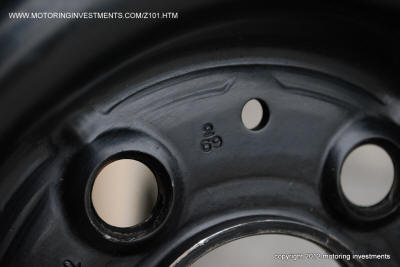
The dotology on the
spare wheel is
applied from the technicians after they have
inspected the wheels. |
|
 |
 |
 |
| Date
coded wheels match the car |
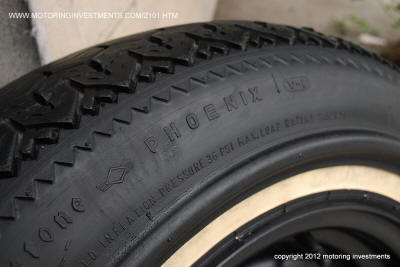
The Firestone Phoenix
is the original spare tire. |
The curb lip, was to limit
the curb rash and
protect the whitewall scuffs.
|
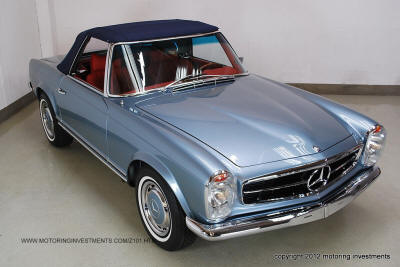
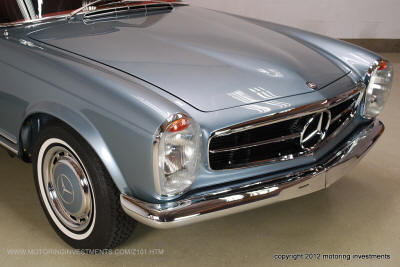
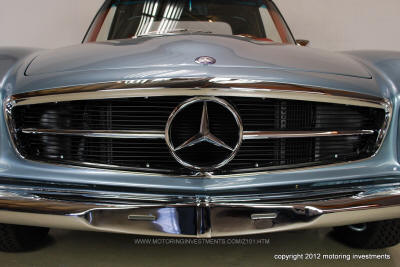
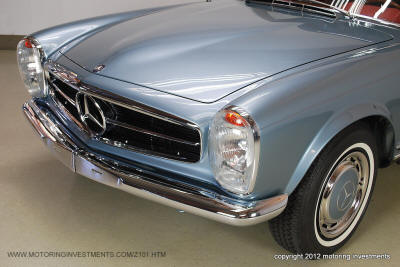
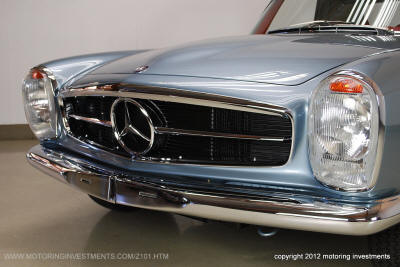
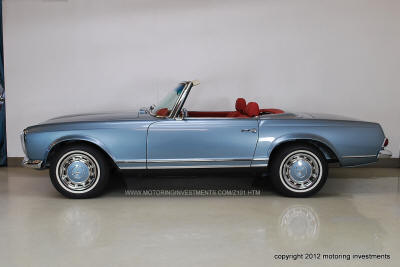
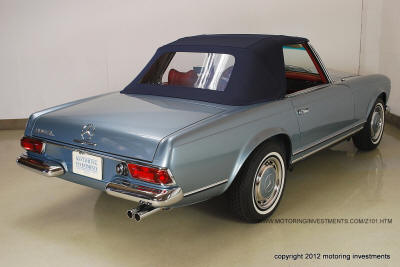
The photos below are of the
final stage. The restoration build is completed with a fully
documented portfolio, along with the final photos of the car. |
 |
 |
 |
| |
|
|
 |
 |
 |
| |
|
|
 |
 |
 |
| |
|
|
 |
 |
 |
| |
|
|
 |
 |
| |
|
|
 |
 |
 |
| |
|
|
 |
 |
 |
| |
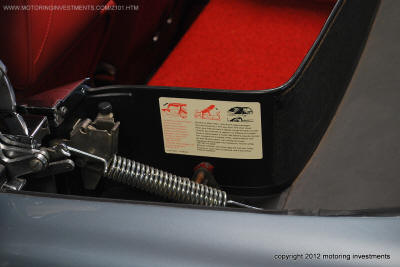
The pictures above and below show the restored
folding top storage compartment. The new
decal in place, shows care tips
and instructions on
lifting and storing the folding top.
|
|
 |
 |
 |
| |
|
|
 |
 |
 |
| |
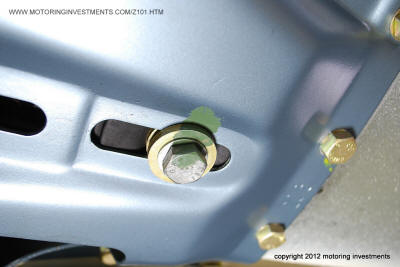
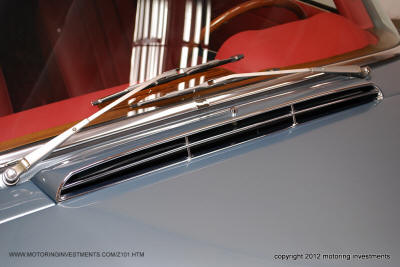
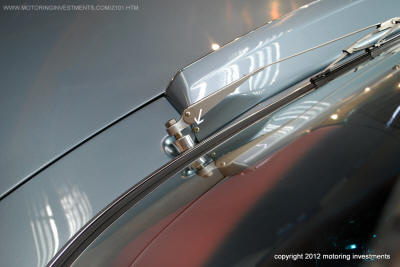
The screw that affixes the fresh air housing
to the body must also be gold cadmium plated.
|
|
 |
 |
 |
| |
|
|
 |
 |
 |
| |
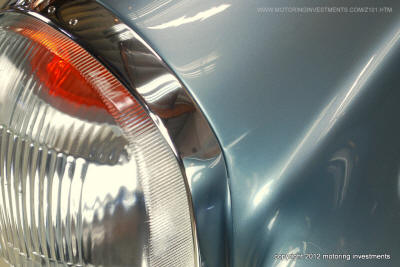
The pictures above left &
right
are close ups of the
headlamp notches. |
|
 |
 |
 |
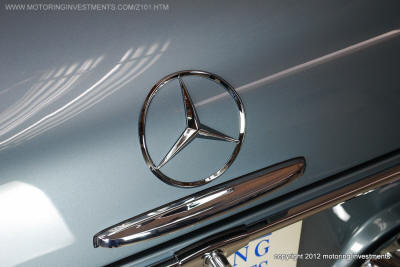
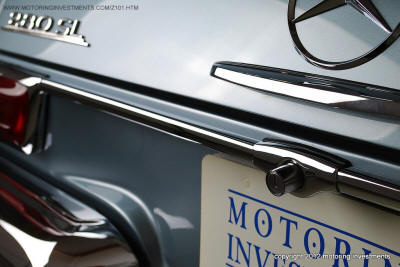
The picture below displays a
close up view of
the chrome trim and rubber profile
that is between them.
Early cars have no rubber profile that fits
behind the chrome trim. |
 |
 |
 |
| |
|
|
 |
 |
 |
| |
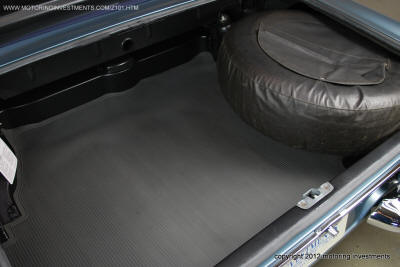
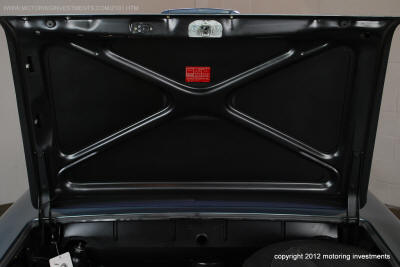
The trunk is finalized with
the appropriate "early SL" tire pressure label
and the tire change instruction card.
|
|
 |
 |
 |
| |
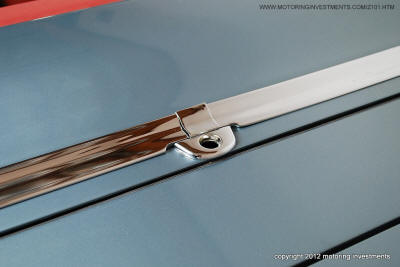
Mercedes Benz changed over from the
early tire pressure label after late 1969.
|
|
 |
 |
| |
|
|
 |
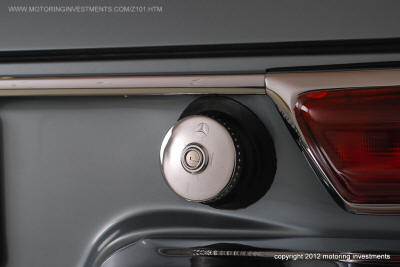
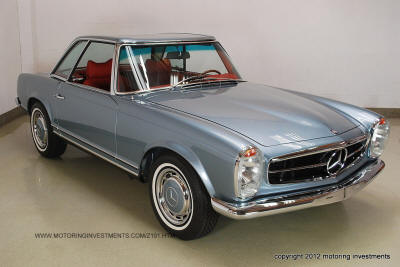
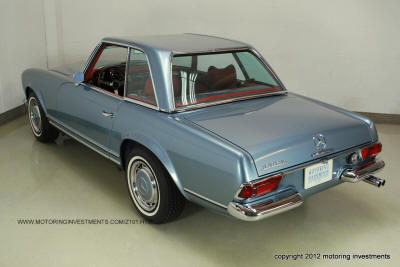
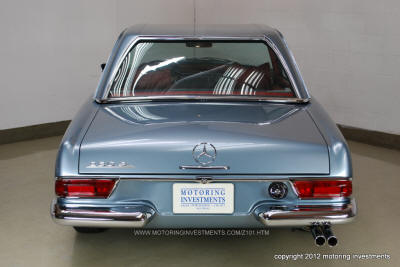
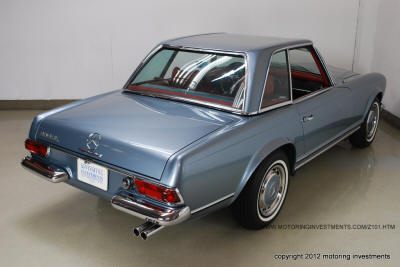
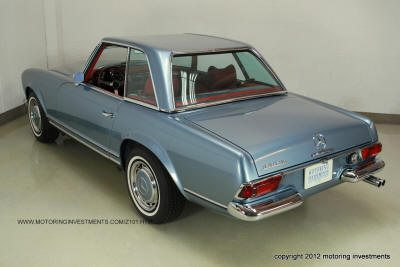
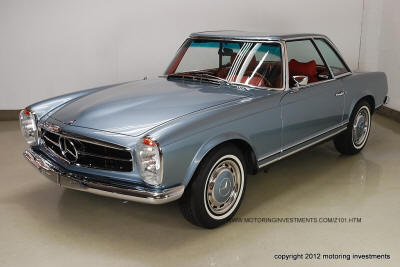
The photos below show the
car and its final state...
PERFECTION. |
 |
| |
|
|
 |
 |
 |
| |
|
|
 |
 |
 |
| |
|
|
 |
 |
| |
|
|
 |
 |
 |
| |
|
|
 |
 |
 |
| |
|
|
 |
 |
 |
| |
|
|
 |
 |
 |
| |
|
|
 |
 |
 |
| |
|
|
 |
 |
 |
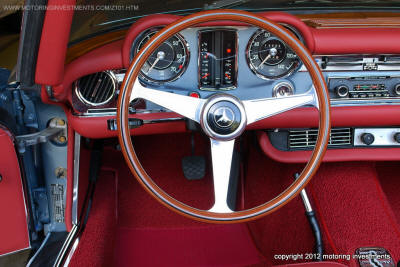
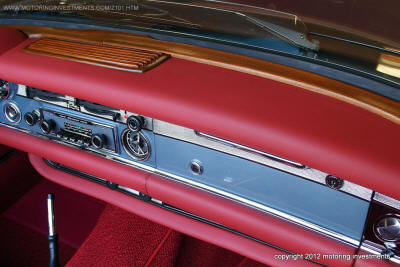
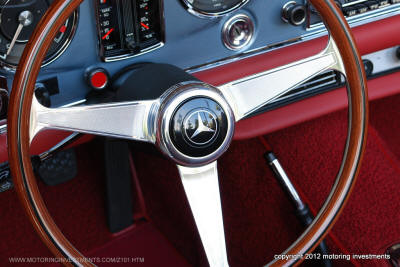
A Nardi
Steering wheel finishes the
elegant look. |
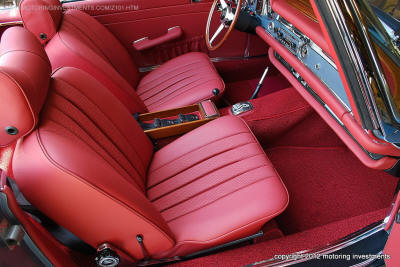
New sun visors |
|
 |
 |
 |
| |
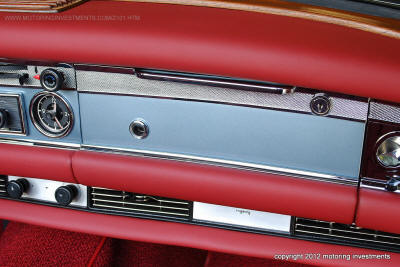
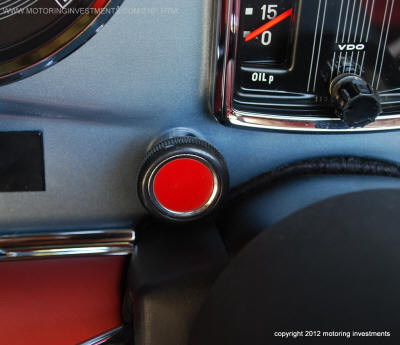
The photo above shows the
hazard knob.
We replaced the knob with one from our
N.O.S. ( New Old Stock) inventory to
complete the dash. |
|
 |
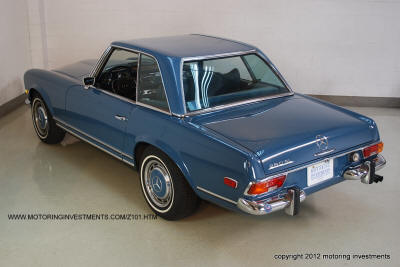
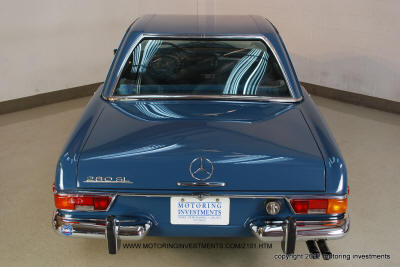
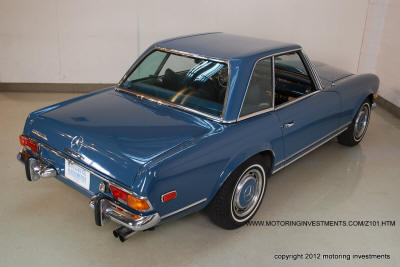
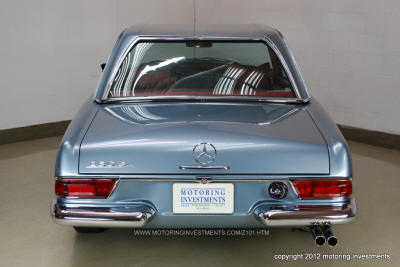
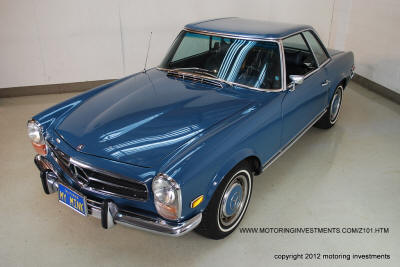
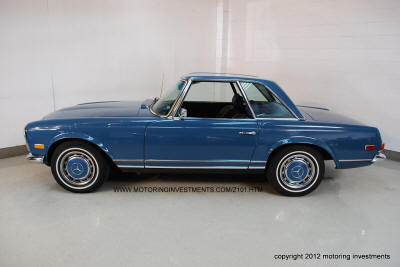
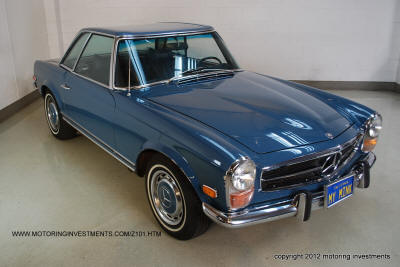
The photos to the left and
right
display the show quality paint work
performed. We complete the cars to have
a factory correct look.
|
 |
| |
|
|
 |
 |
 |
| |
|
|
 |
 |
|
Before |
Before |
 |
 |
|
After |
After |
 |
 |
 |
| |
Before |
|
 |
 |
 |
| |
After |
|
 |
 |
 |
| |
|
|
 |
 |
 |
| |
|
|
 |
 |
|
Before |
After |
 |
 |
| |
|
 |
 |
| |
|
 |
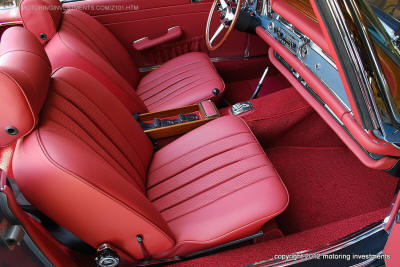 |
| |
|
 |
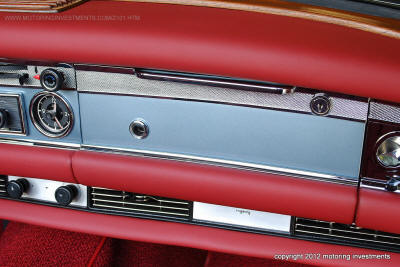 |

