 |
 |
| |
 |
 |
| |
 |
 |
| |
|
 |
 |
 |
| |
|
 |
 |
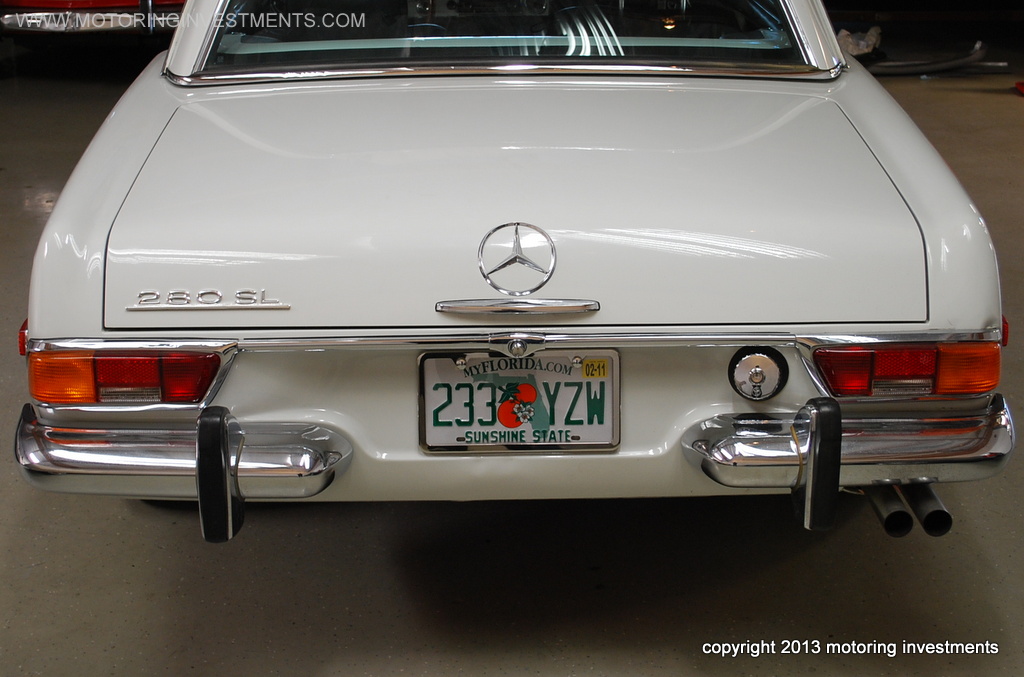
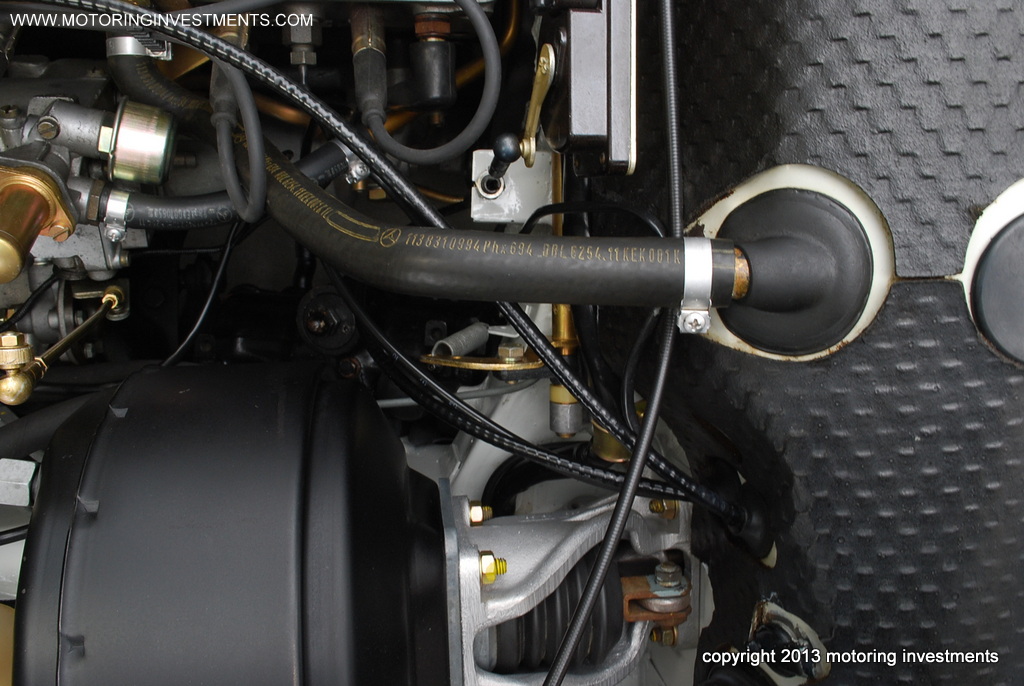
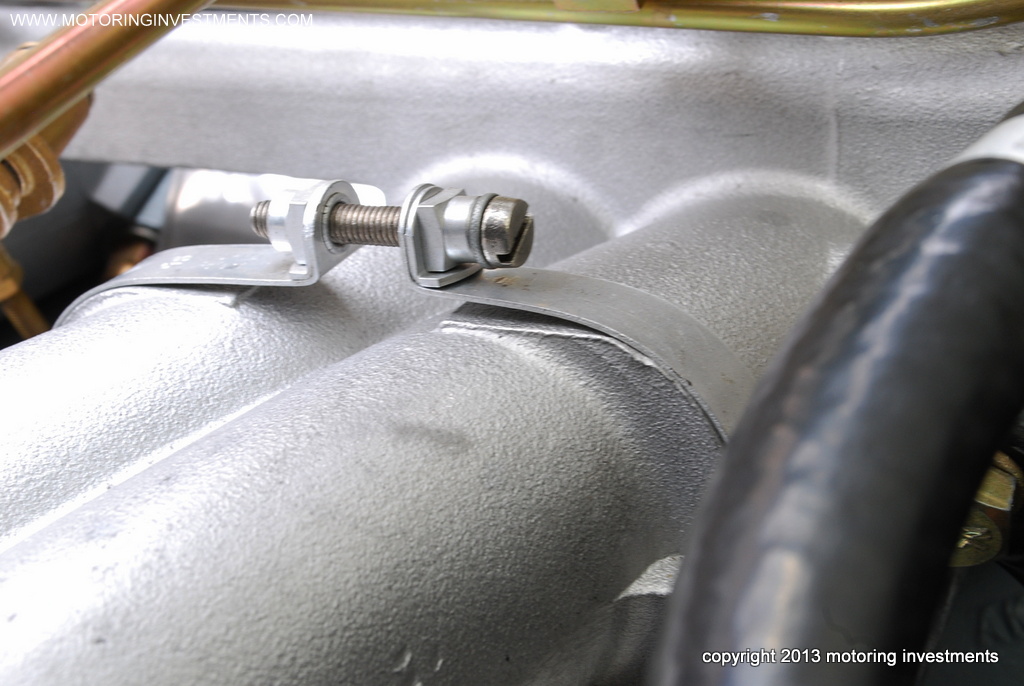
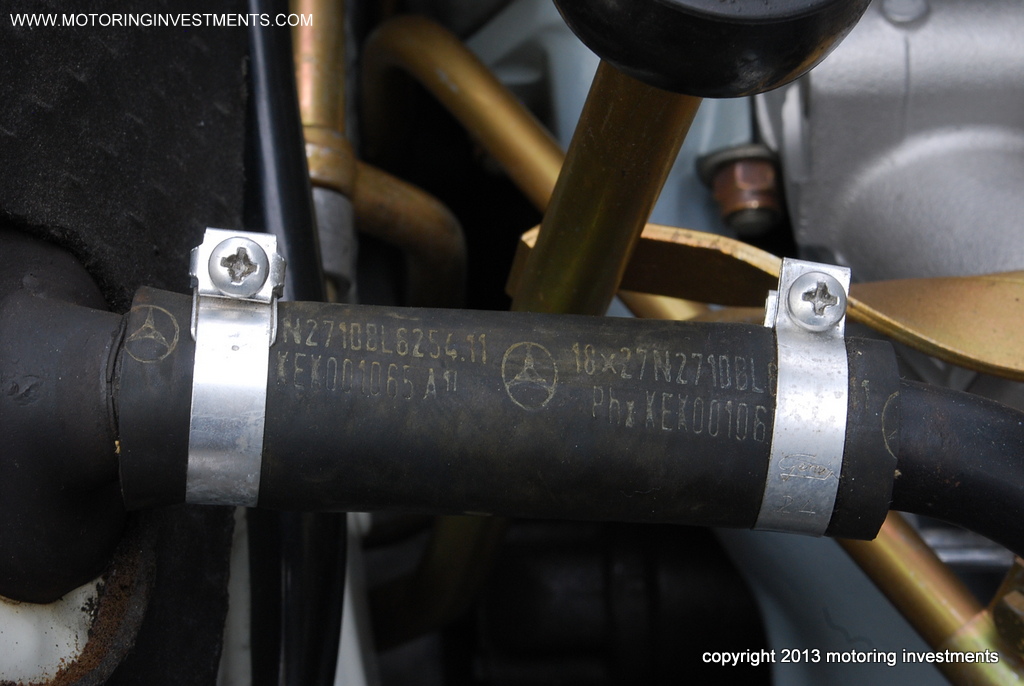
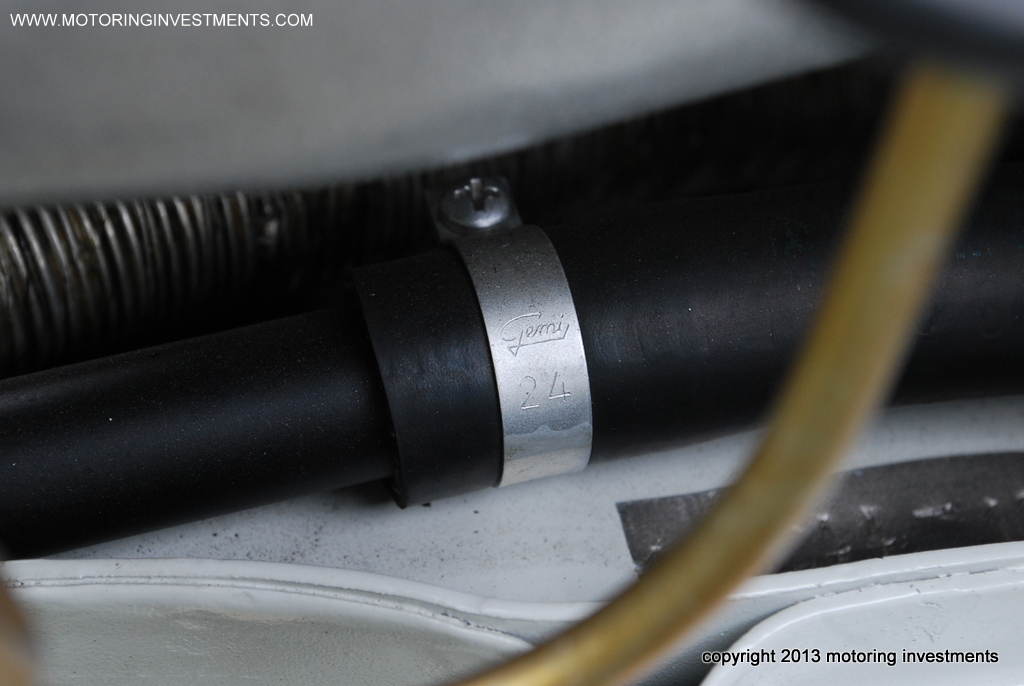
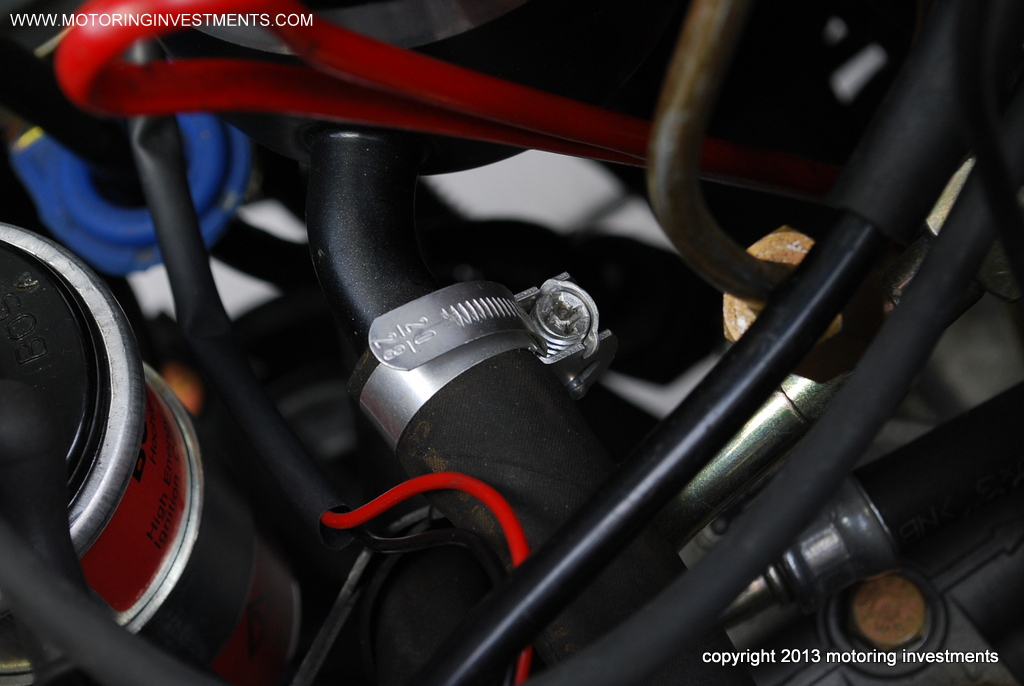
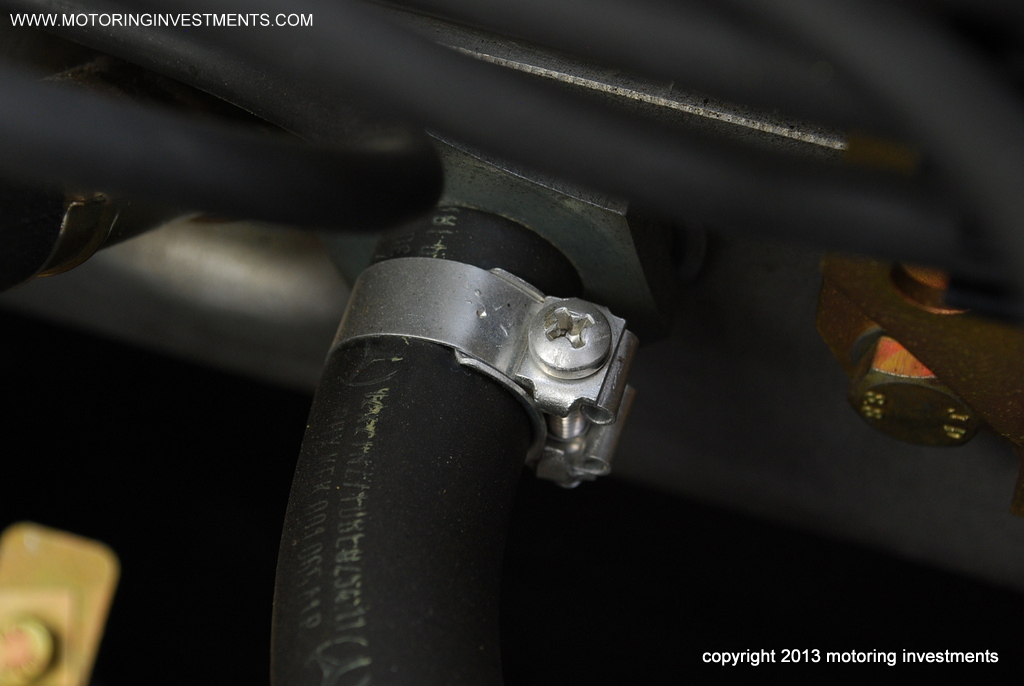
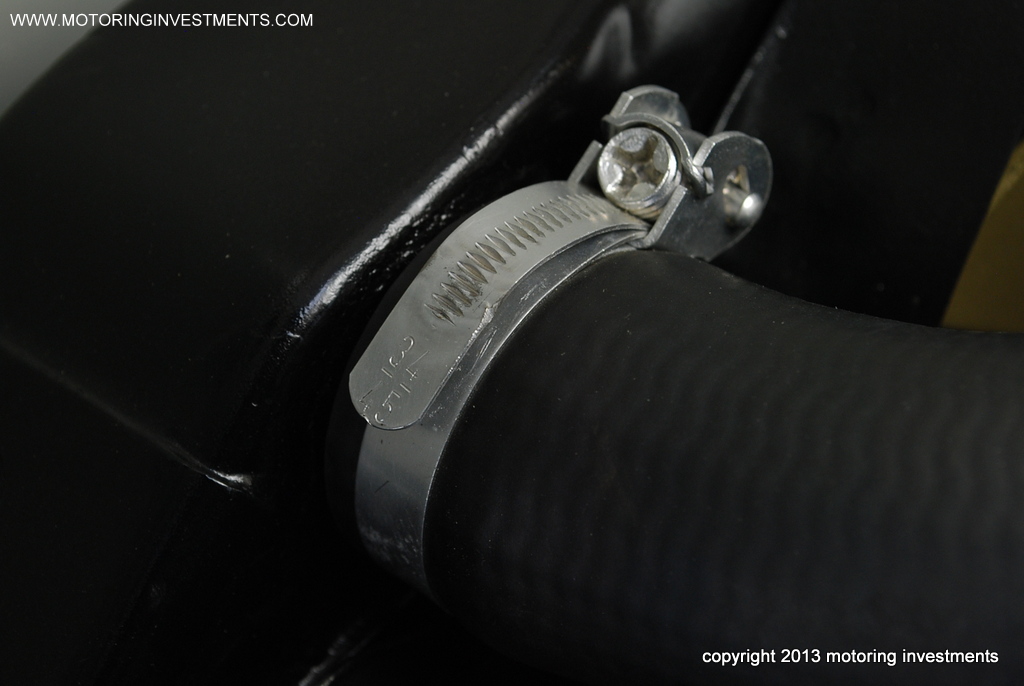
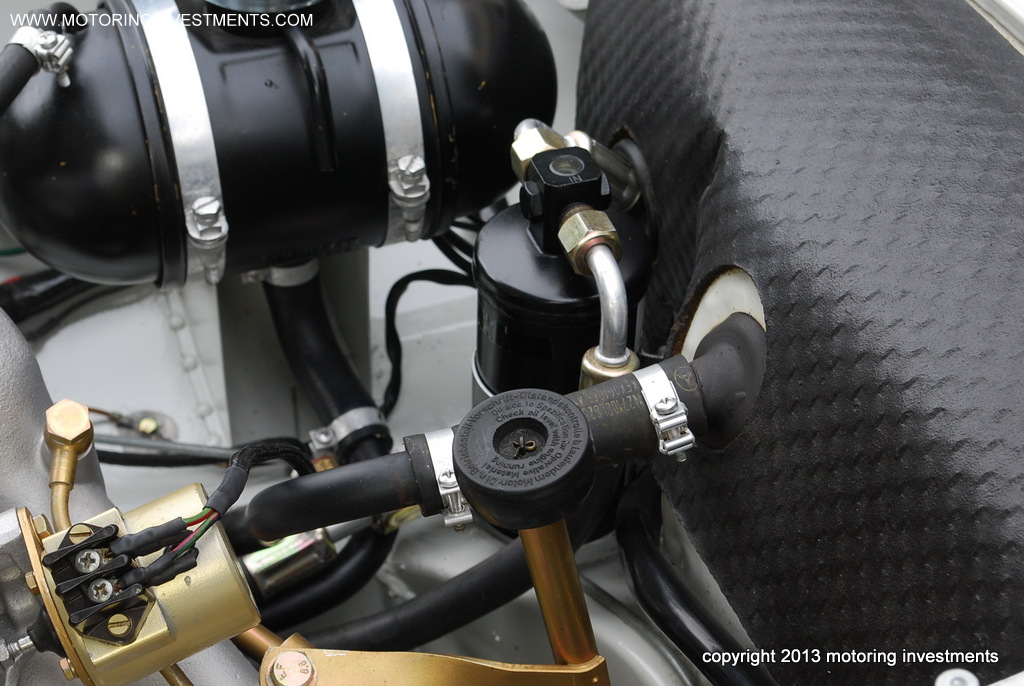
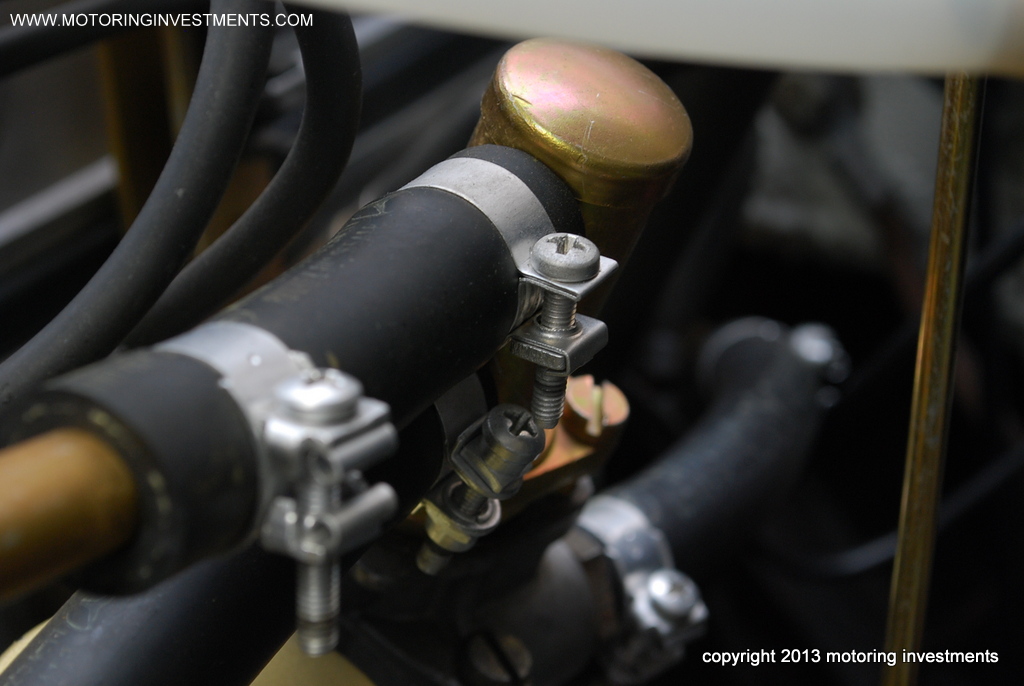
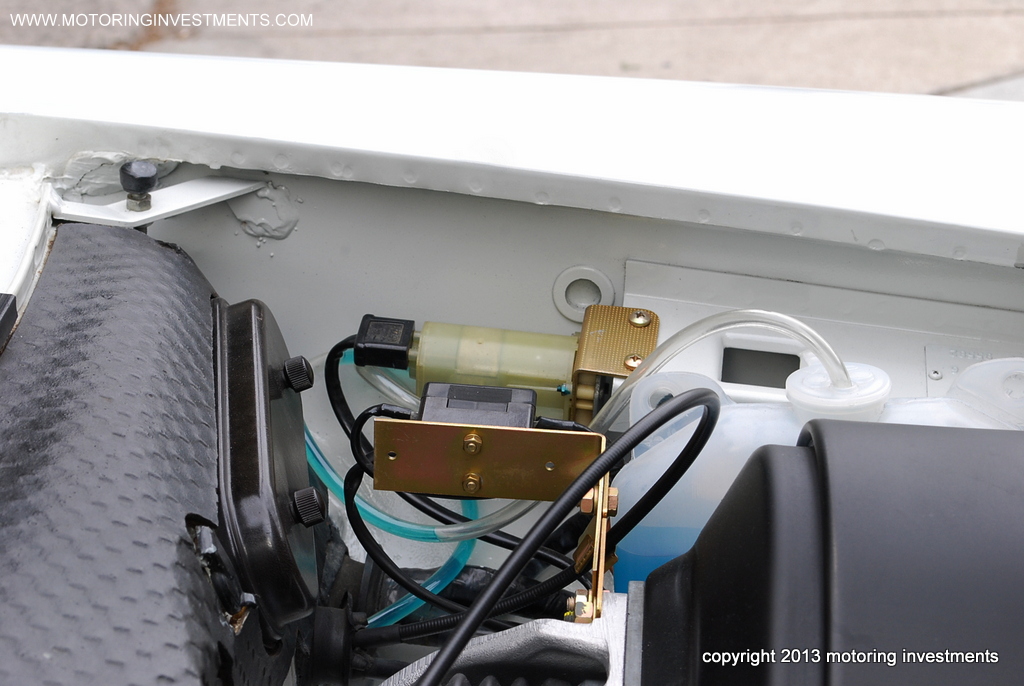
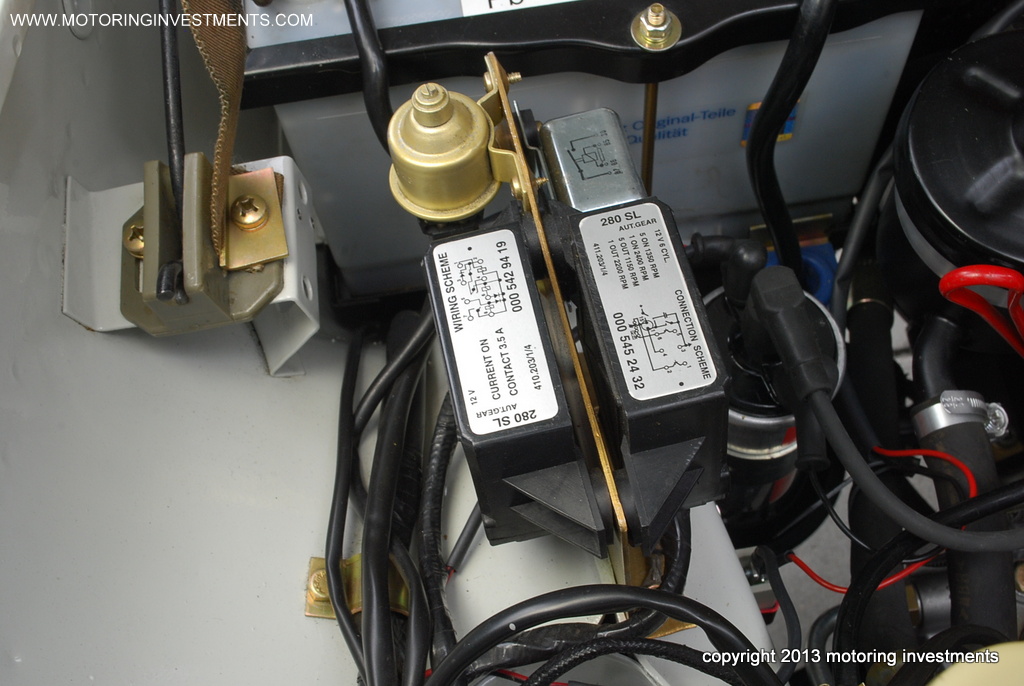
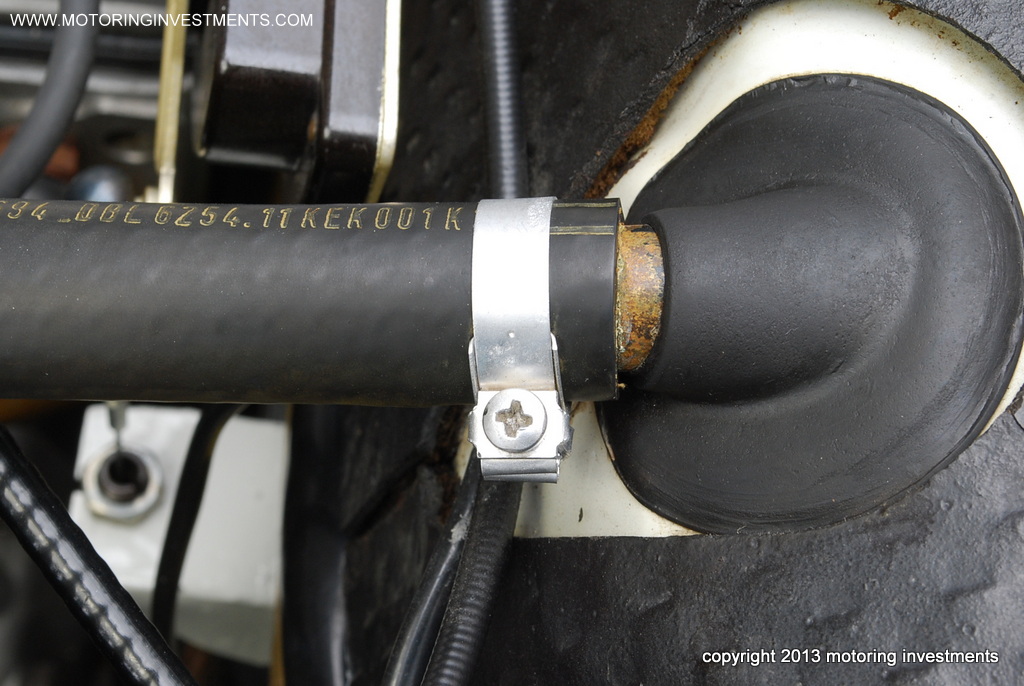
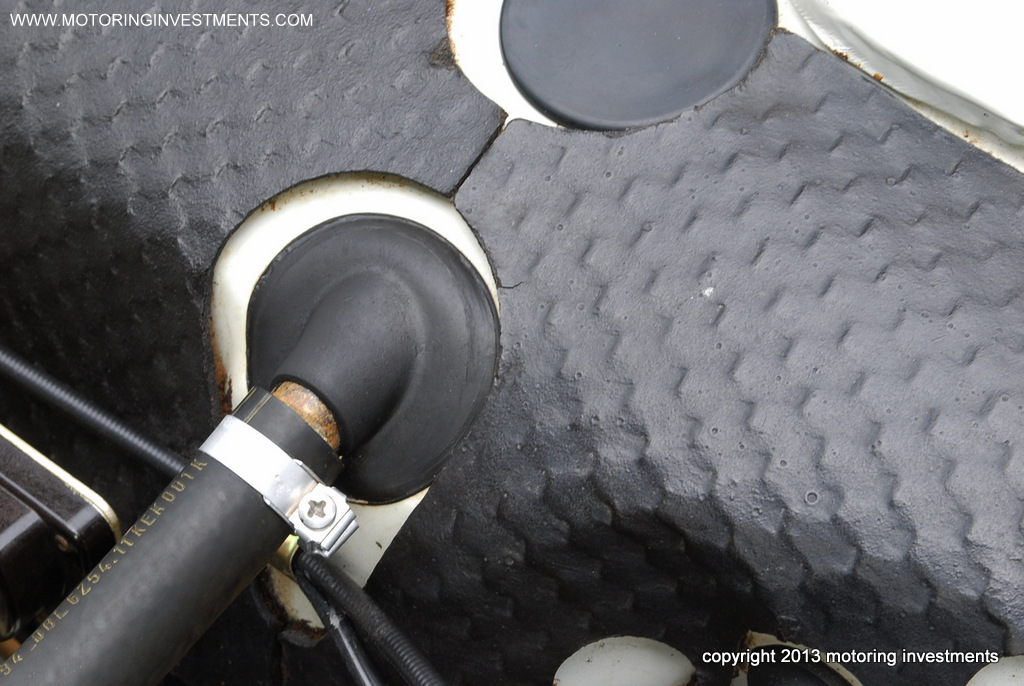
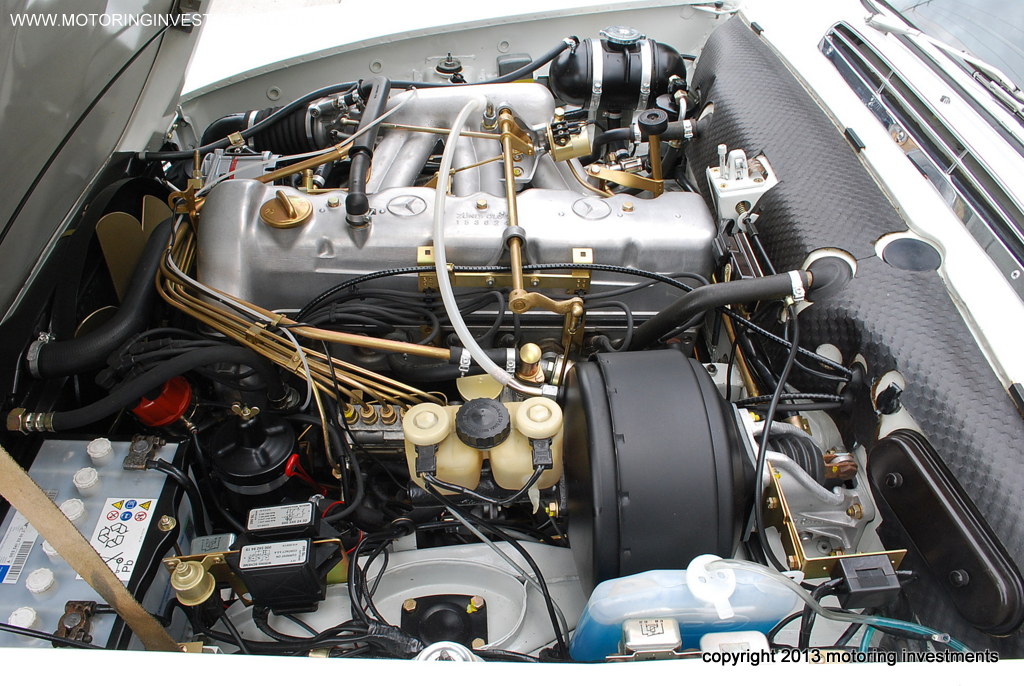
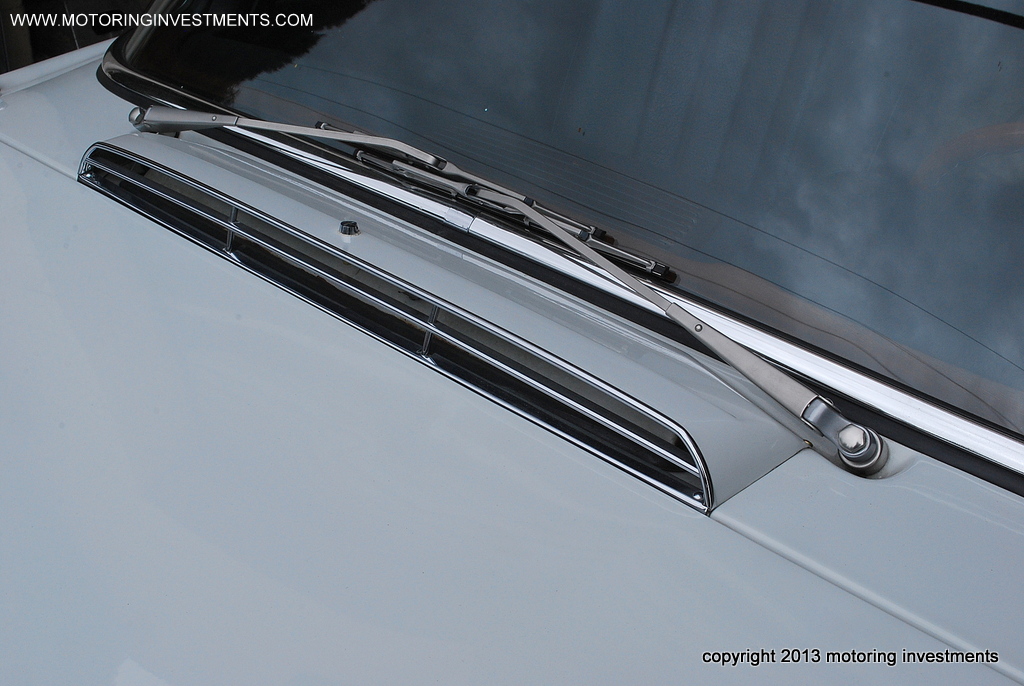
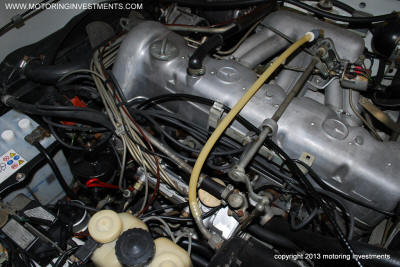
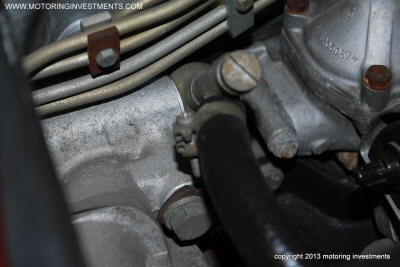
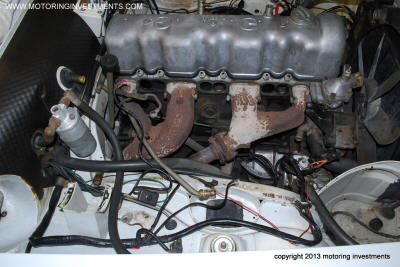
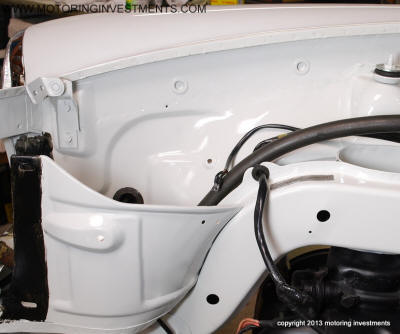
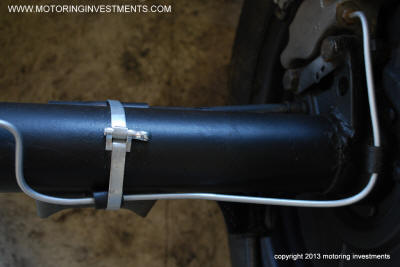
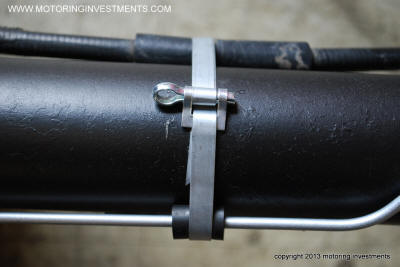
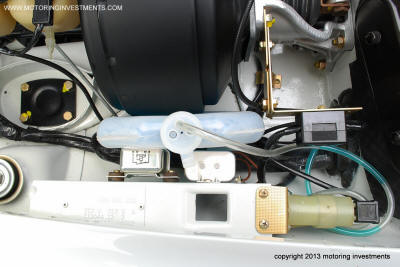
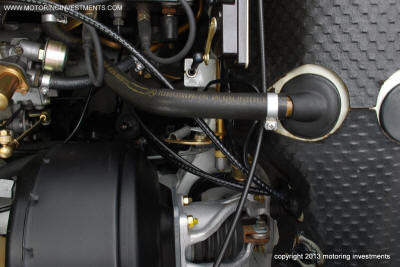
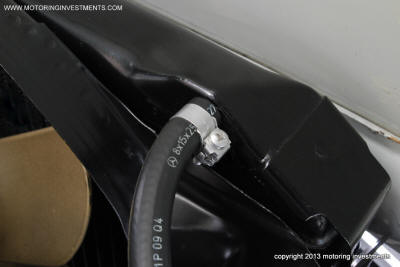
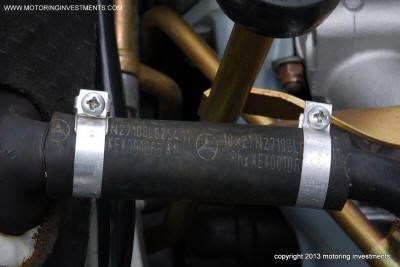
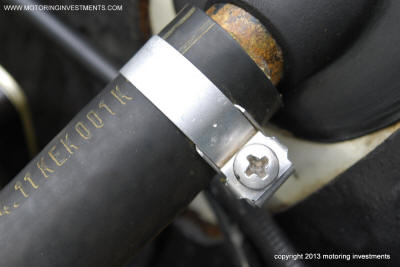
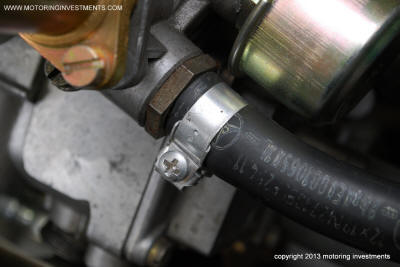
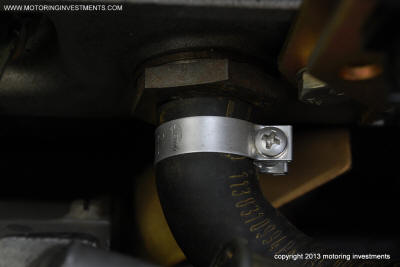
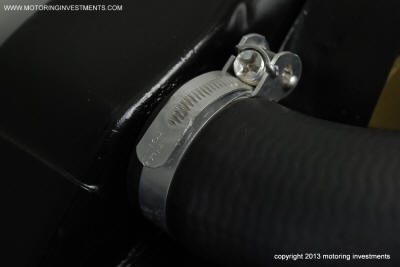
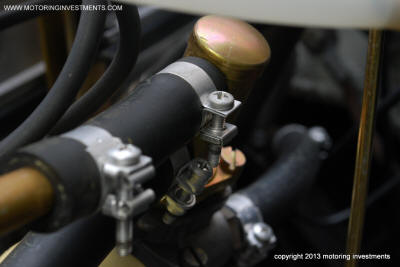
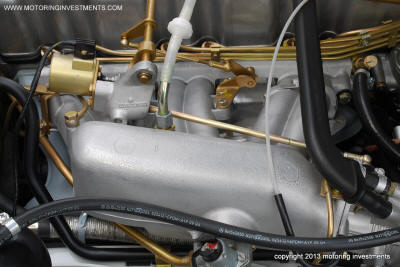
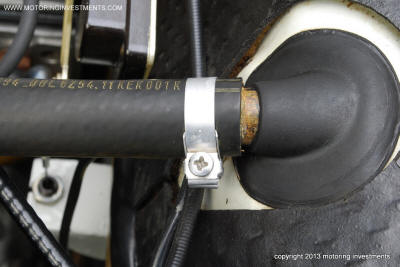
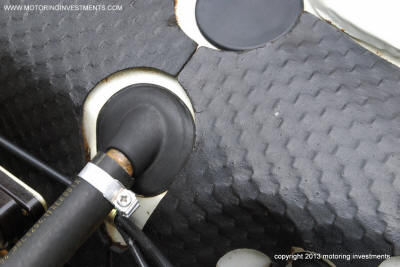
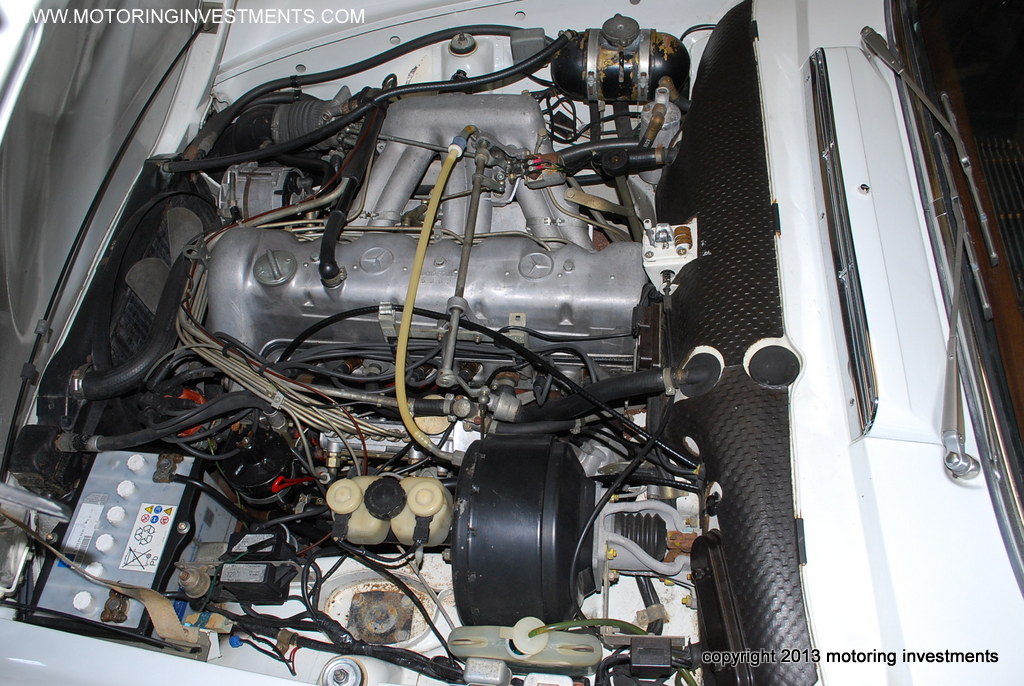
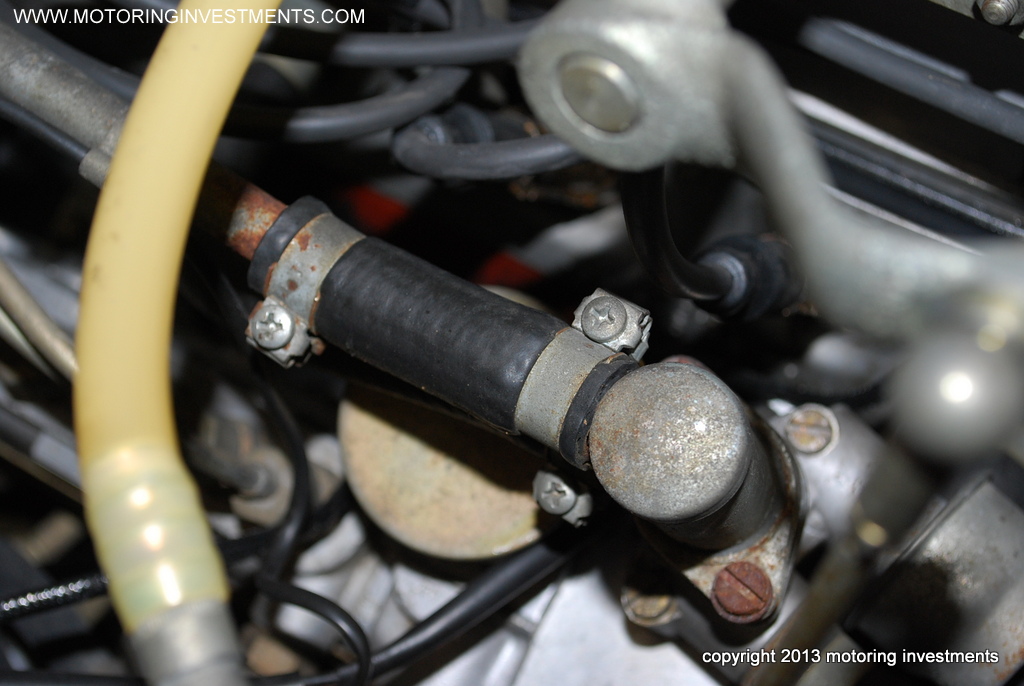
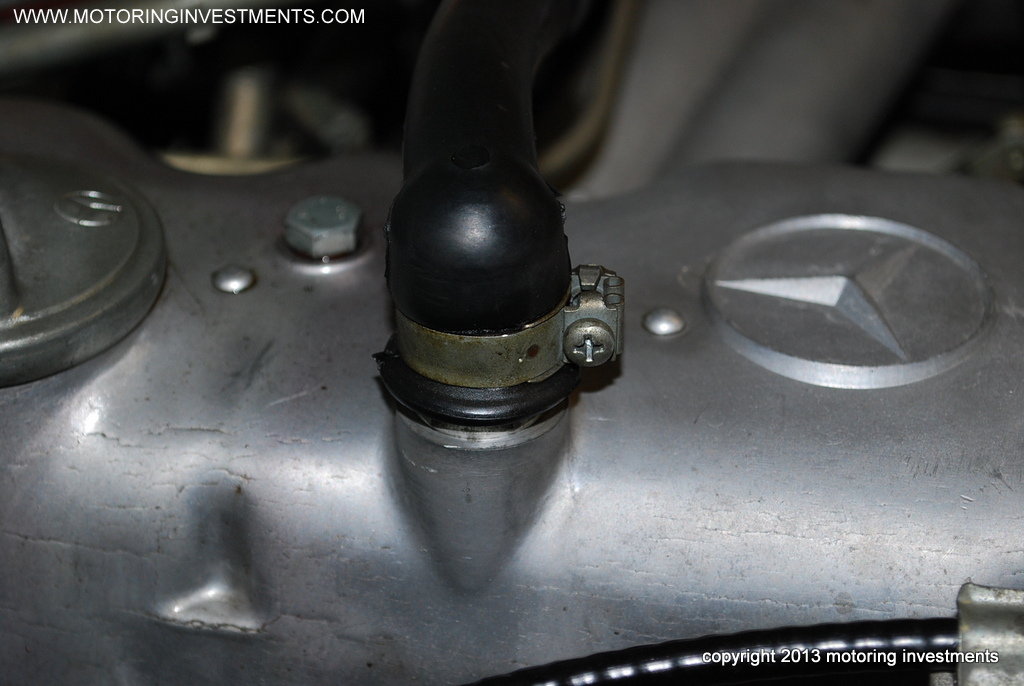
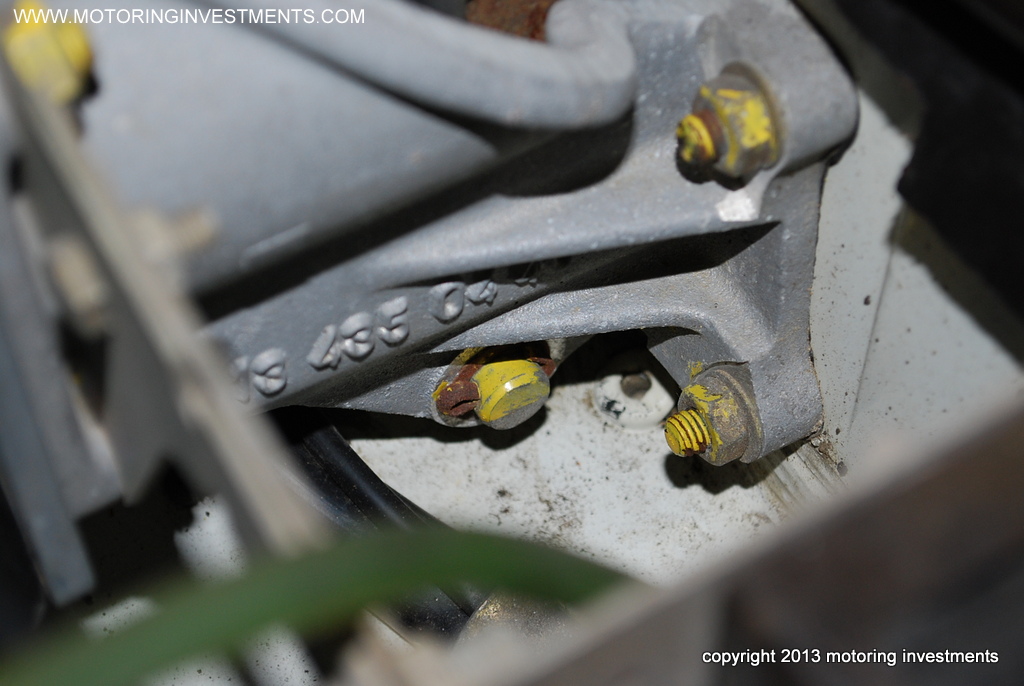
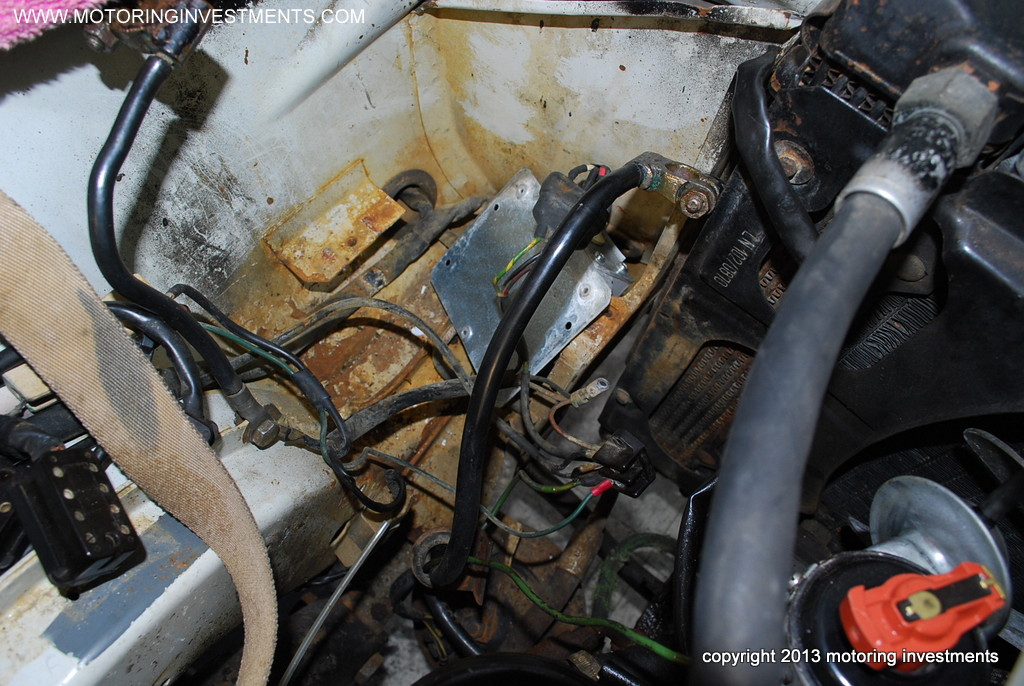
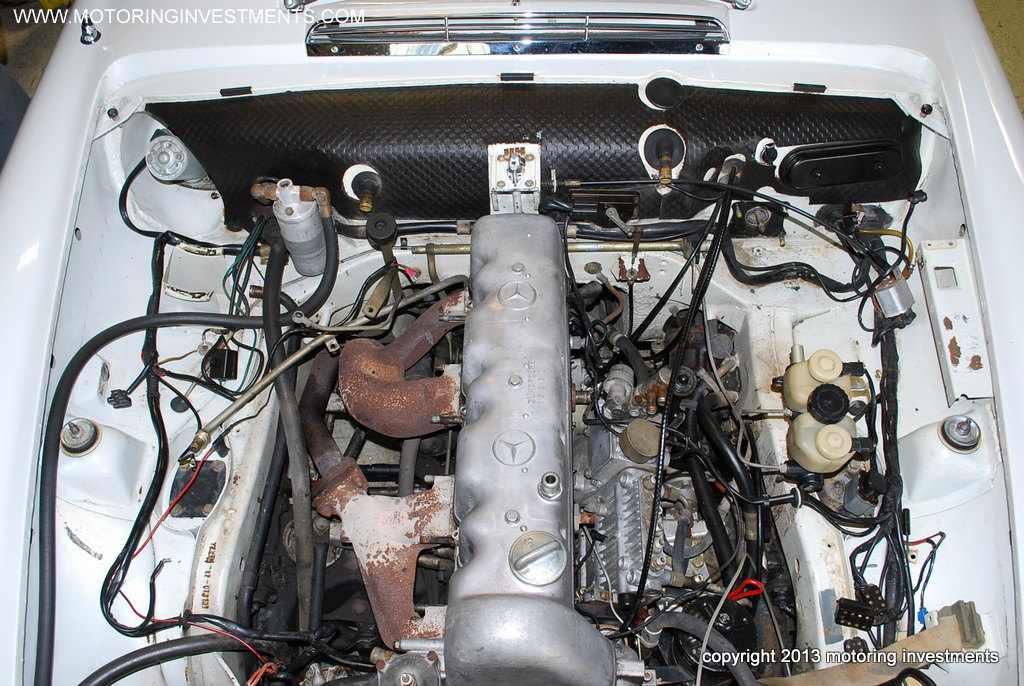
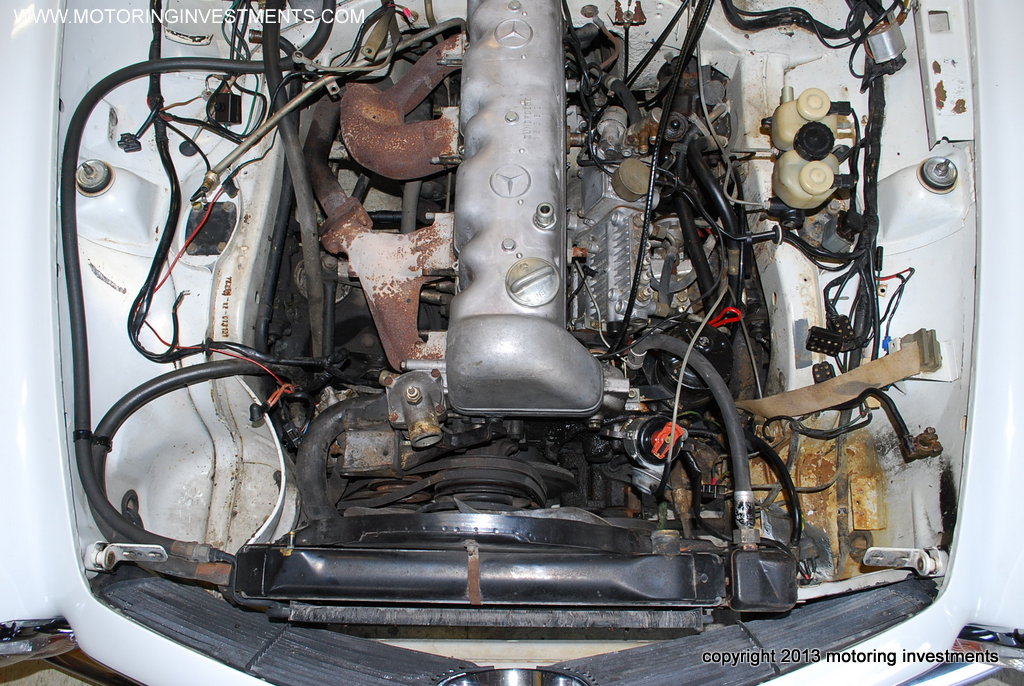
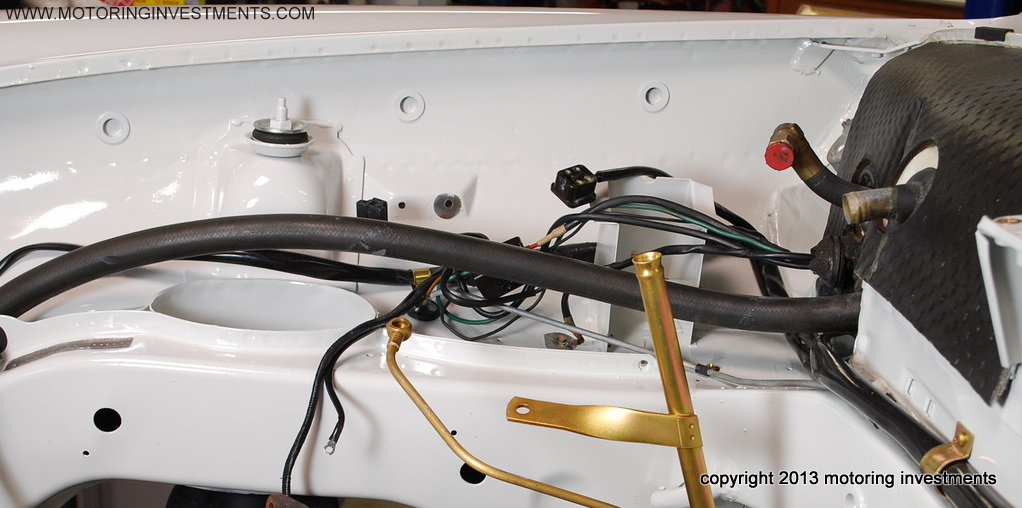
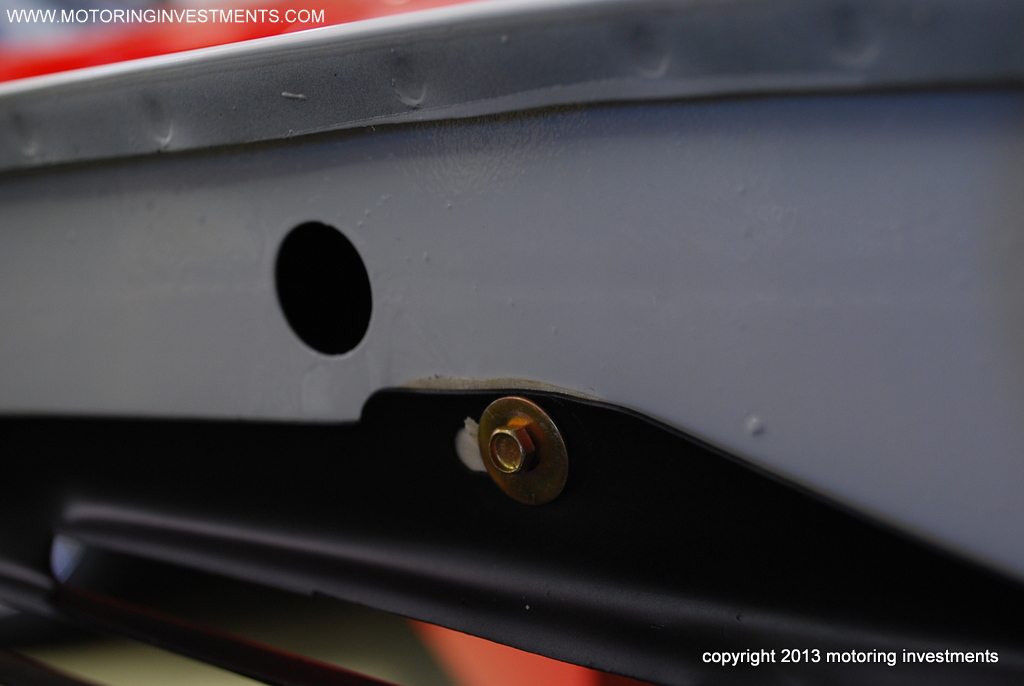
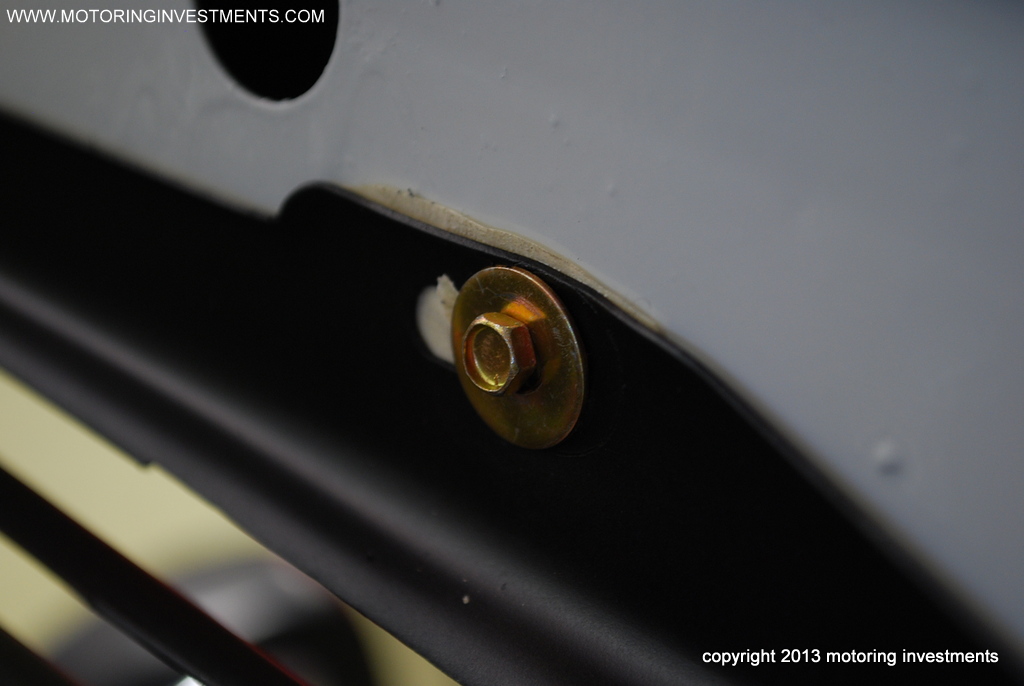
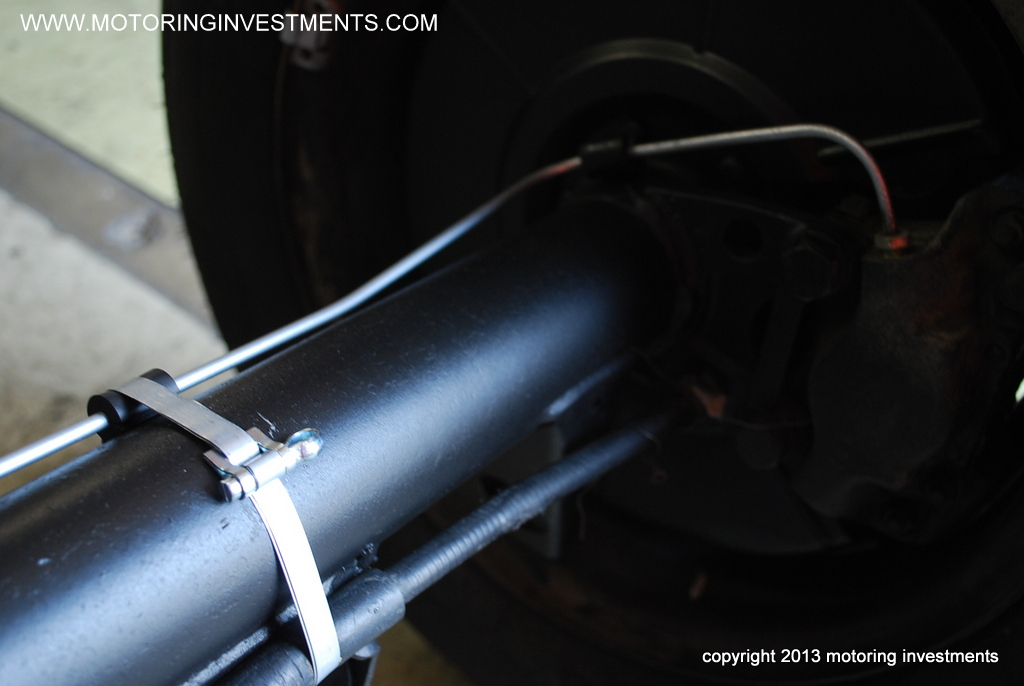
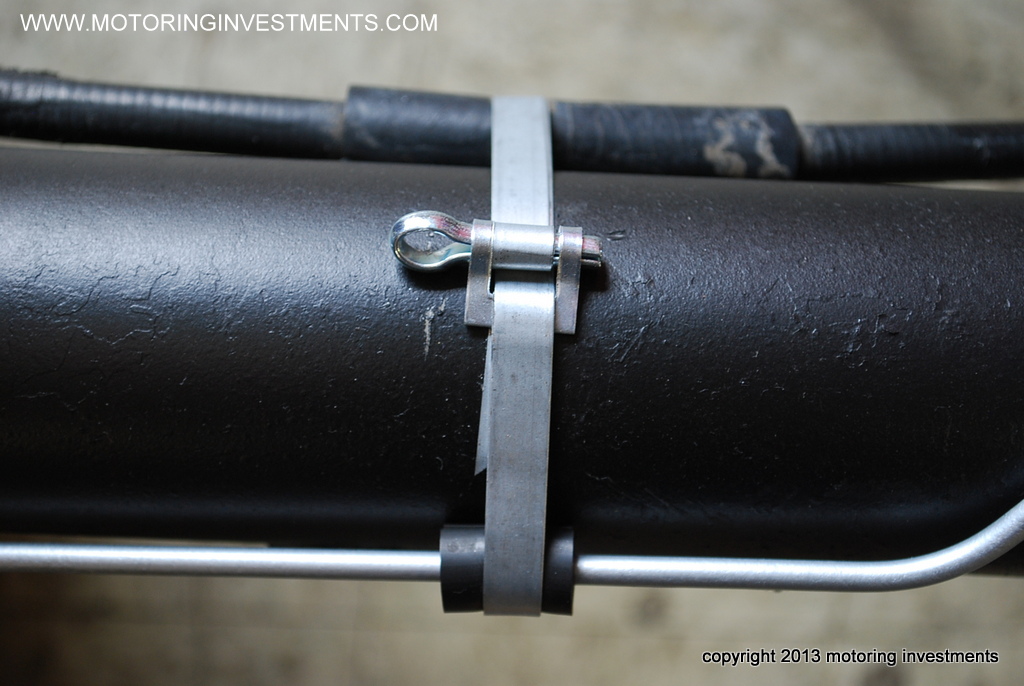
These
pictures shown above and below, are to display the cars' originality. A
very low mileage car is showing
all the original and correct clamps. |
 |
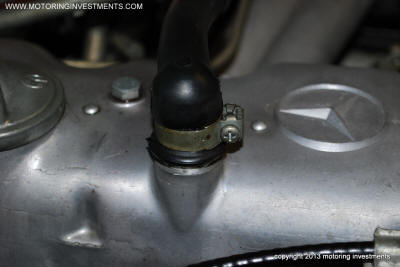 |
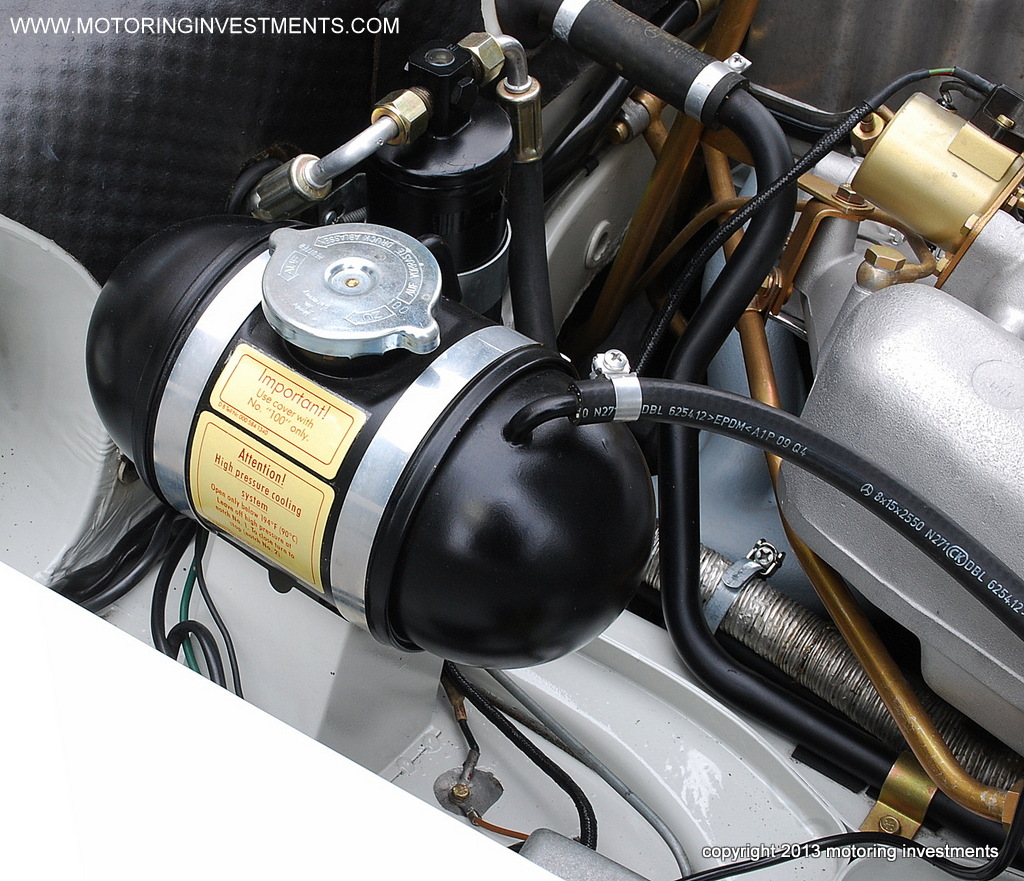
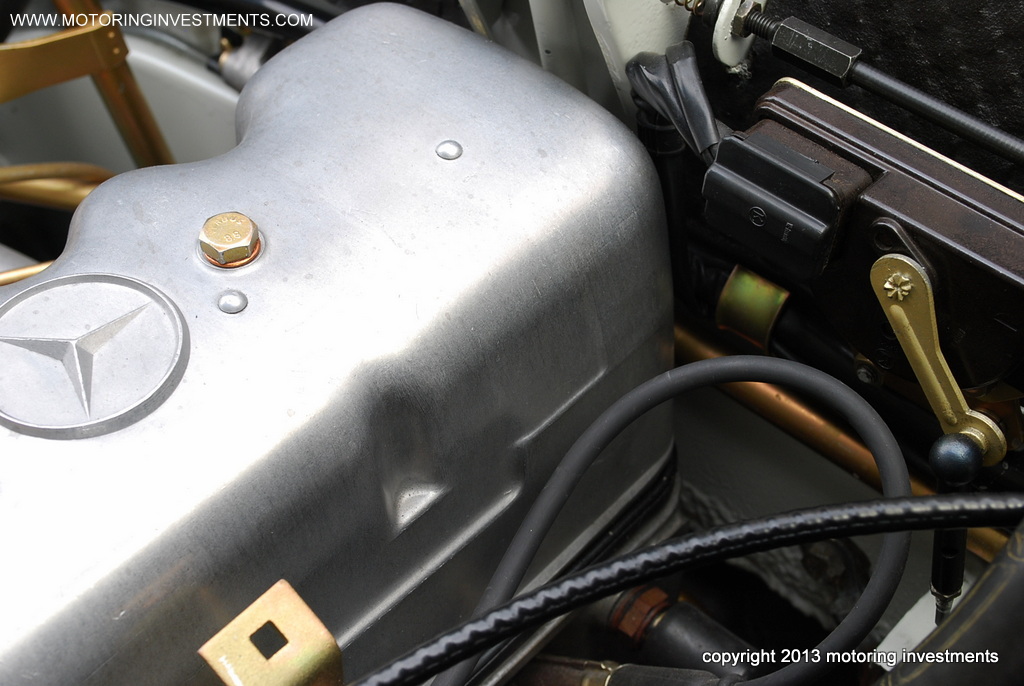
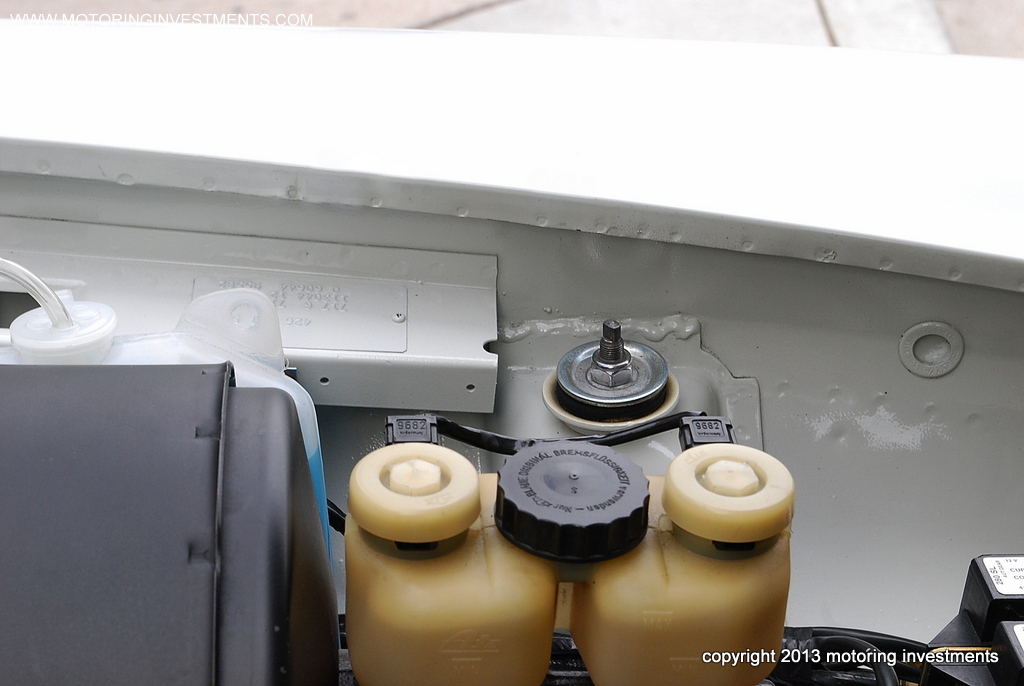
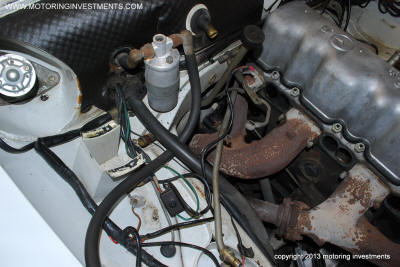
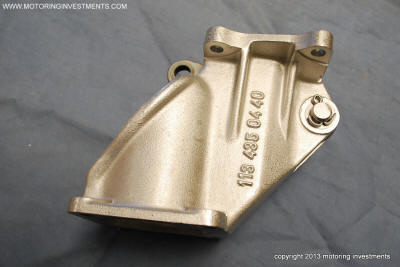
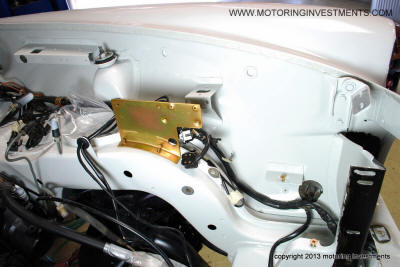
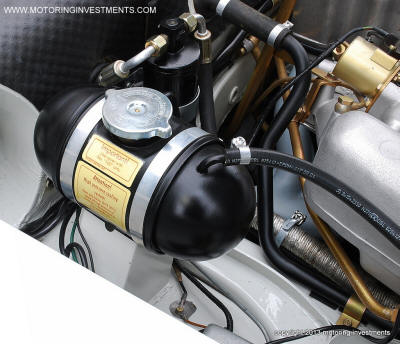
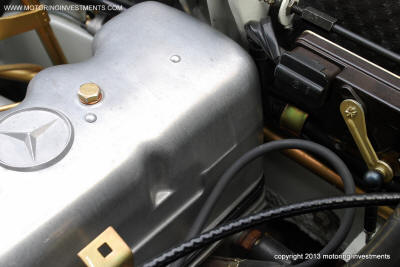
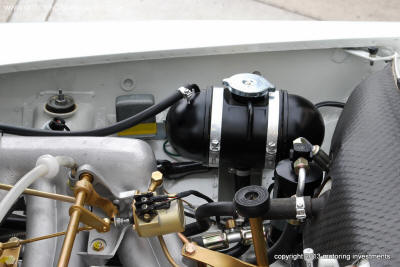
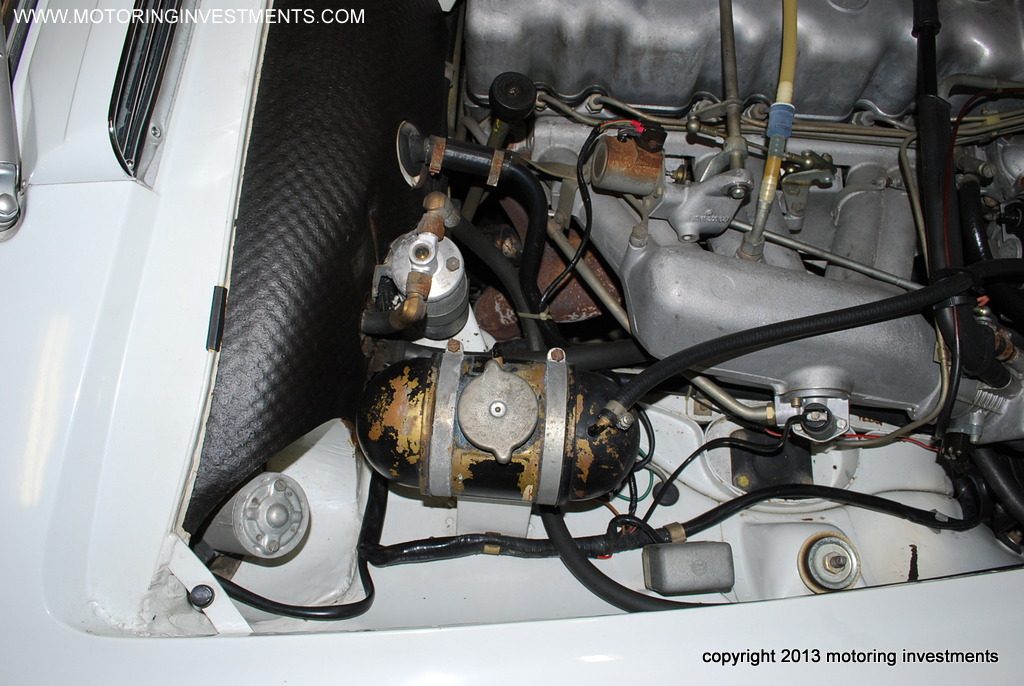
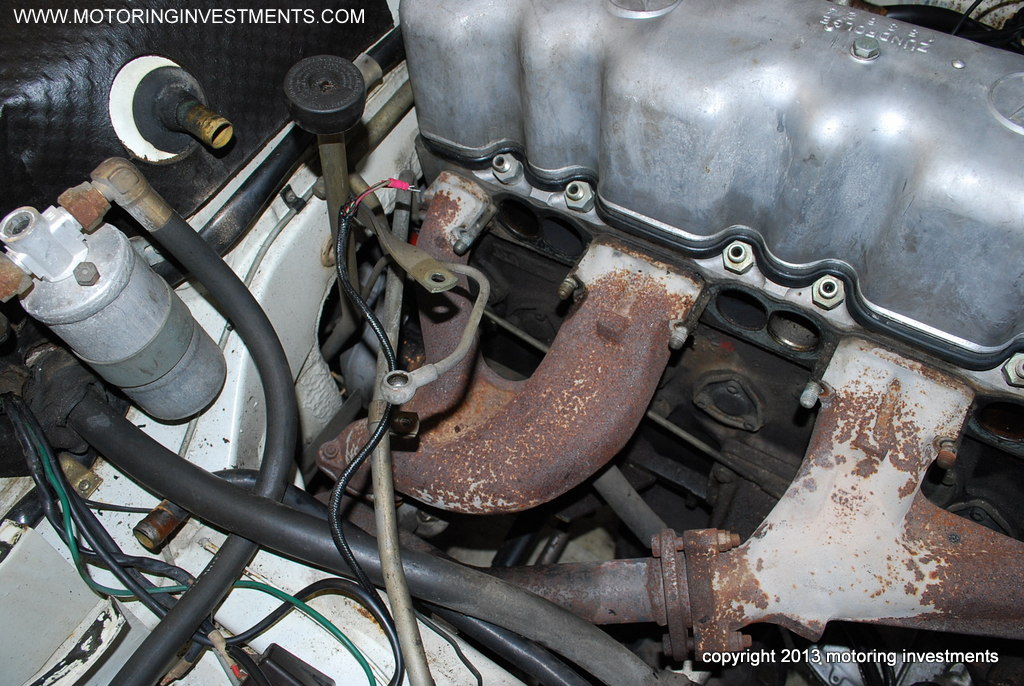
| At power
steering reservoir |
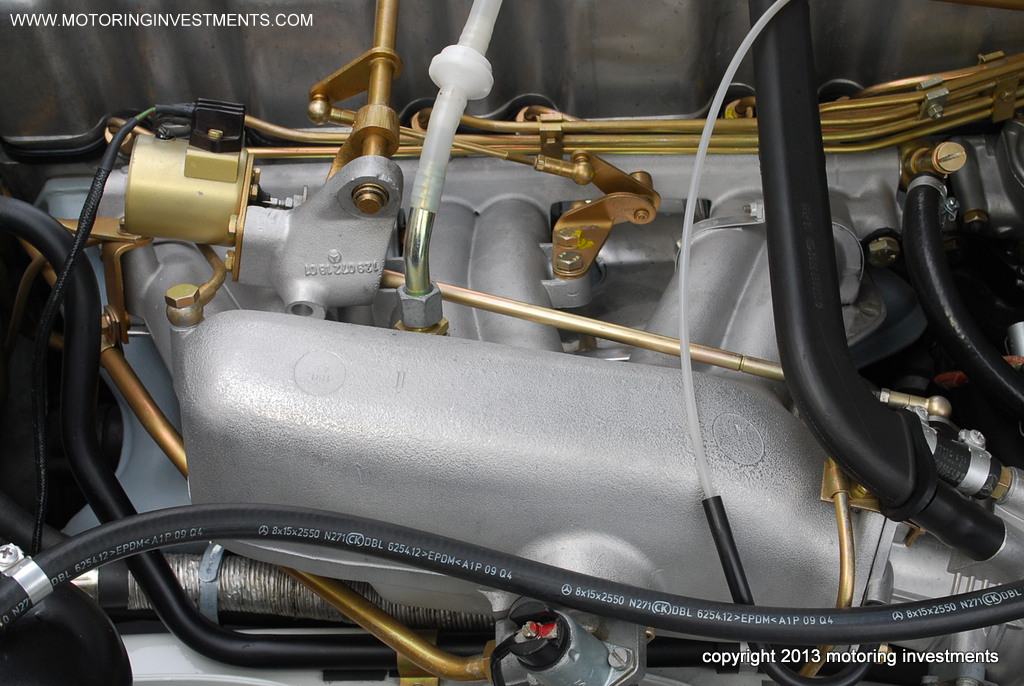
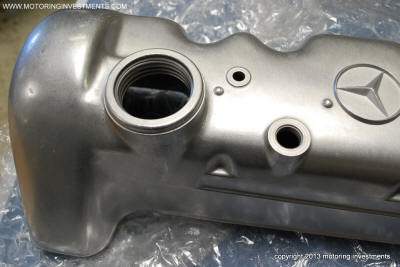
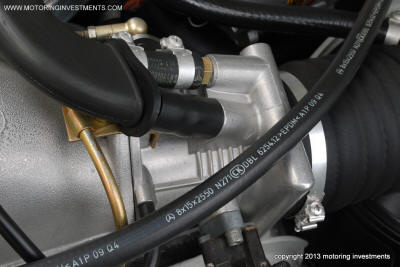
Topside of
valve cover. |
 |
 |
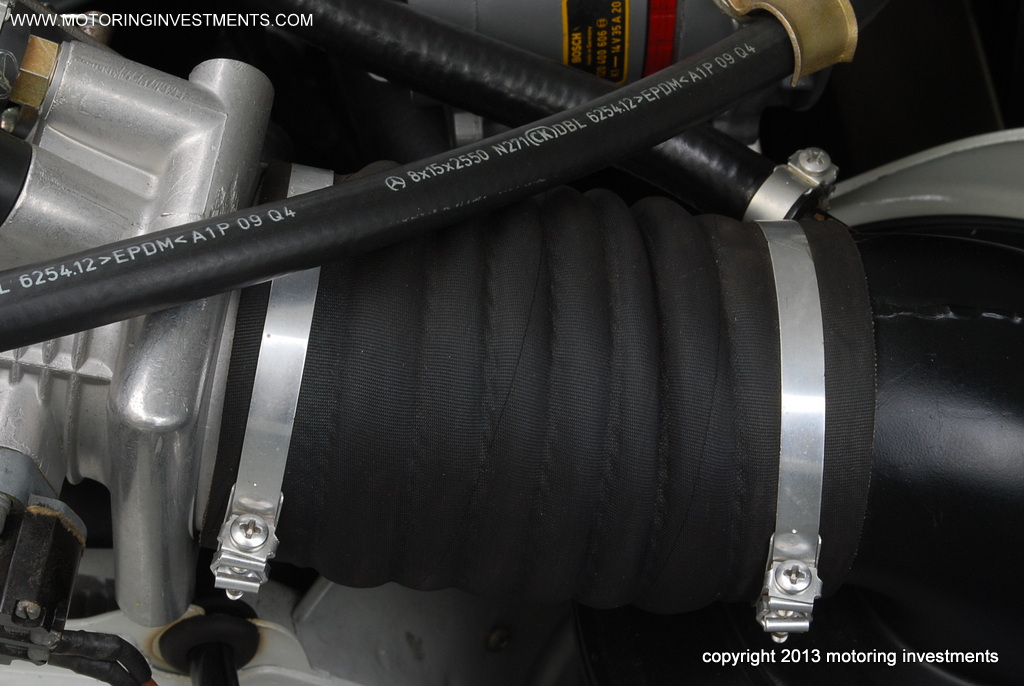
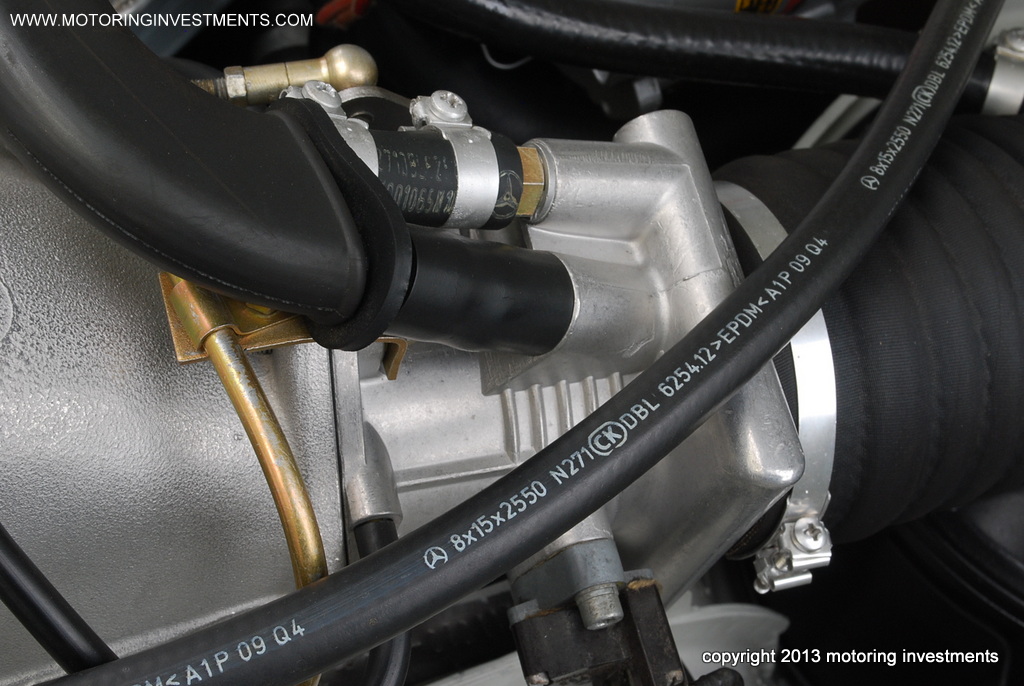
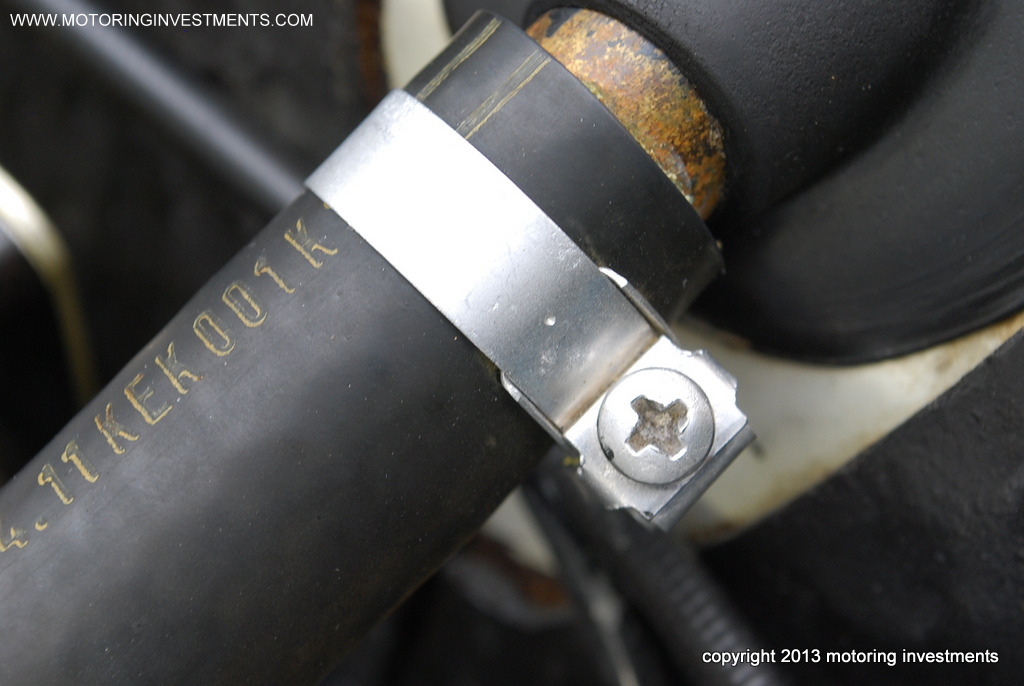
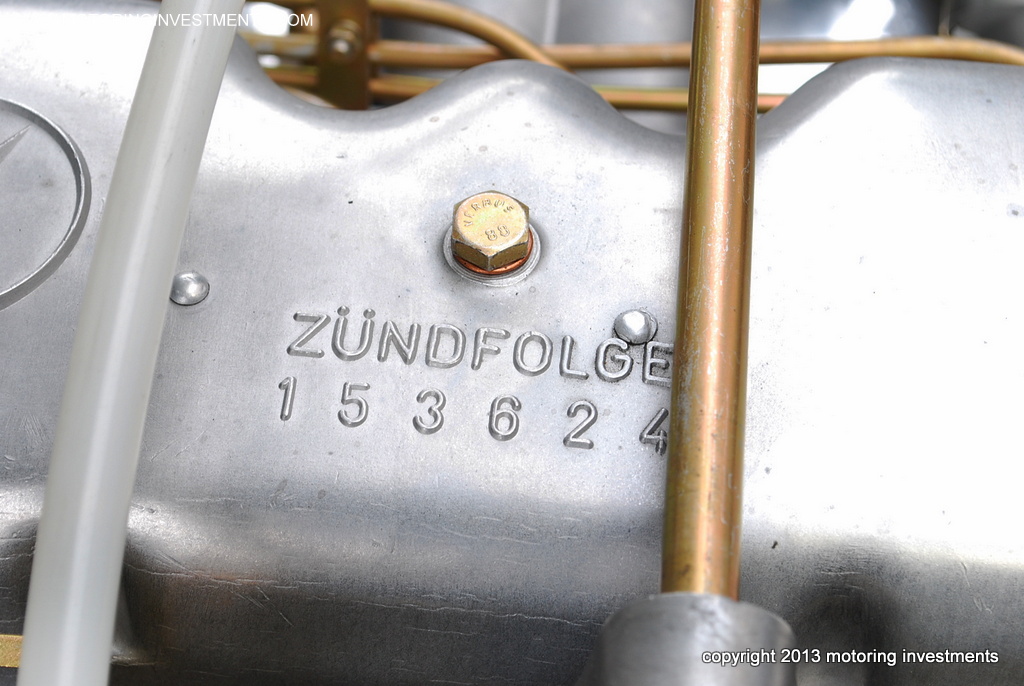
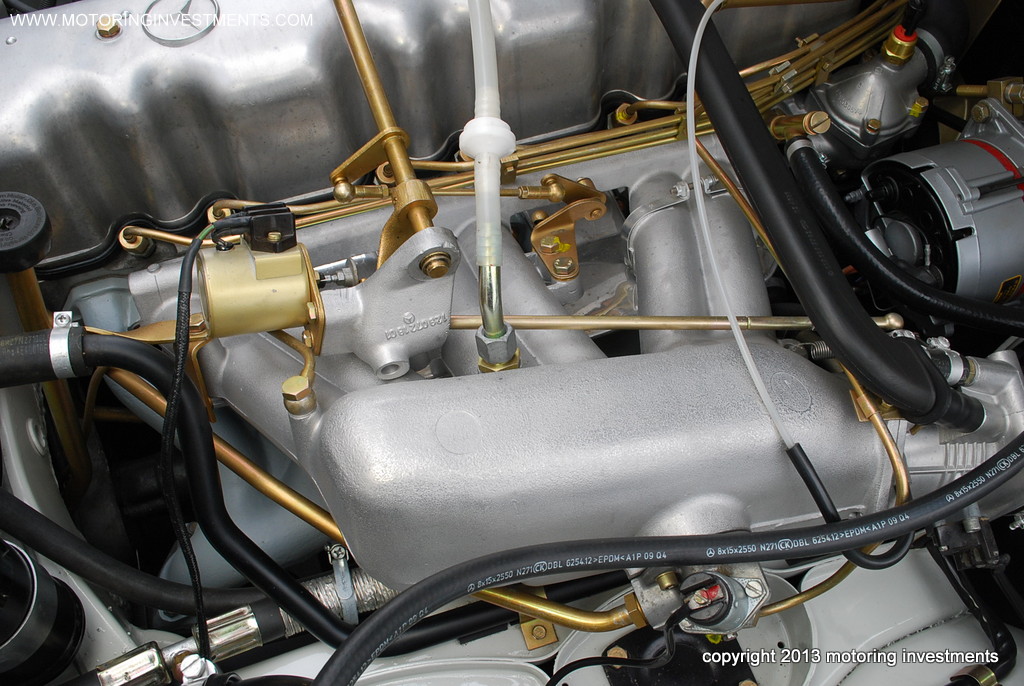
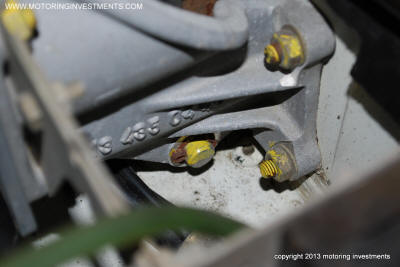
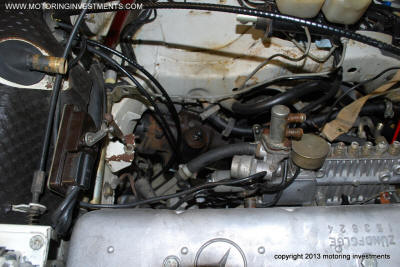
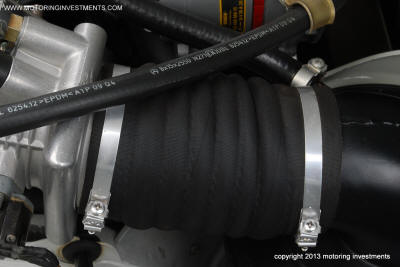
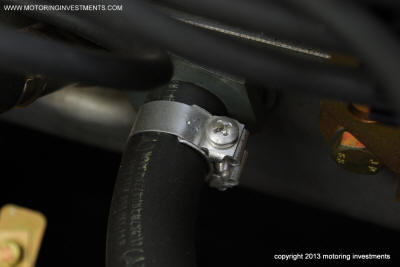
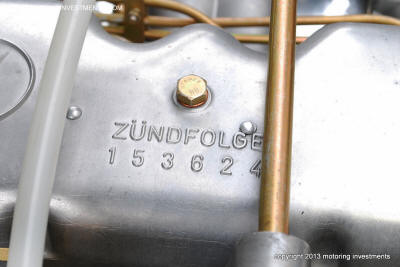
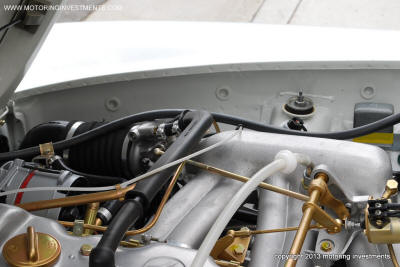
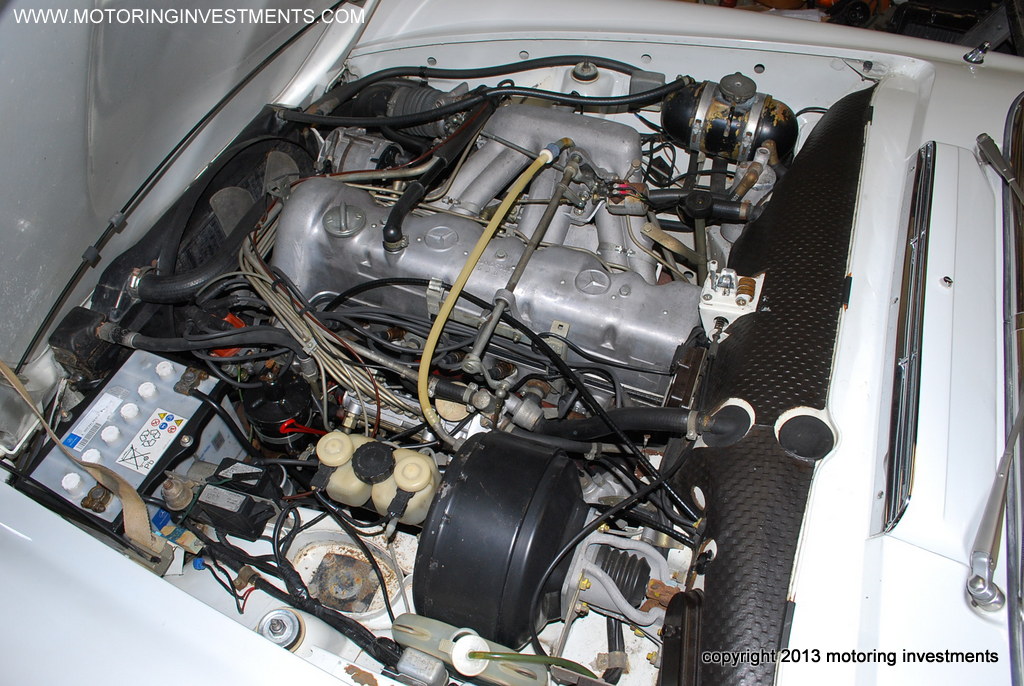
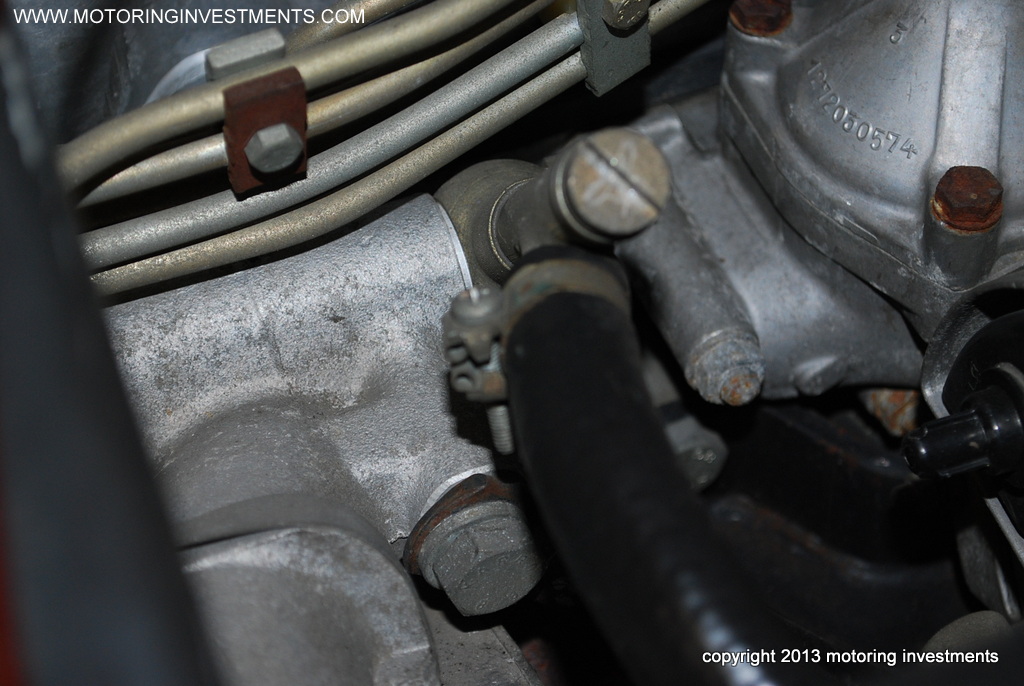
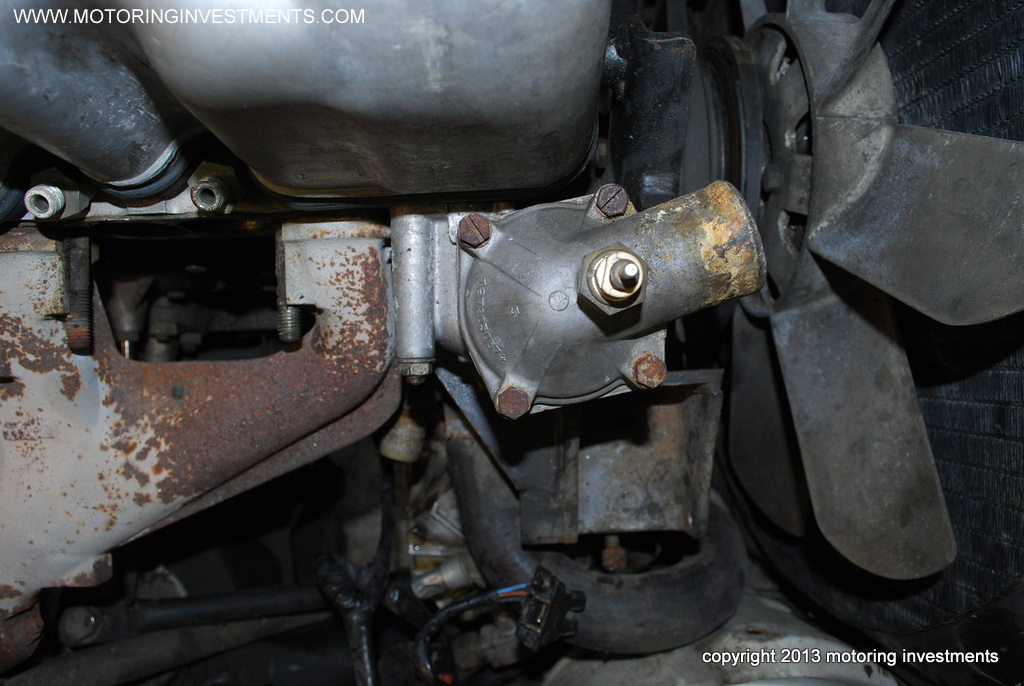
We will
duplicate all the original dotology
shown through out the engine bay. |
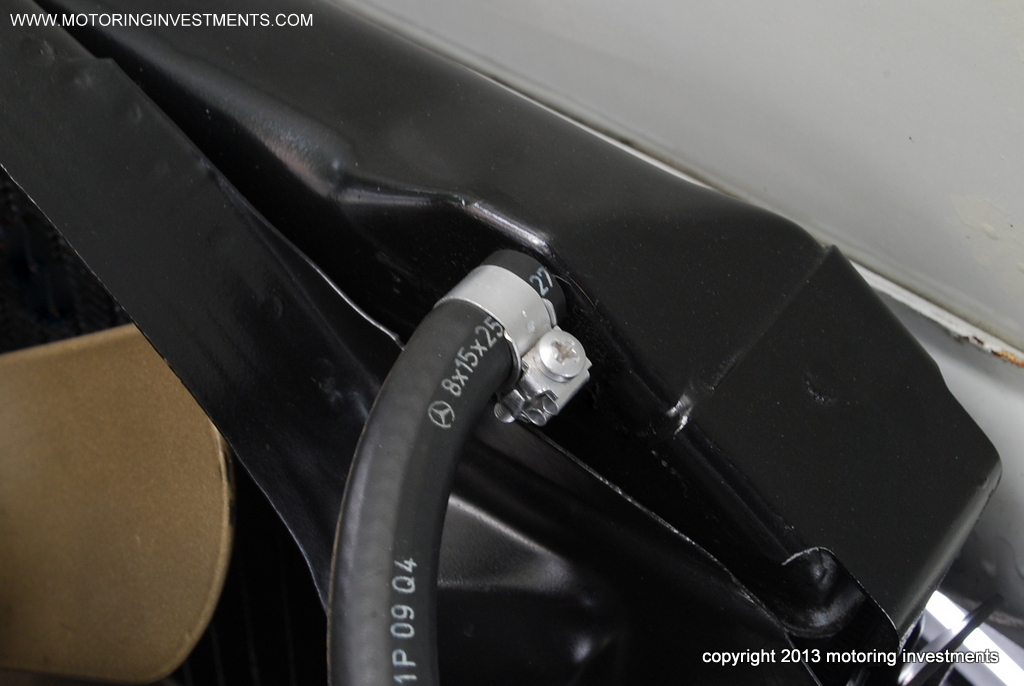
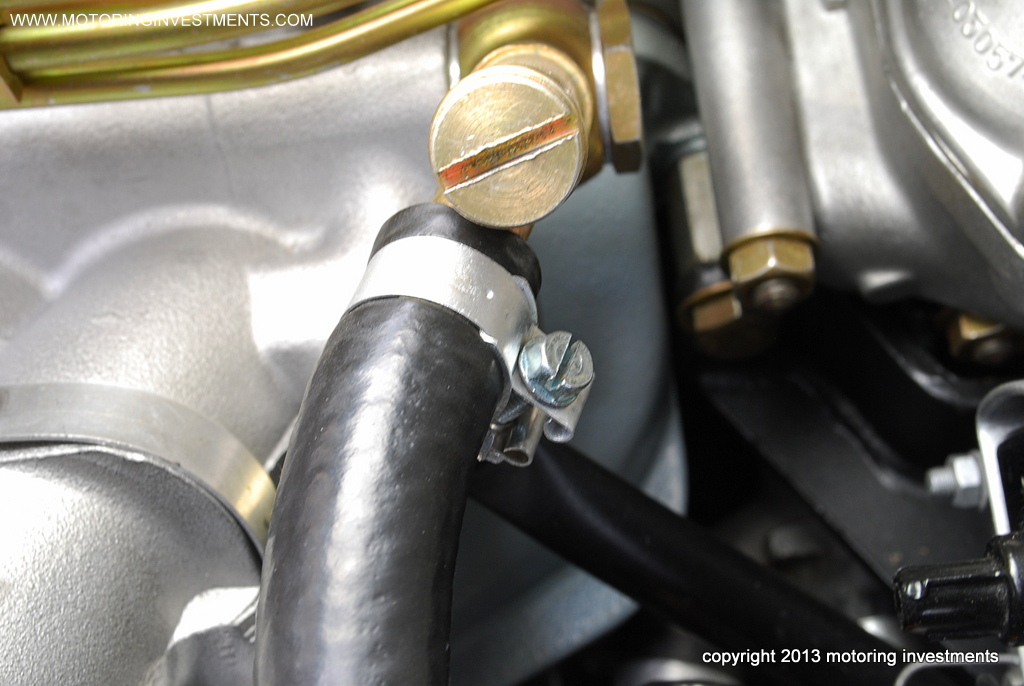
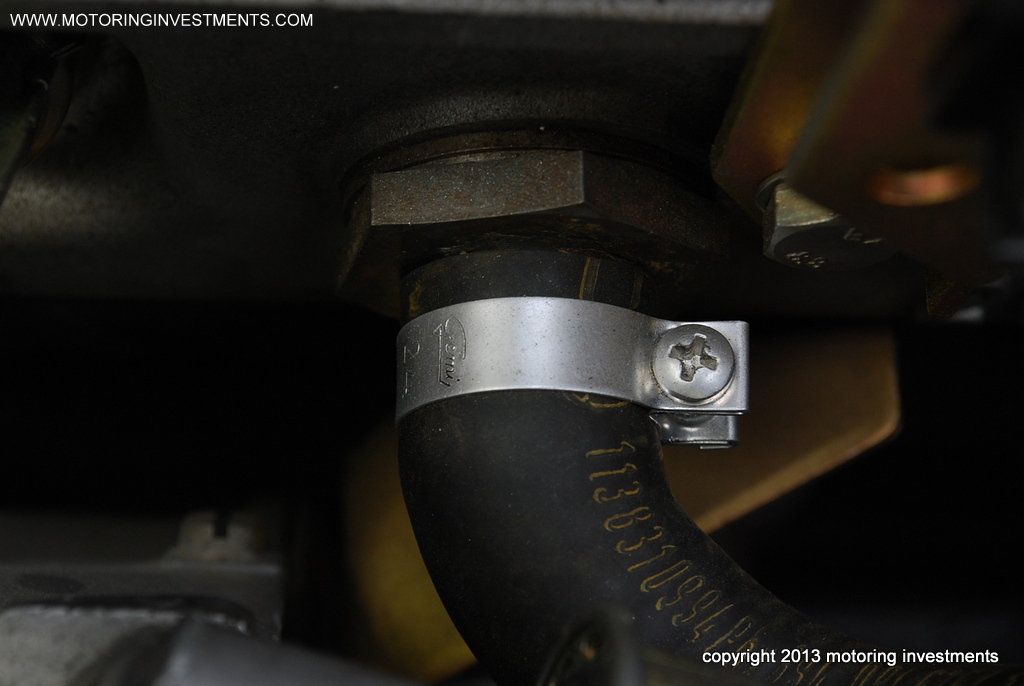
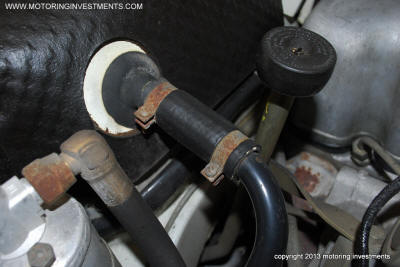
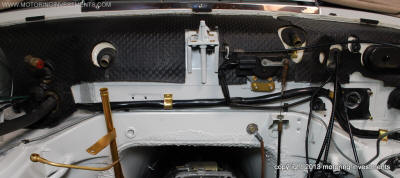
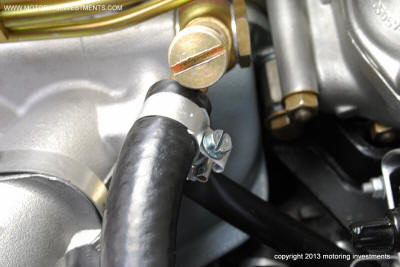
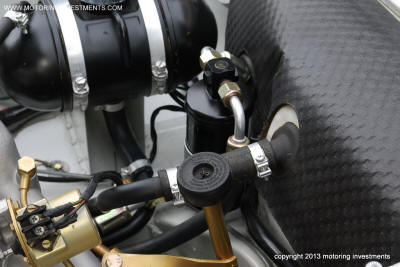
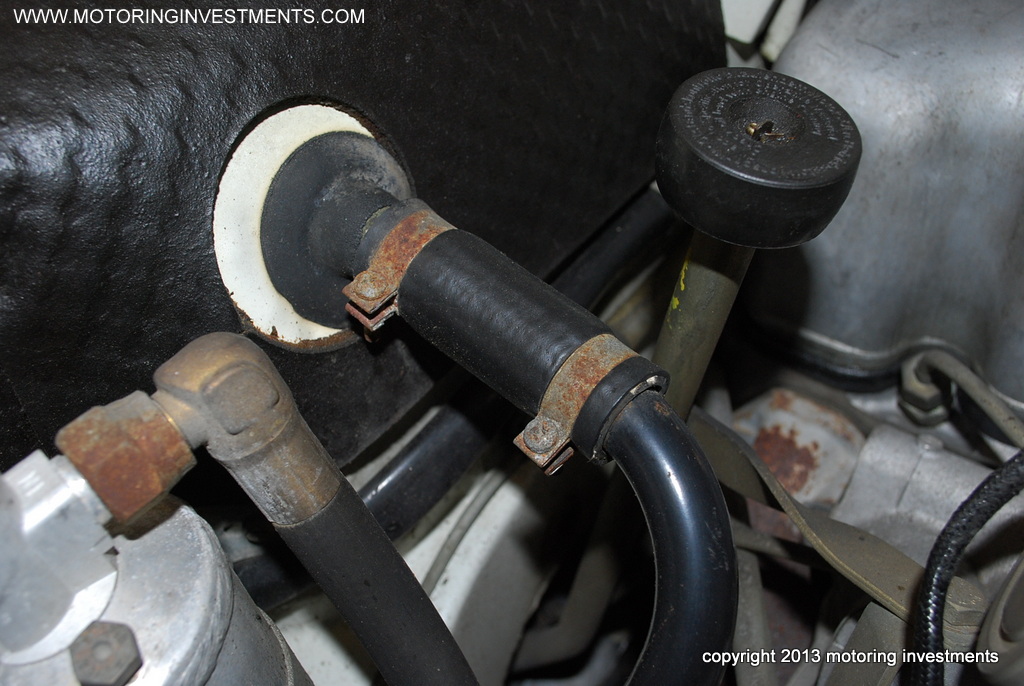
At the
firewall to the heater
core, clamps are correct. |
 |
 |
| |
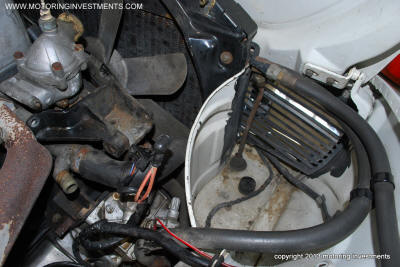
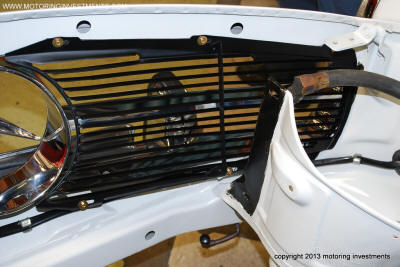
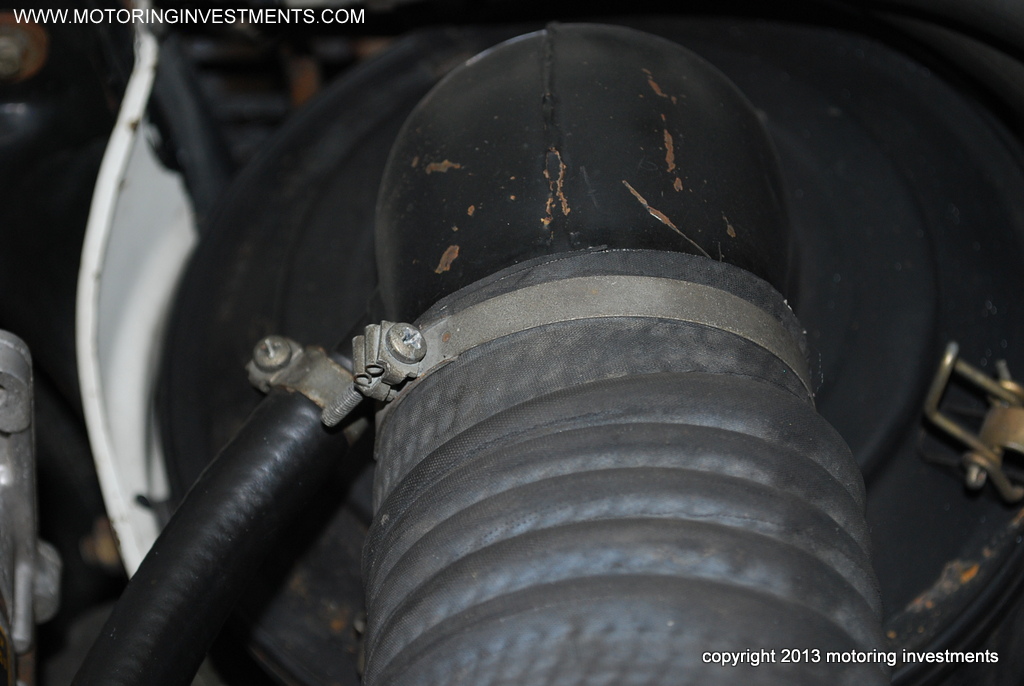
At air filter
canister |
 |
 |
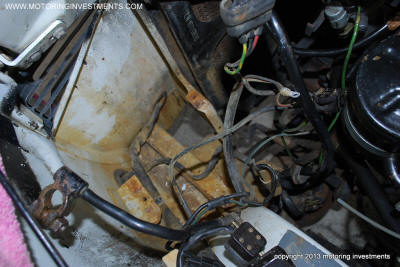
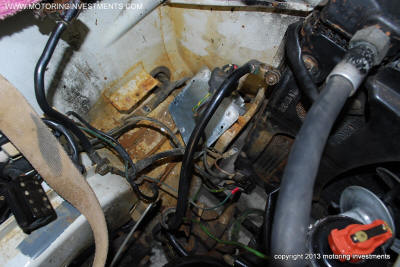
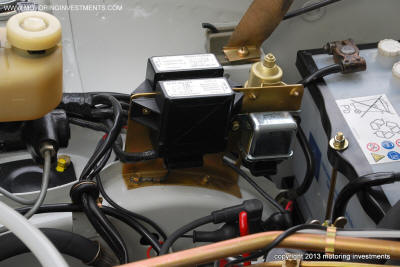
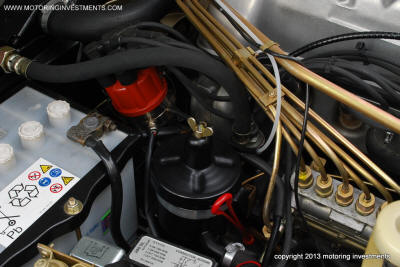
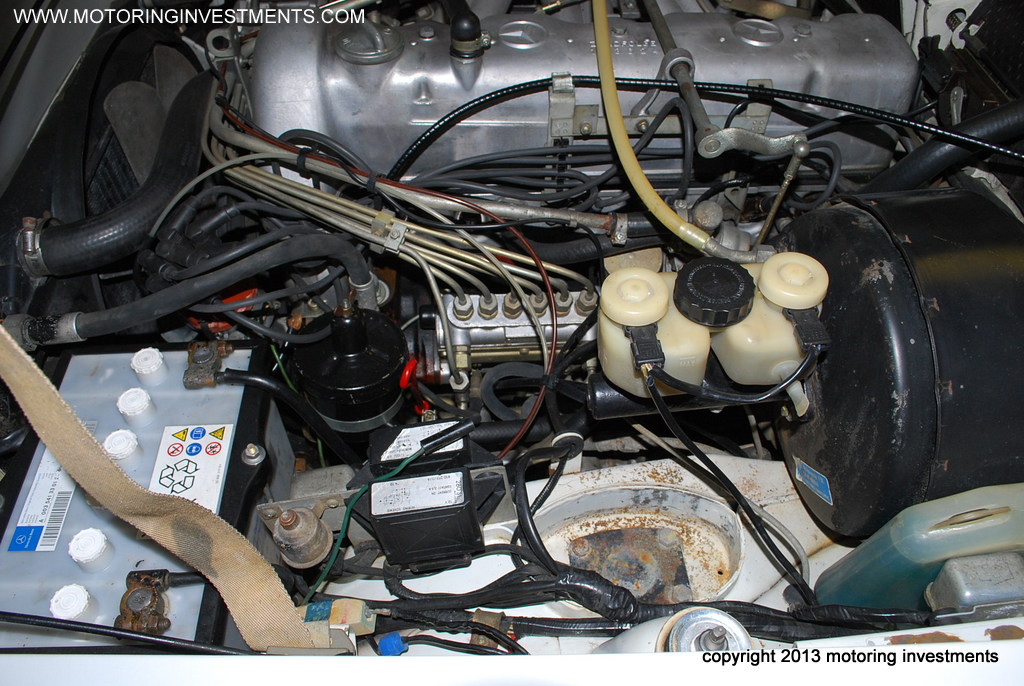
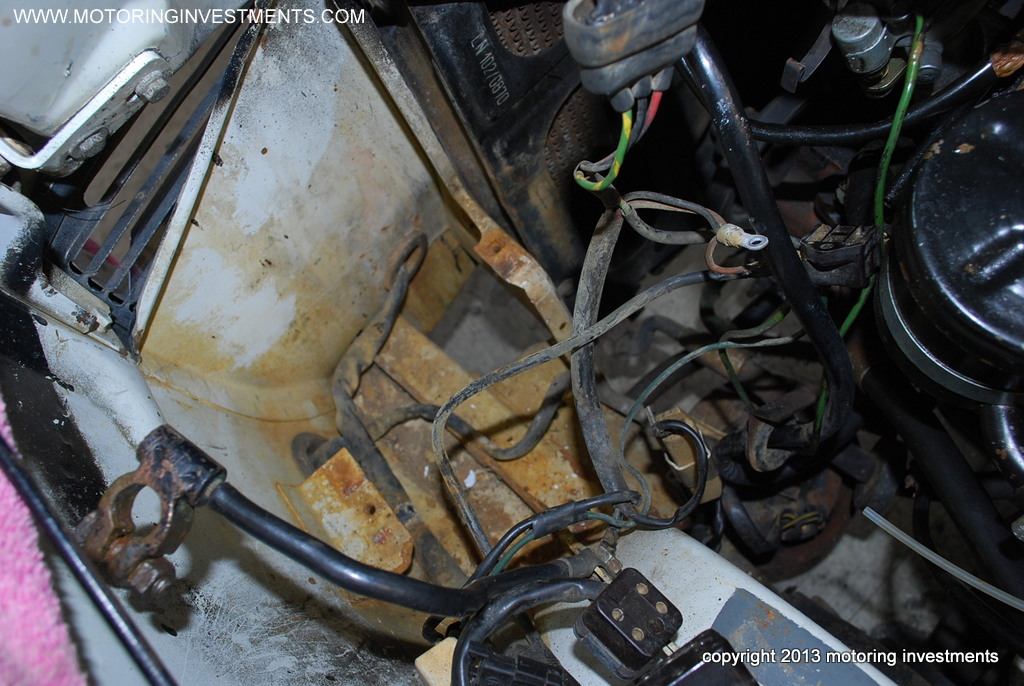
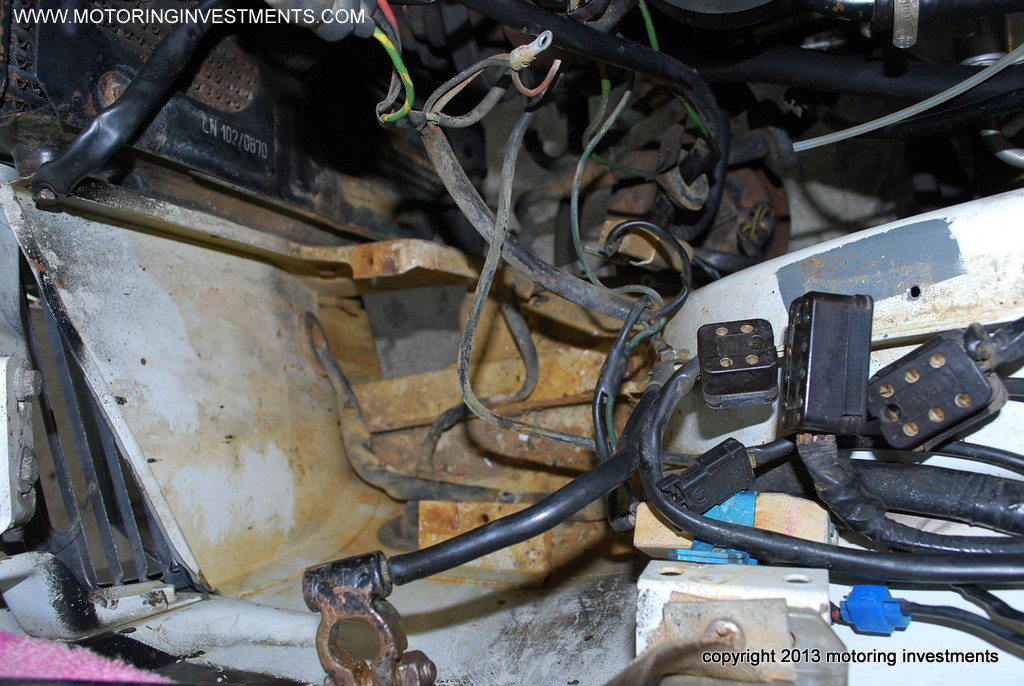
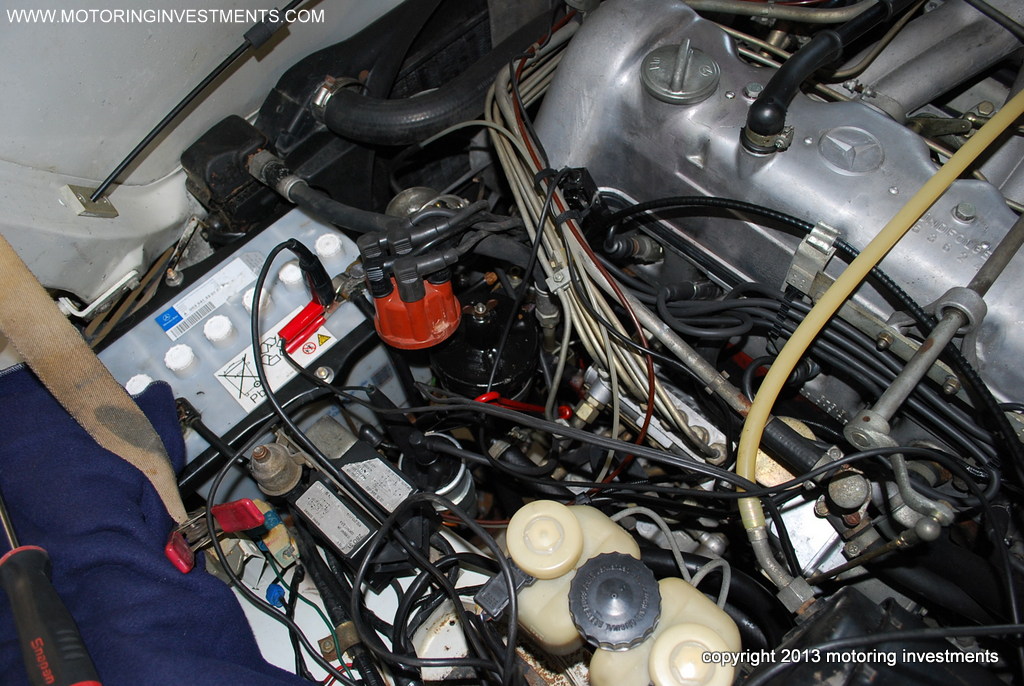
The pictures
above are battery area. We removed the battery and tray to show the
corrosion that
often happens here. |
 |
 |
| |
|
 |
 |
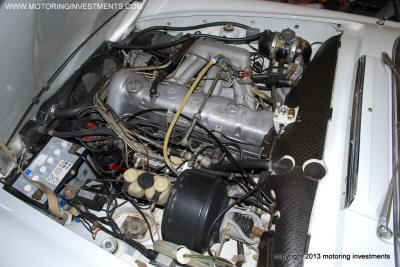
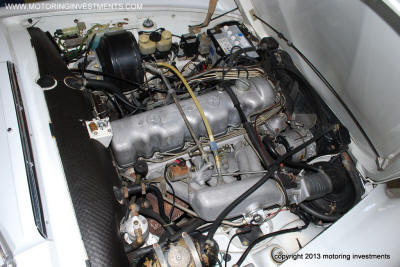
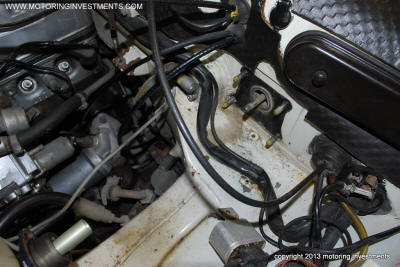
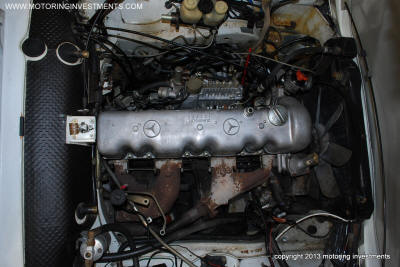
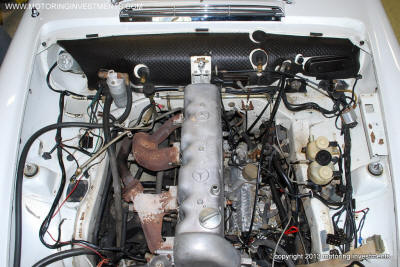
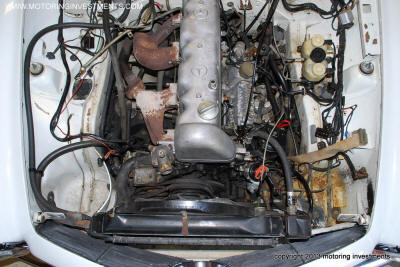
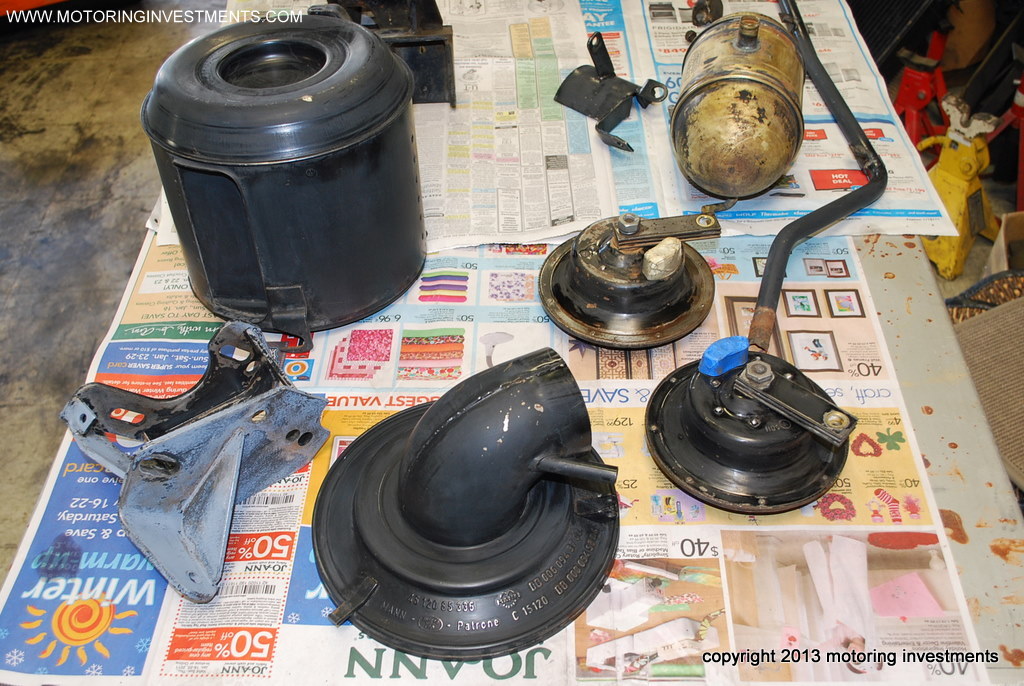
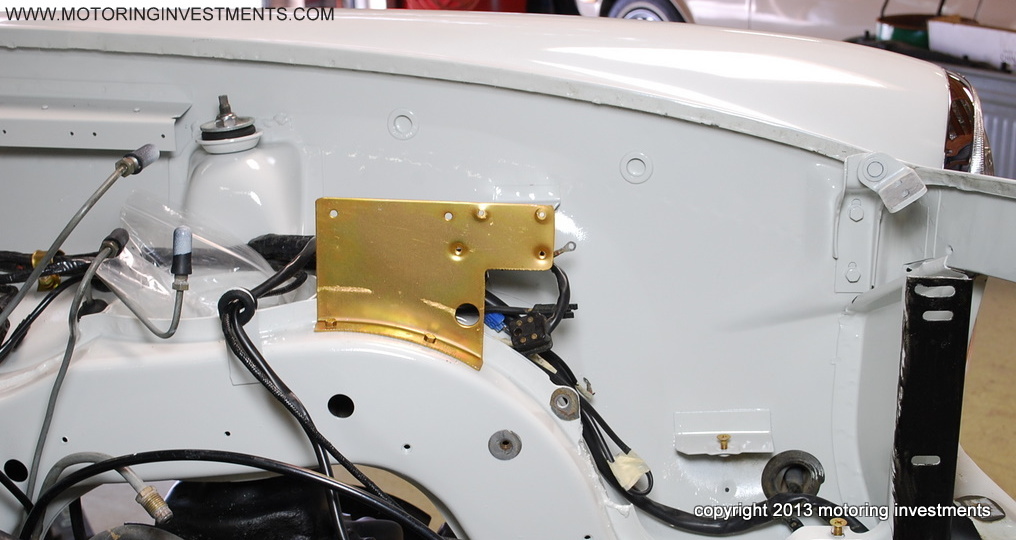
As the engine
bay is disassembled, we carefully catalogue and
document every aspect of the build. |
 |
 |
 |
| |
|
 |
 |
| |
|
 |
 |
| |
|
 |
 |
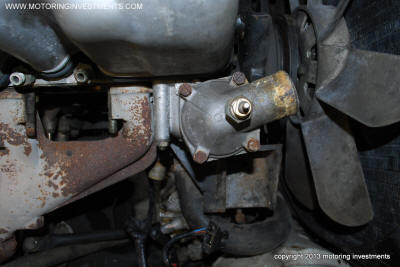
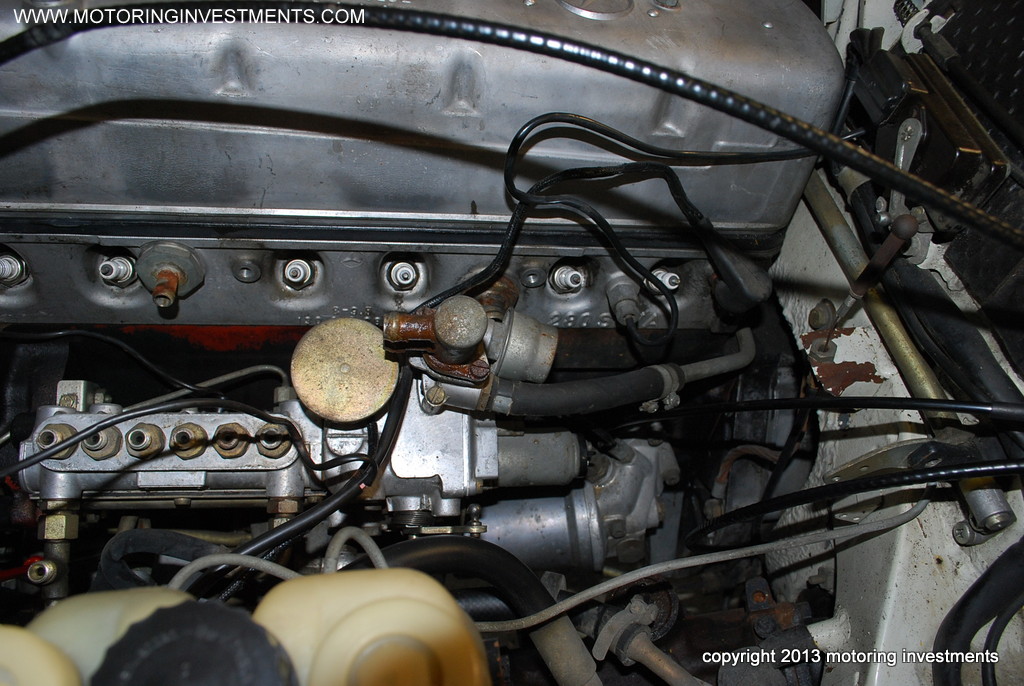
Notice the correct bolts towards the inside of
the thermostat housing. Slotted bolts facilitate
service and often times not present after
decades of service.
|
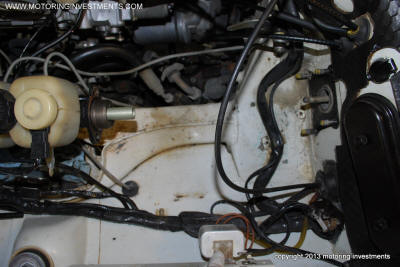
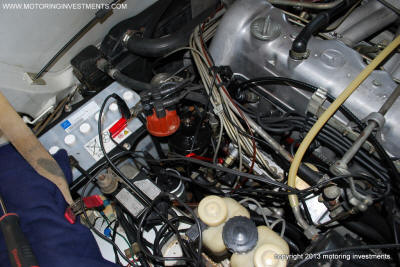
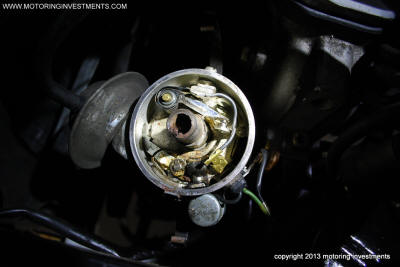
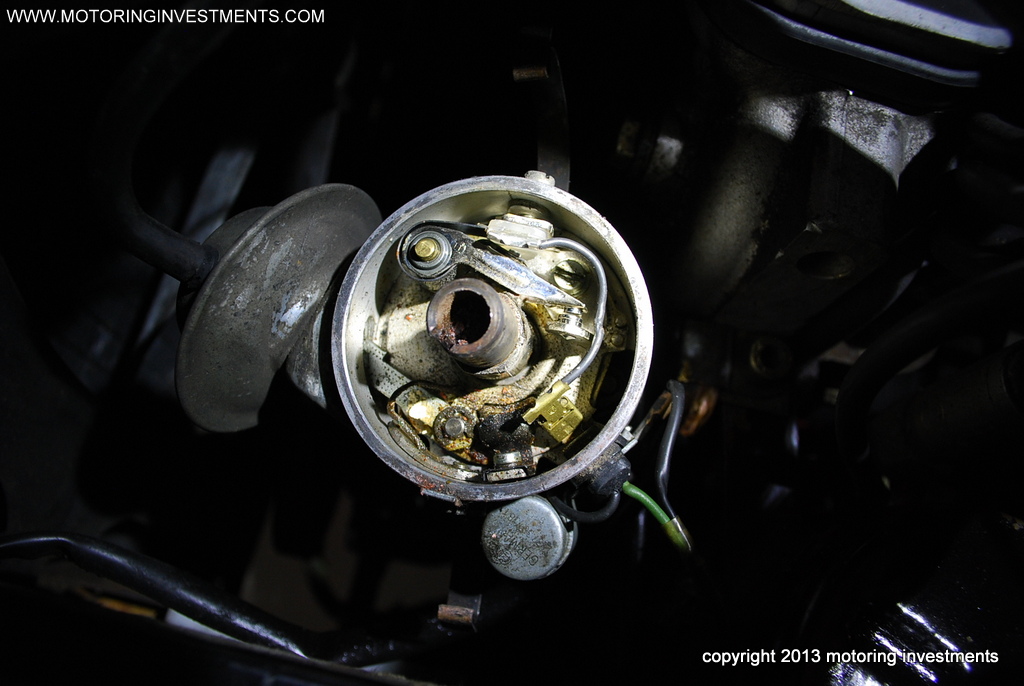
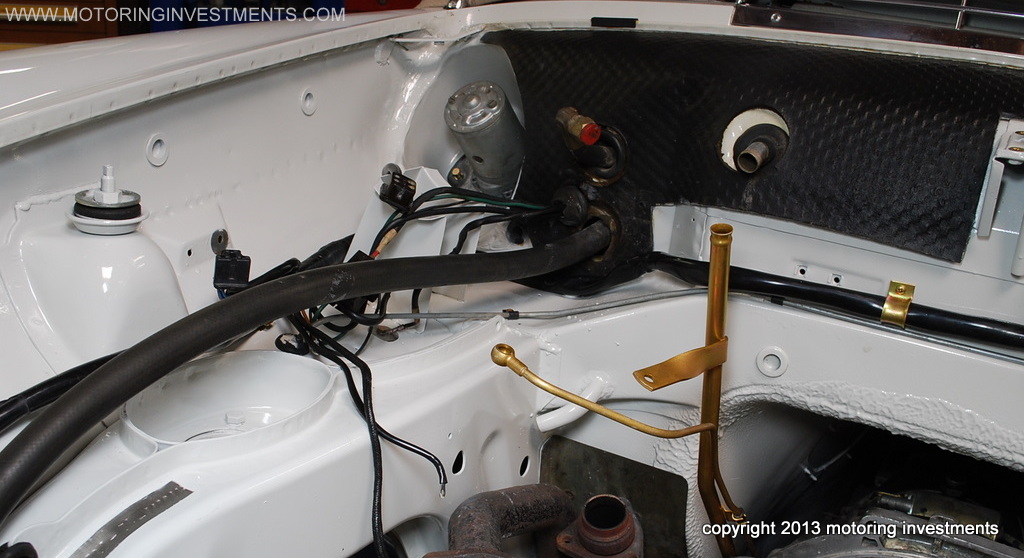
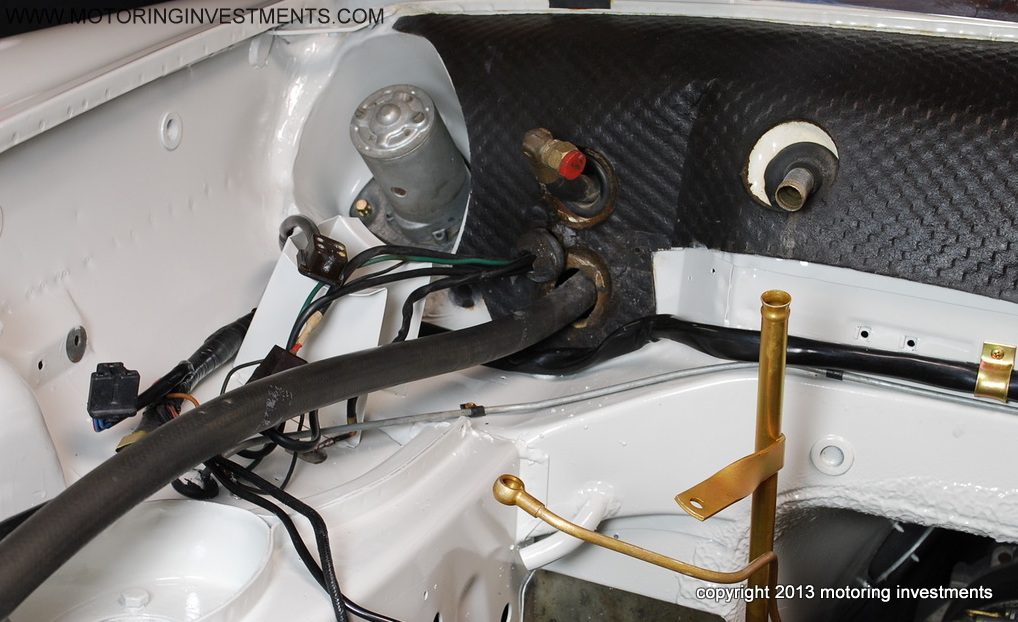
The engine
bay disassembly
is meticulously documented.
The photo below shows the distributor and
the need for servicing. |
| |
|
 |
 |
|
|
|
 |
 |
| |
|
 |
 |
| |
|
 |
 |
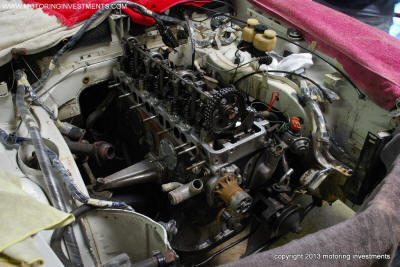
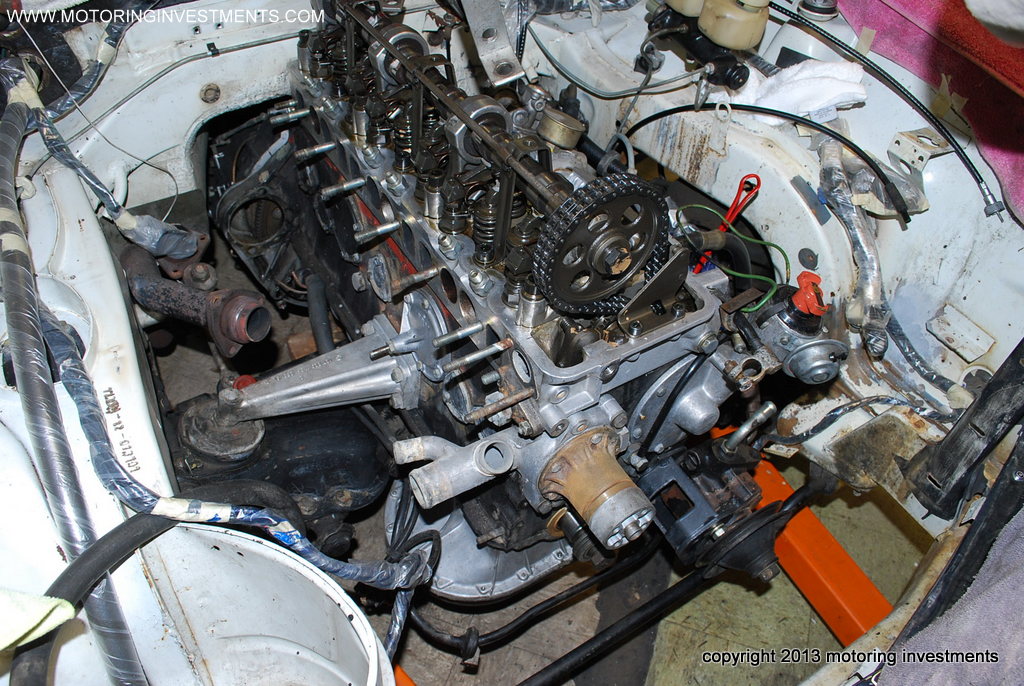
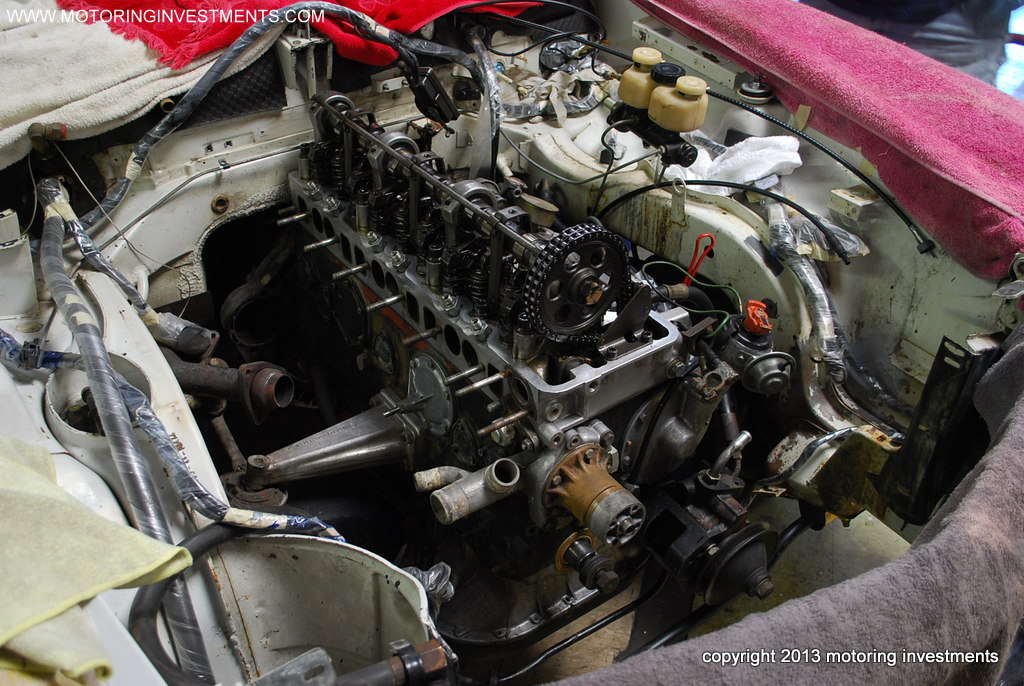
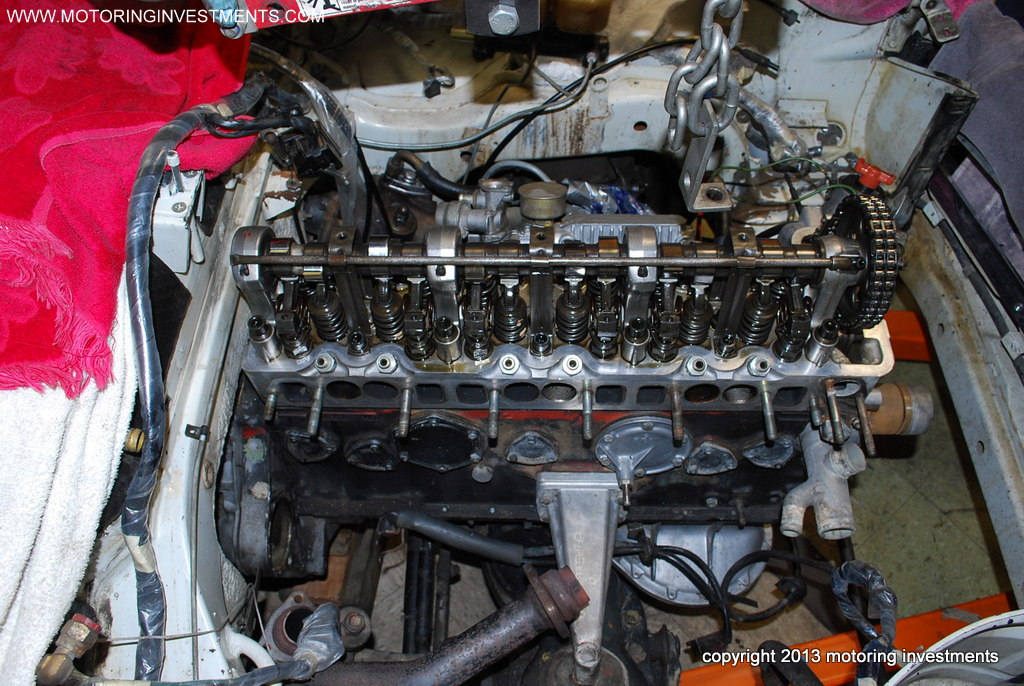
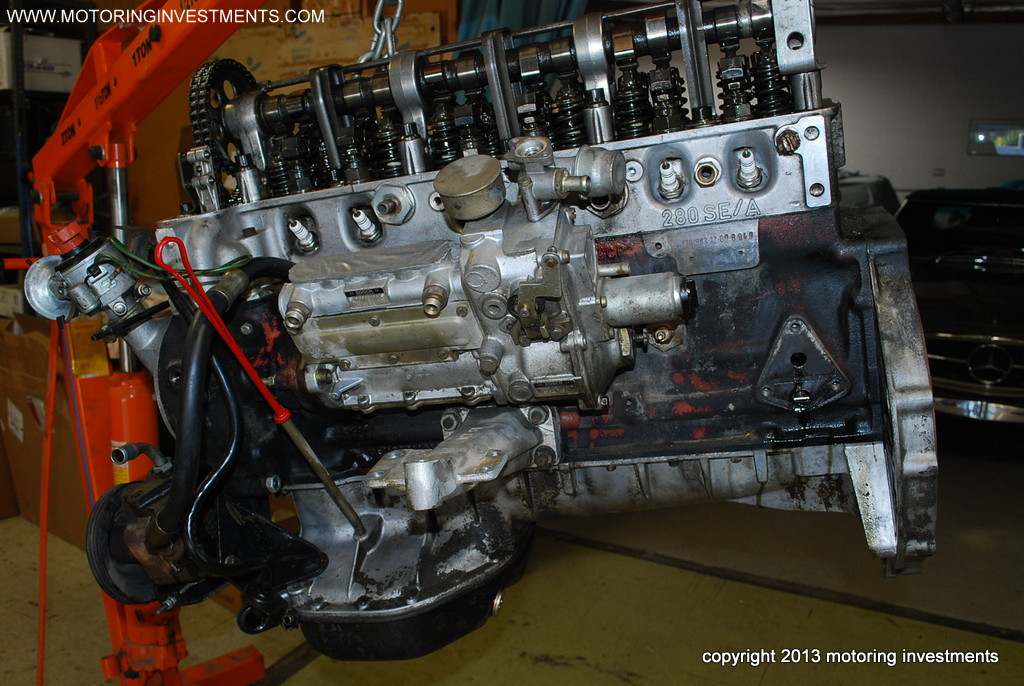
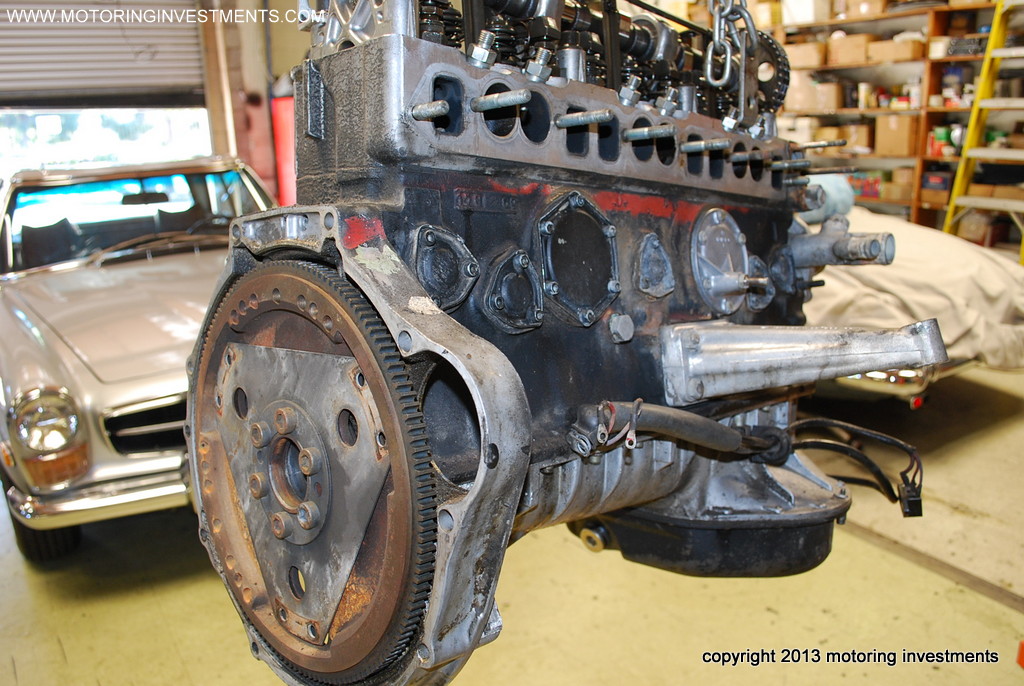
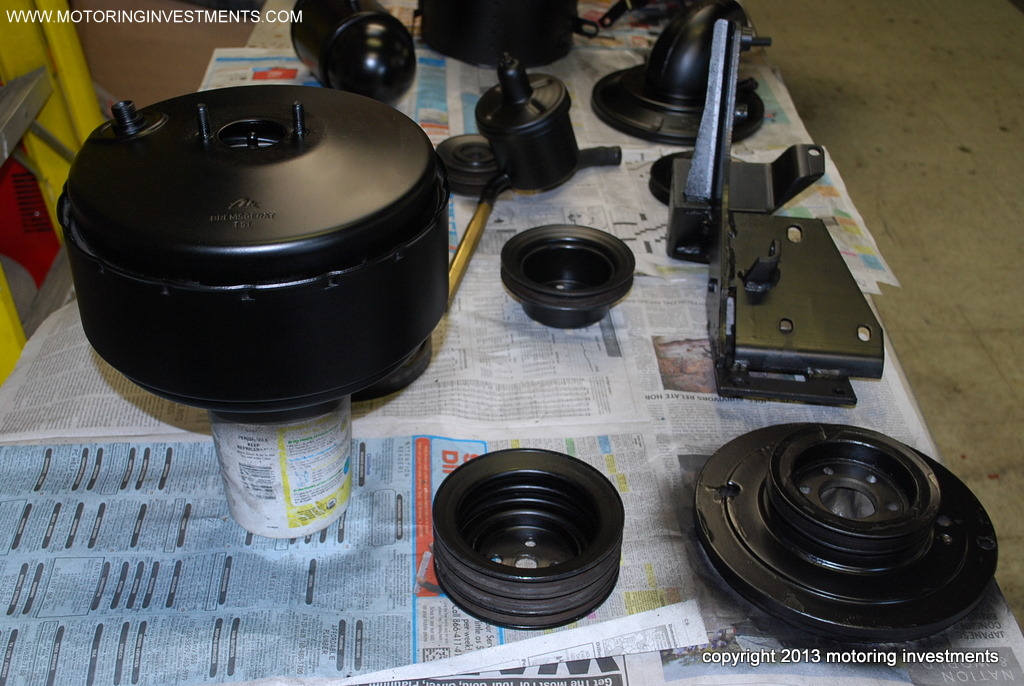
The motor is
pulled from its bay, disassembled and documented. All o-rings, seals,
plates and
plugs will be replaced. Every aspect of the engine and surrounding
components is inspected. |
 |
 |
|
|
|
 |
 |
 |
 |
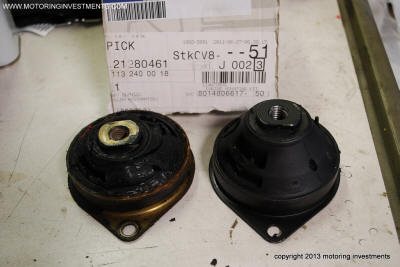 |
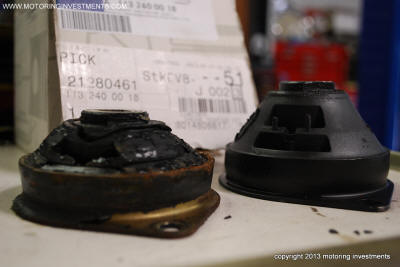
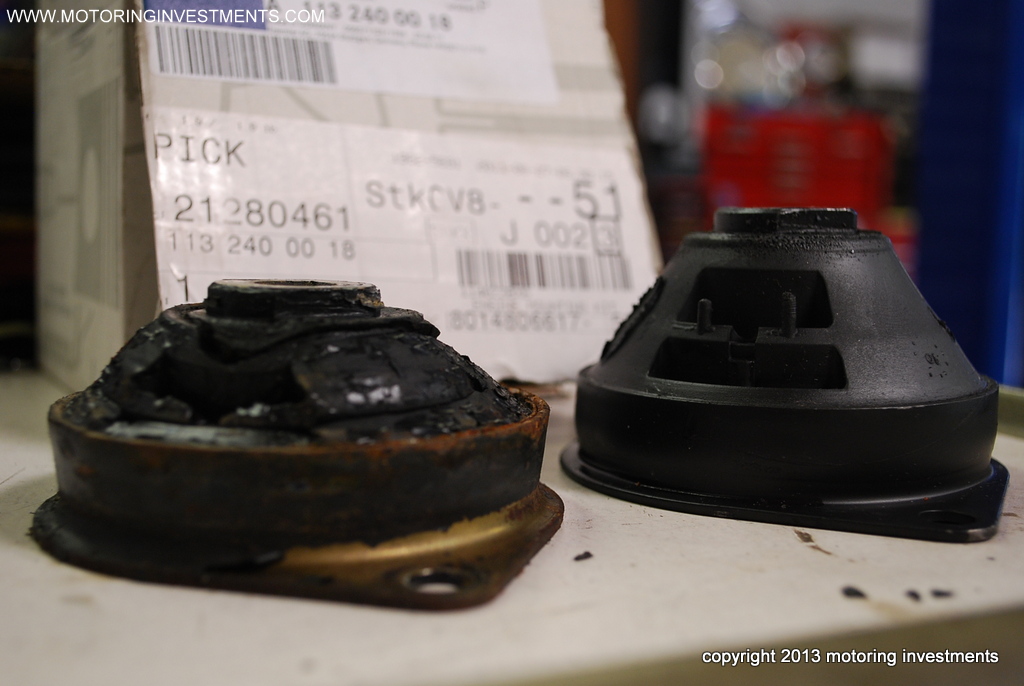
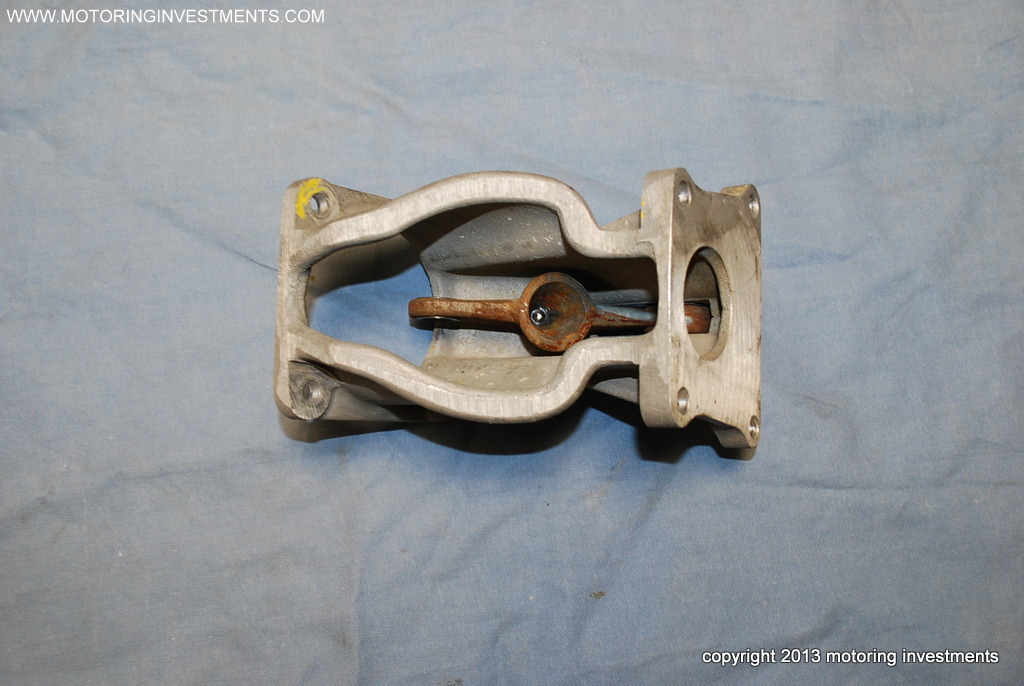
The picture
above shows us the difference
between old and new engine mounts. |
The old
mount, pictured above left, is original
to the low mileage Pagoda. |
 |
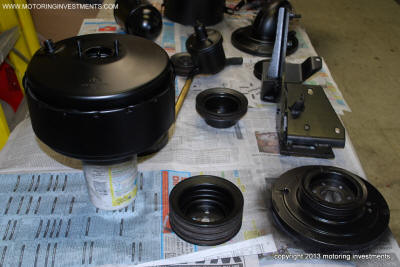 |
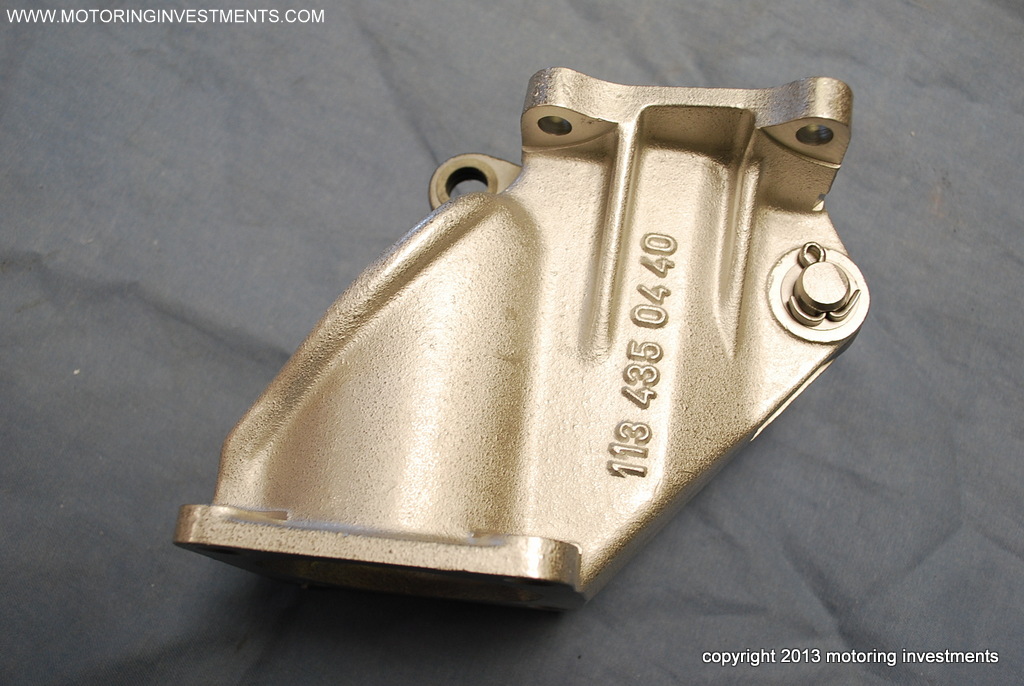
| The engine
bay parts are next in line for refinishing. |
After
prepping and refinishing,
the parts look as new. |
 |
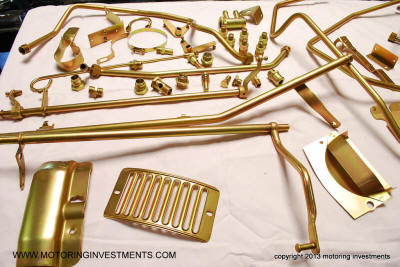 |
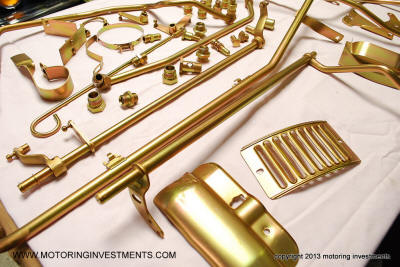
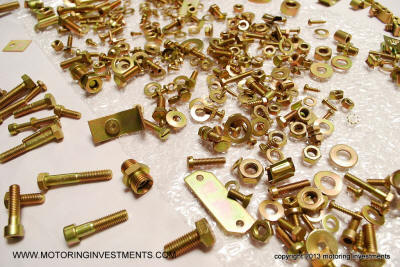
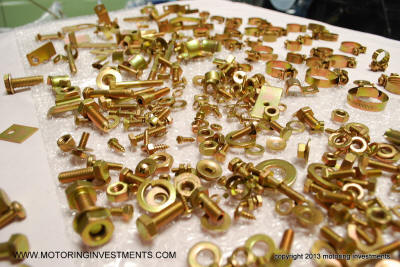
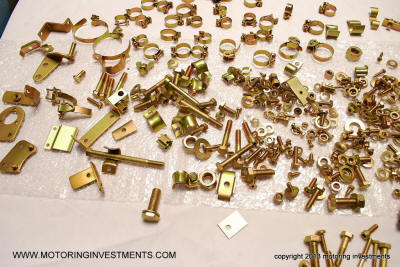
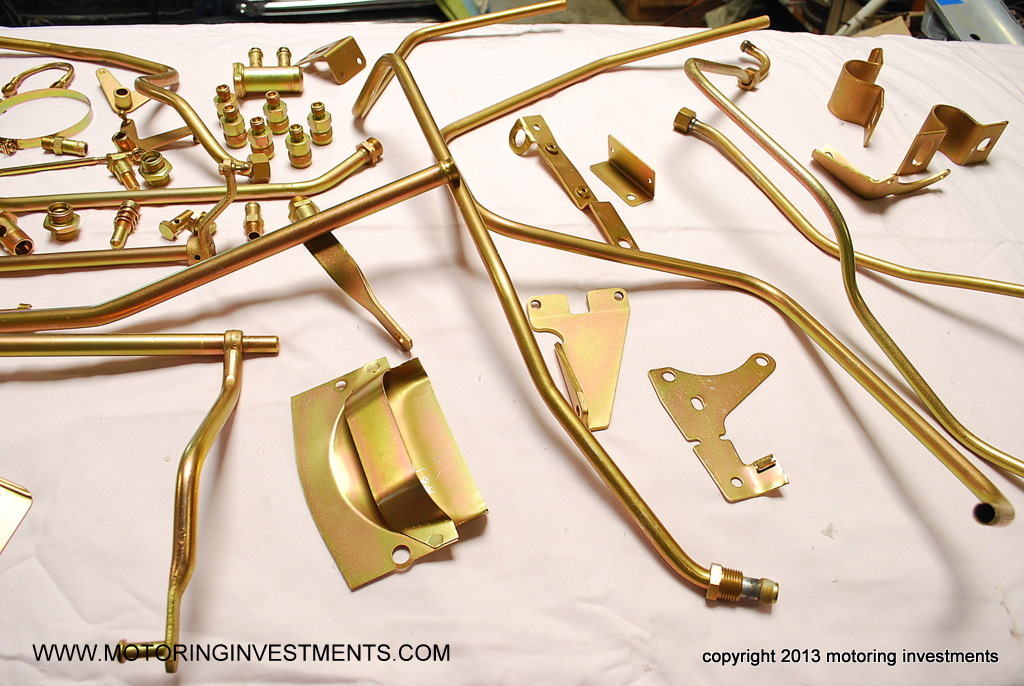
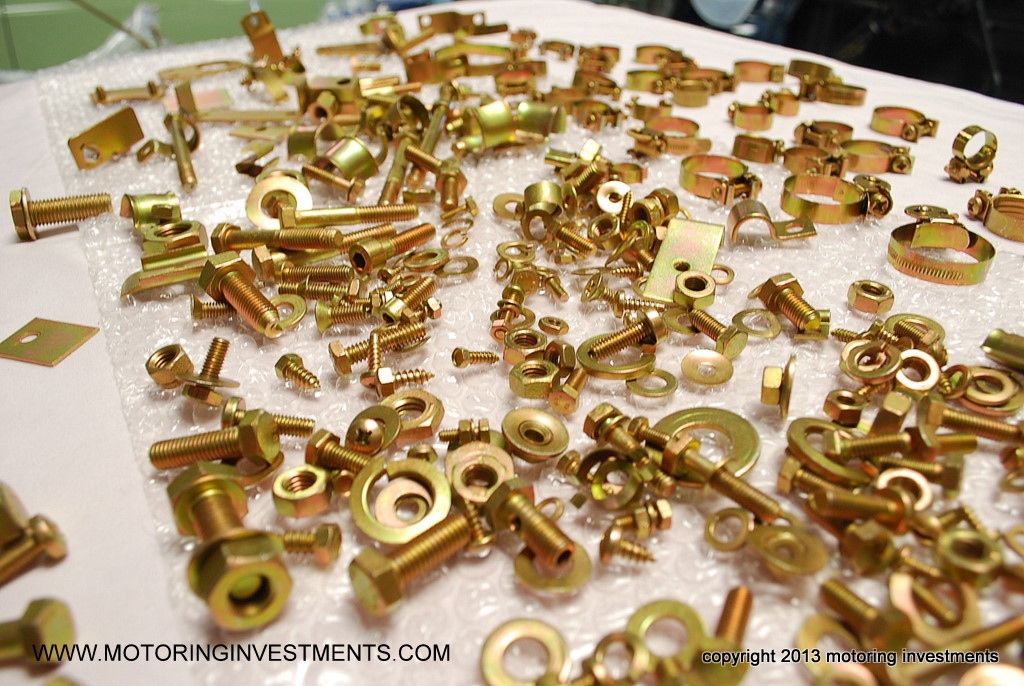
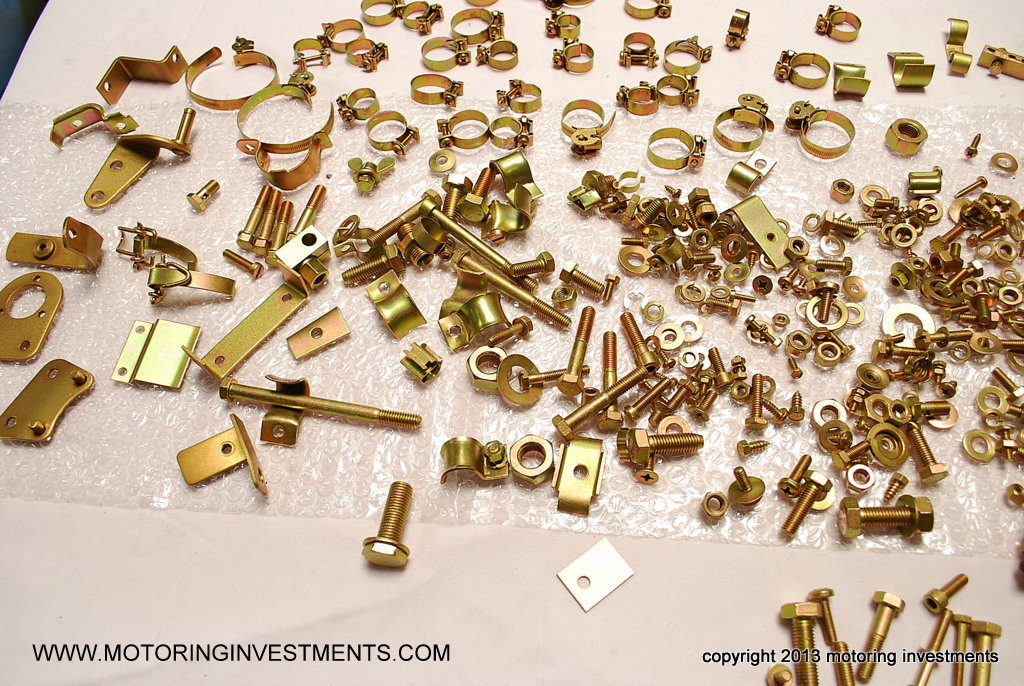
All the fasteners, brackets, clamps, fuel lines and plates are sent off
to
be re-plated. The gold and silver cadmium pieces
are catalogued and upon plating completion, the pieces are
sorted. Scroll down on the page to view
the newly plated hardware and components going into the engine bay.
|
 |
 |
| |
|
 |
 |
| |
|
 |
 |
|
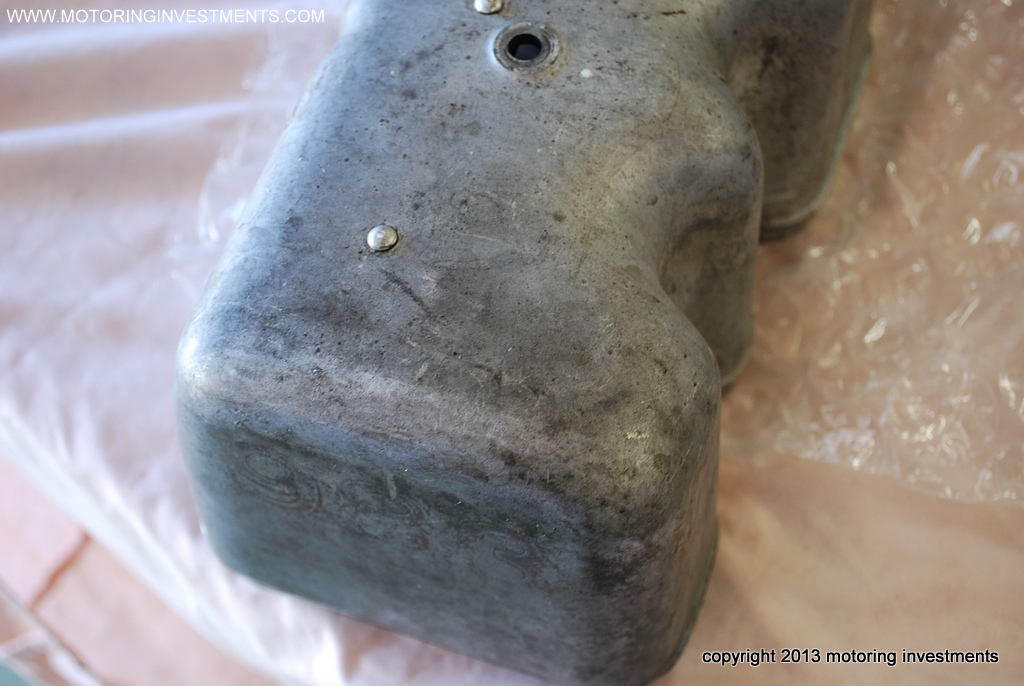
Before |
After |
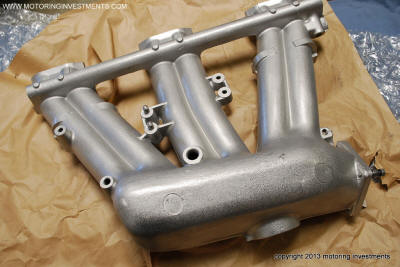
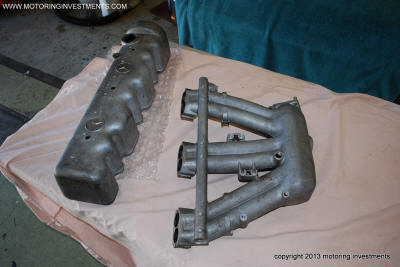
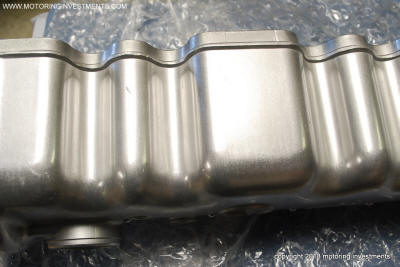
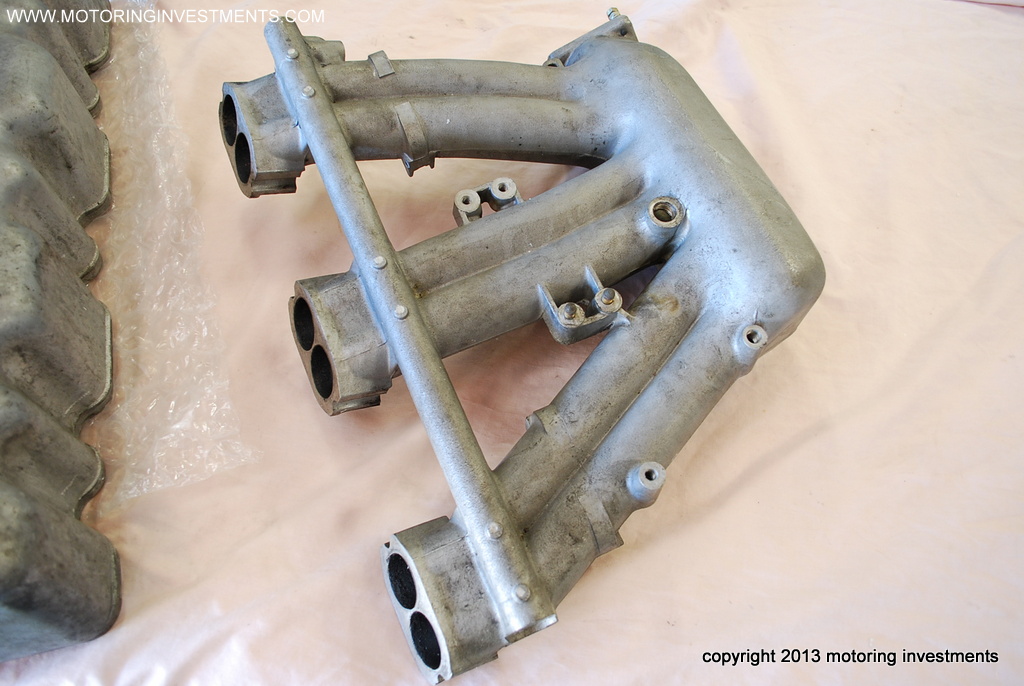
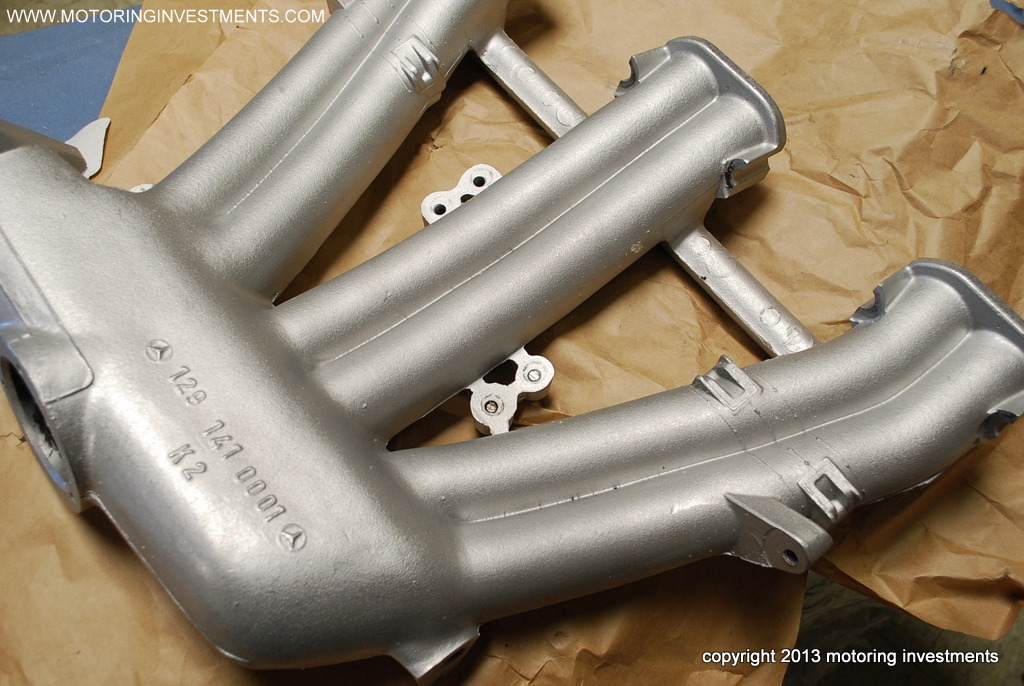
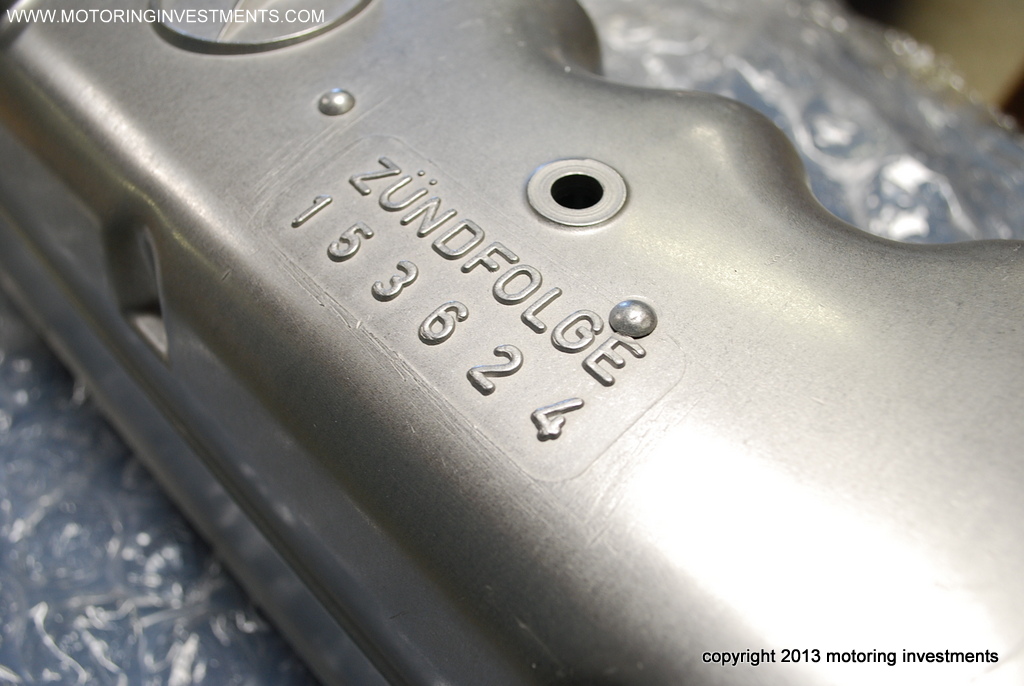
The intake manifold, valve cover and other parts
have been de-burred and
tumbled with a ceramic
media to achieve the correct finish.
|
 |
 |
| Before |
After |
 |
 |
| Before |
After |
 |
 |
| |
|
 |
 |
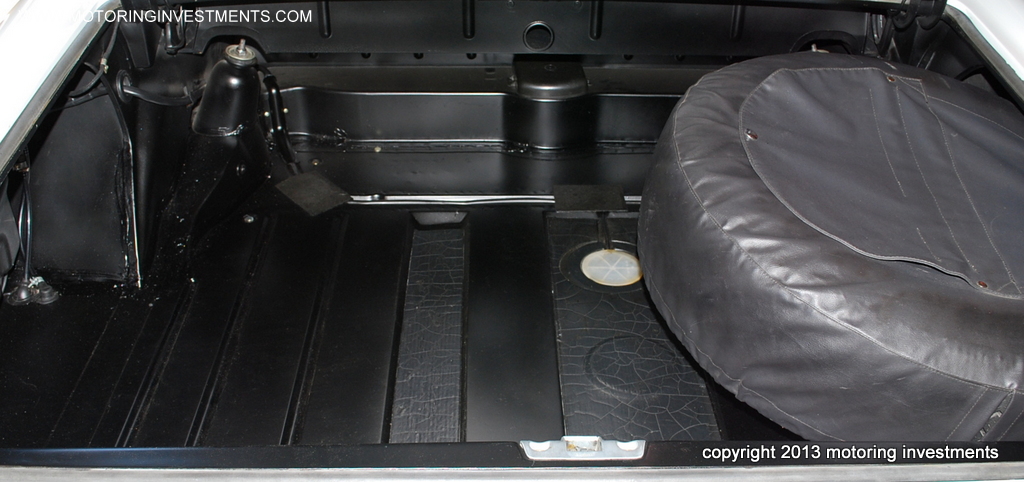
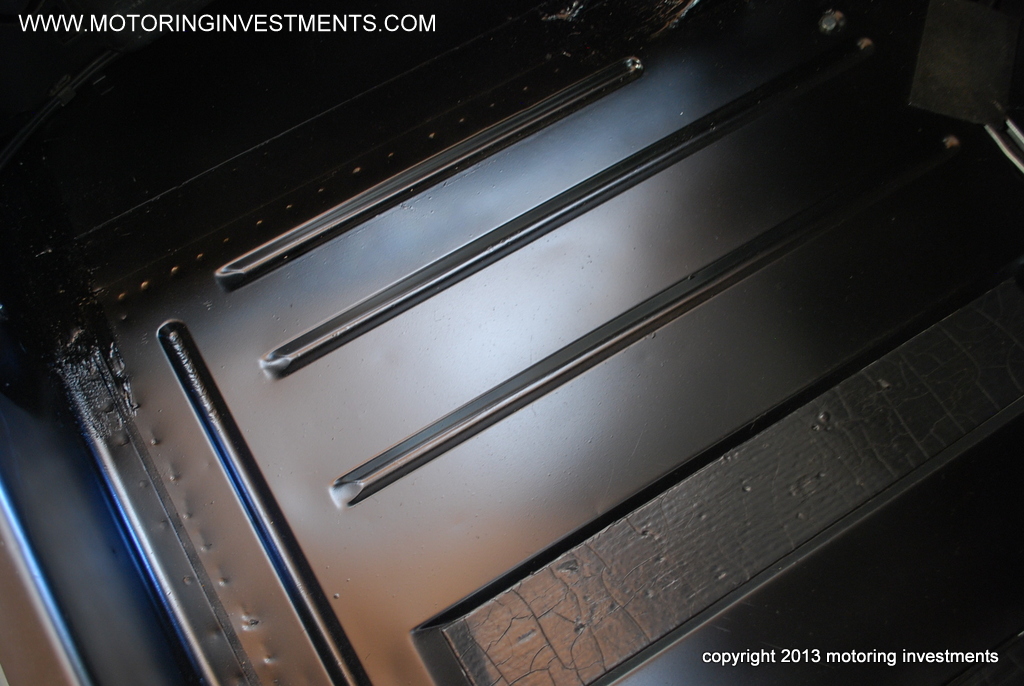
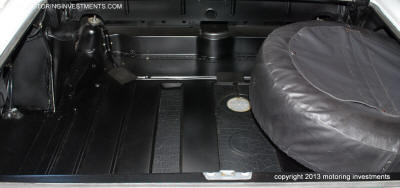
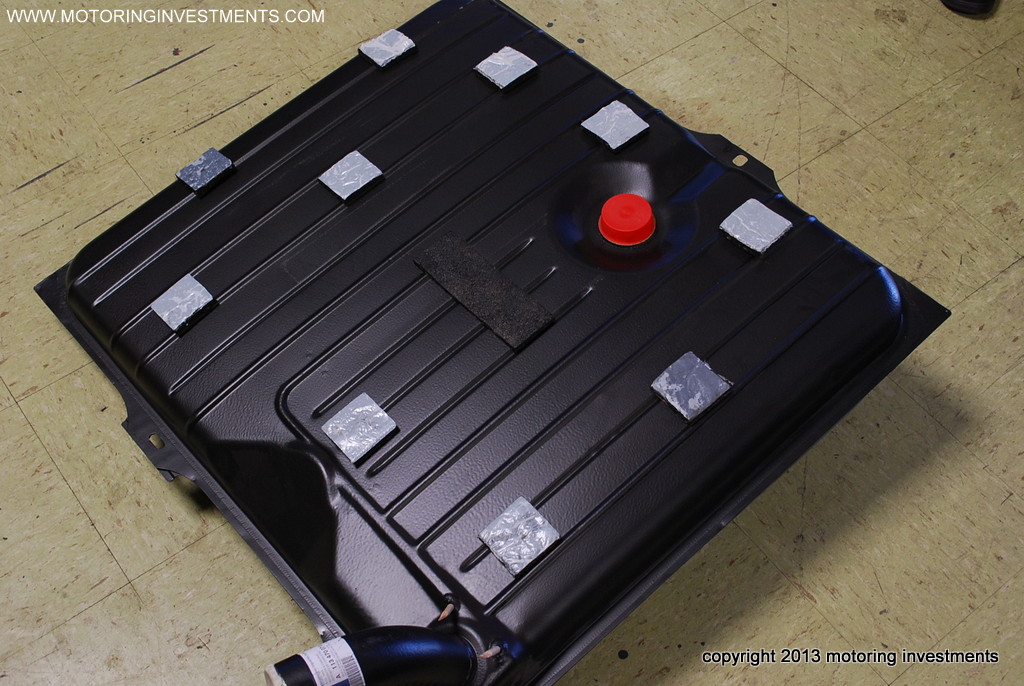
The fuel tank
has been replaced with a NEW OEM Mercedes Benz tank.
Notice the pads on the topside?
These are to protect from vibrations as well as adding cushion against
the trunk floor. |
 |
 |
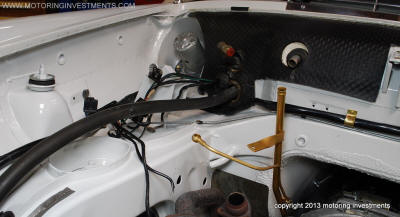
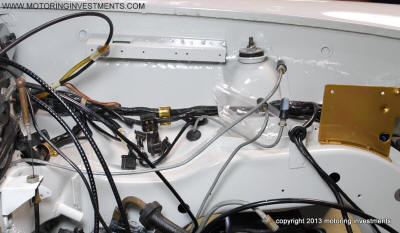
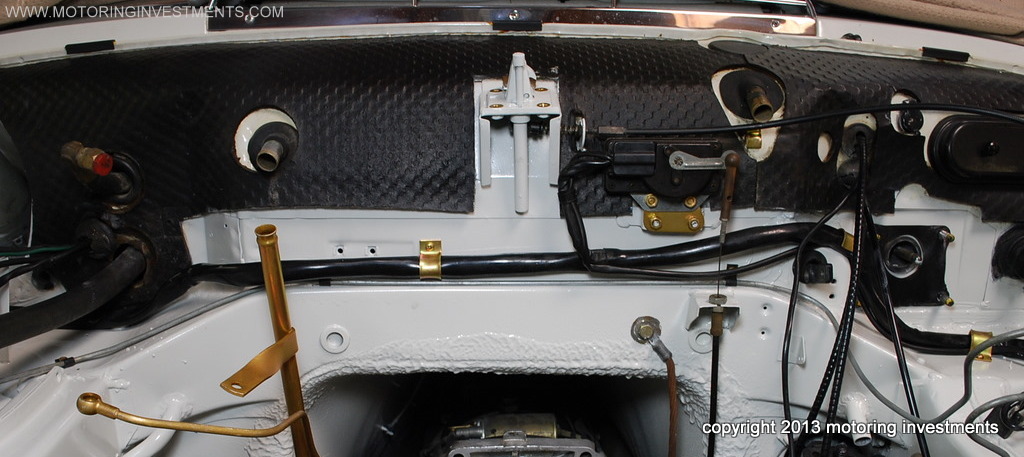
The photos
below show the engine bay after being refinished. The gold cadmium
plated
parts are now ready to be installed. |
 |
 |
| |
|
 |
 |
| |
|
 |
 |
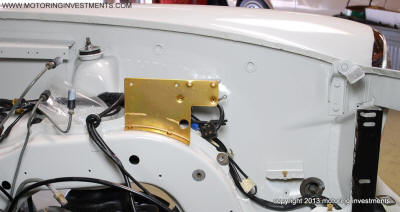
The photo below highlights the
panels just behind the bug grills. These panels
are
to be "brush" painted
to duplicate the Mercedes Benz factory look.
|
|
 |
 |
| |
|
 |
 |
|
|
|
 |
 |
|
|
|
 |
 |
|
|
|
|
|
|
|
|
|
|
|
|
 |
|
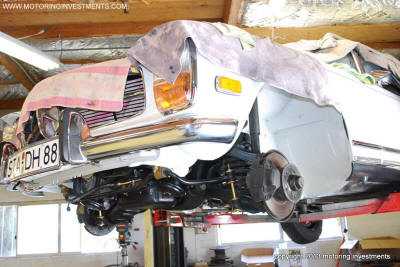
The owner of this car was so impressed with the progression of the
engine bay
restoration, that he commissioned our shop to restore and recondition
the underside of the car as well.
Scroll down to see pictures of the undercarriage and progress.
|
 |
 |
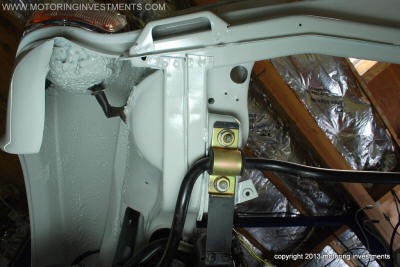
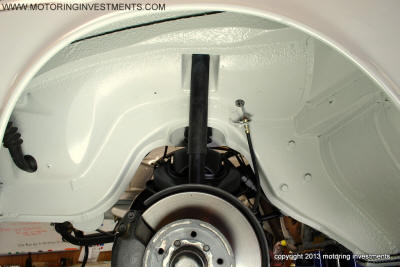
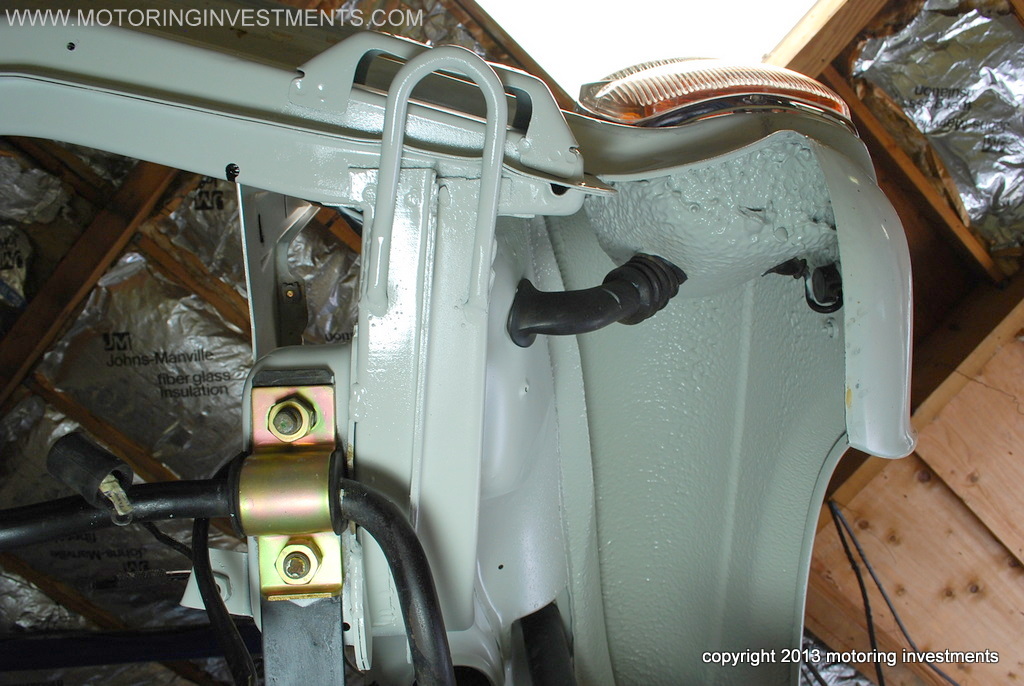
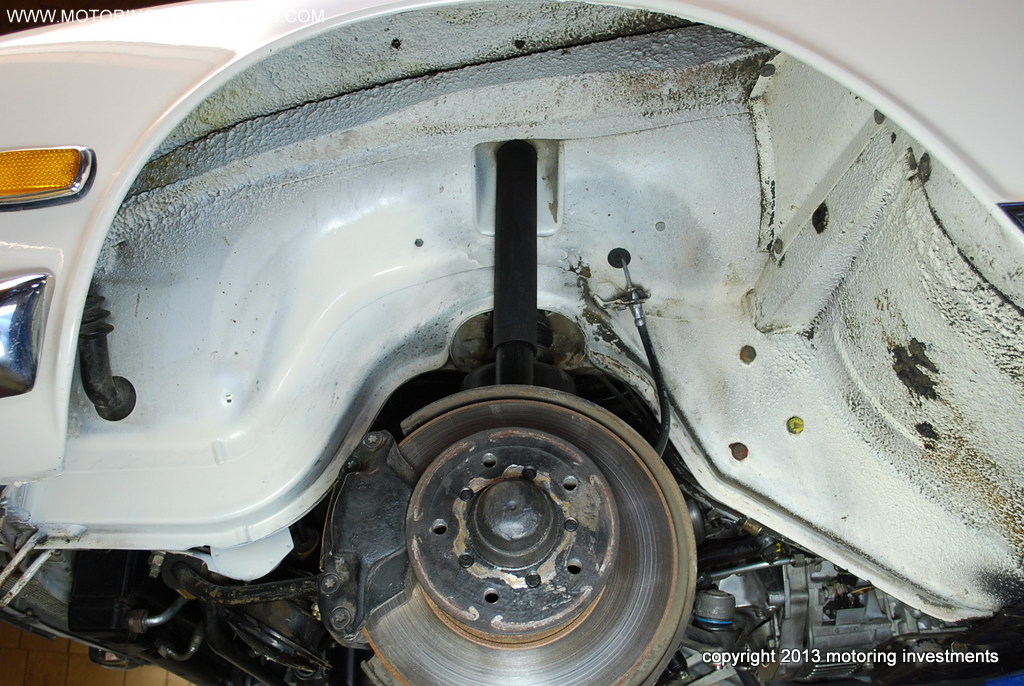
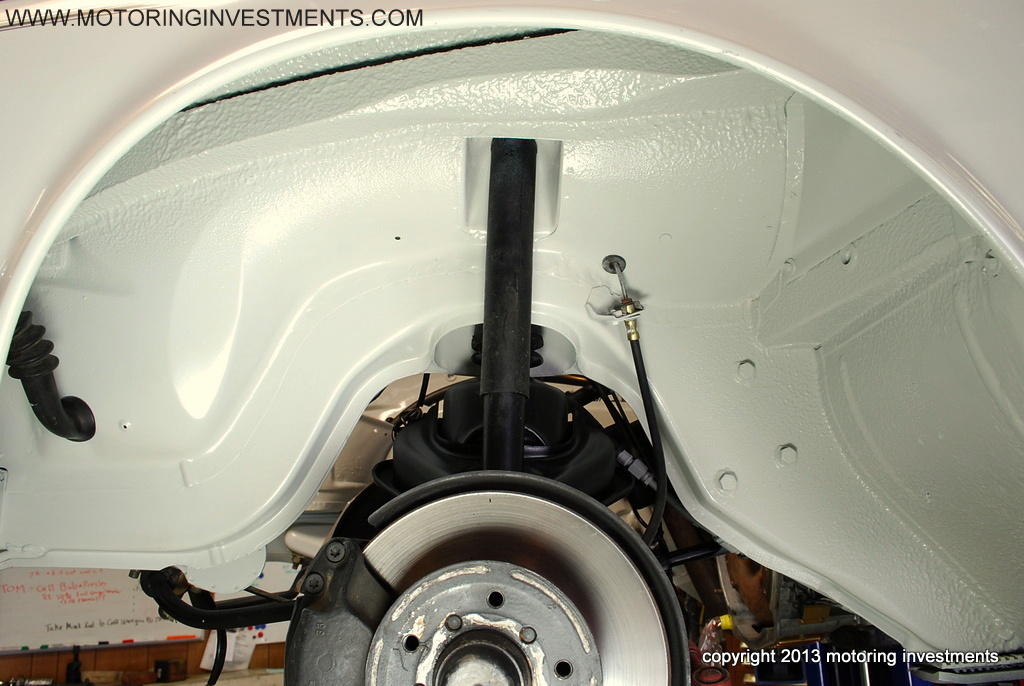
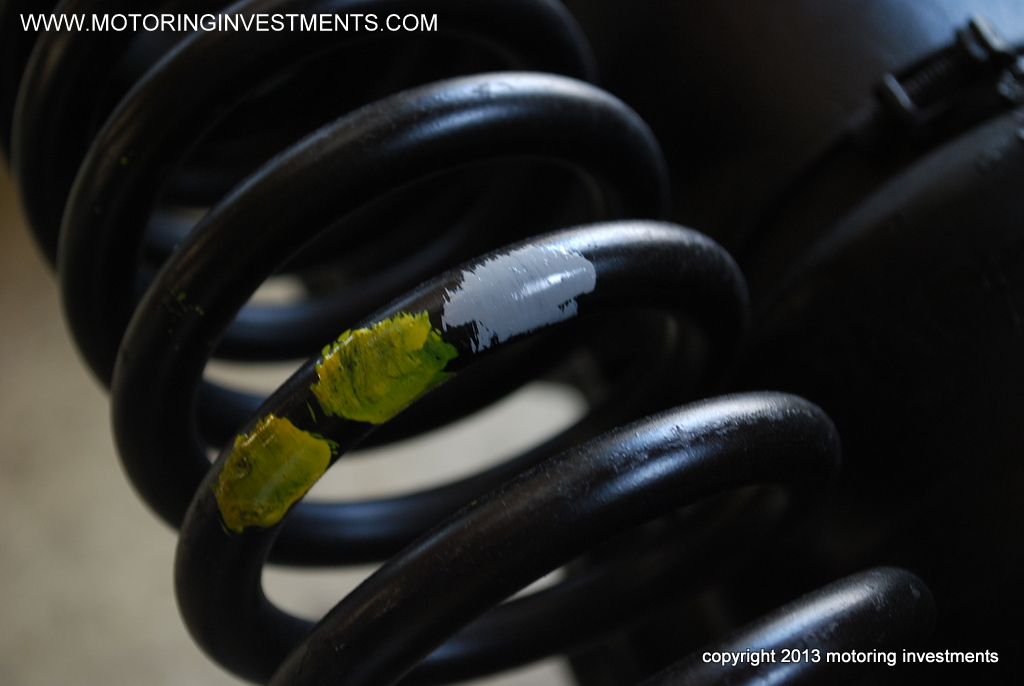
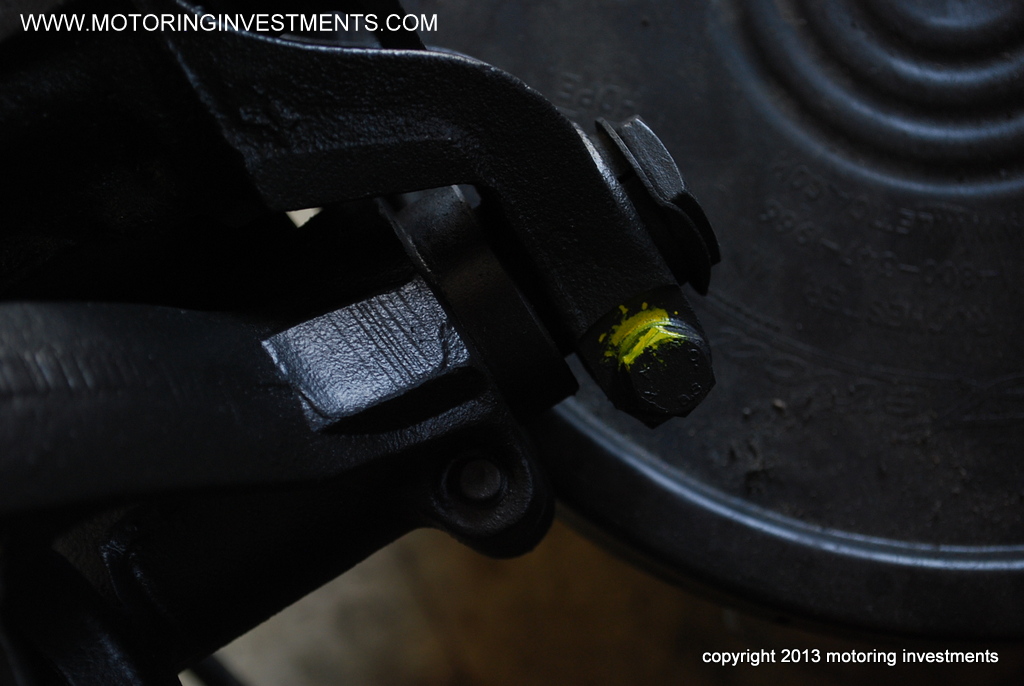
The pictures above show the front end with
the sway bar back in place and its hardware. Notice the wheel wells
from underneath? Below are pictures of the wheel well refinishing
process. |
 |
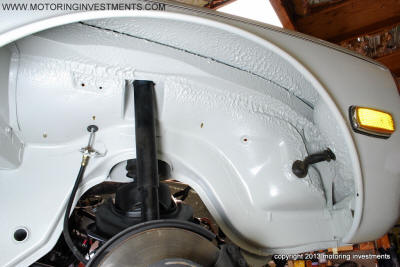 |
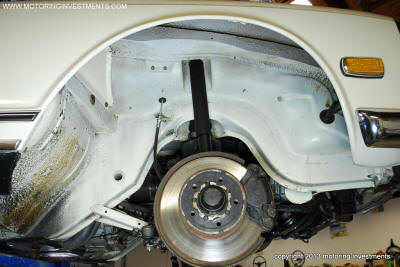
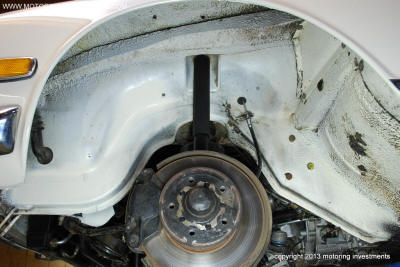
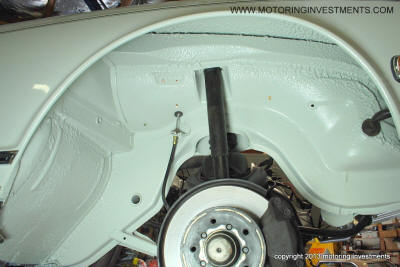
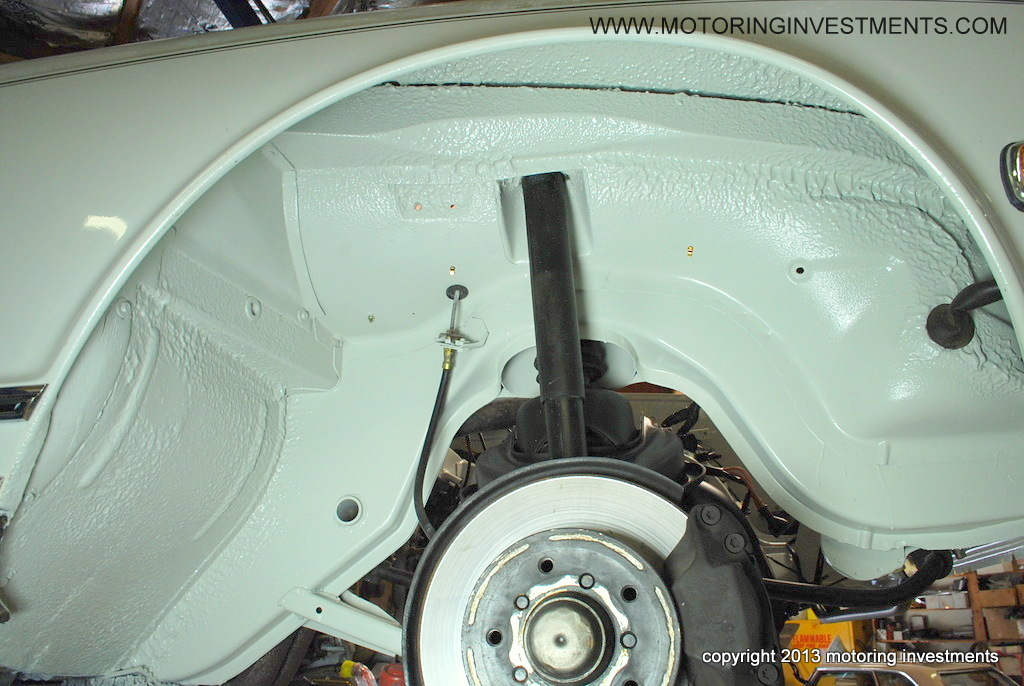
Above and below we see the pictures
BEFORE the restoration. |
Shown here are the wheel wells
AFTER. |
 |
 |
|
|
|
 |
 |
|
|
|
 |
 |
 |
|
|
|
 |
 |
|
|
|
 |
 |
|
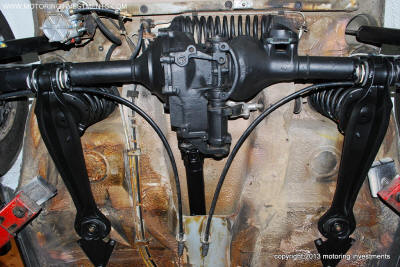
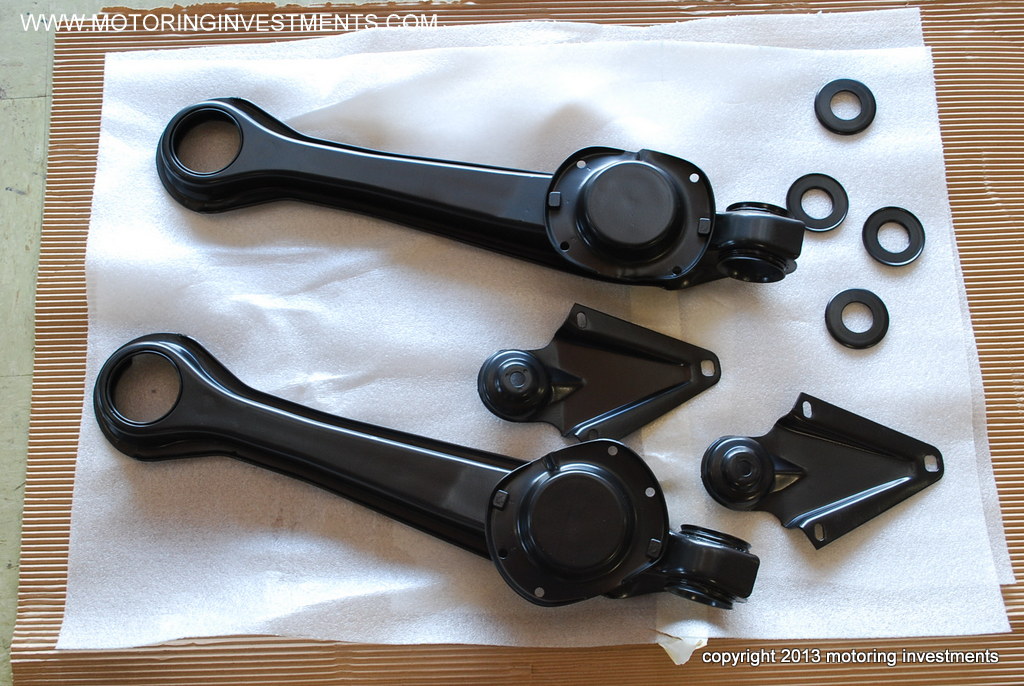
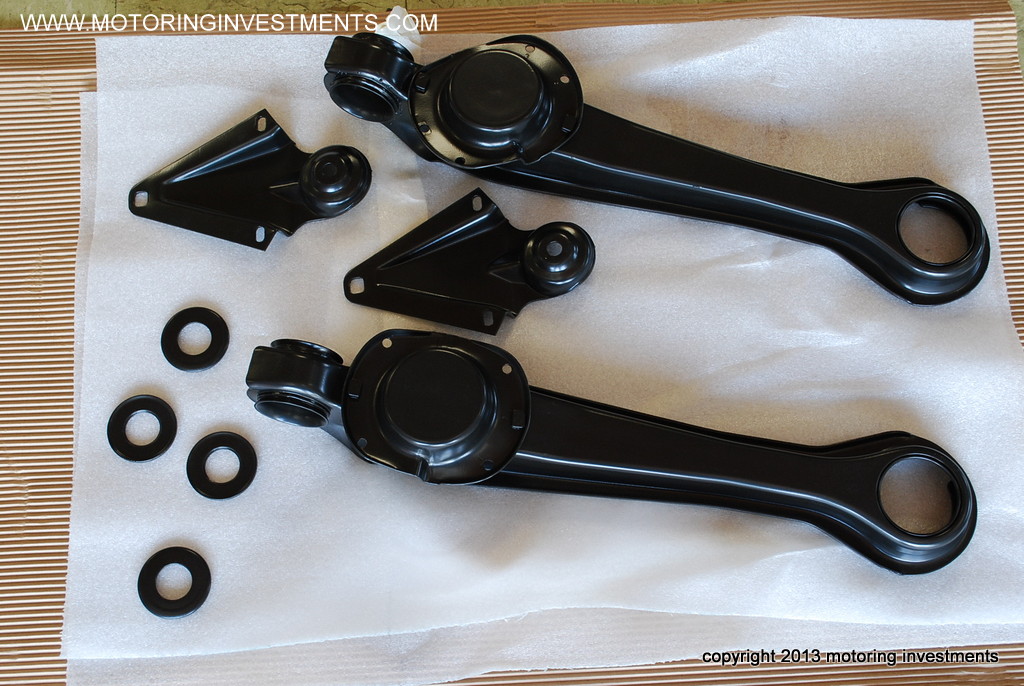
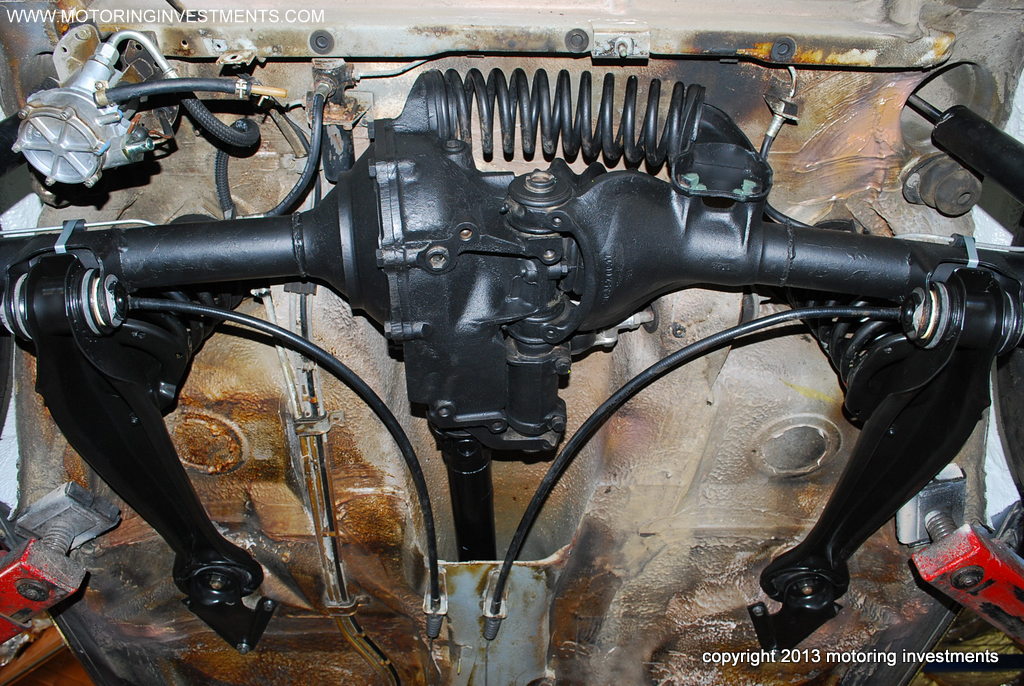
The rear end parts are powder coated to
endure the road elements. |
 |
 |
|
The rear end is now back into place and
shown above. |
 |
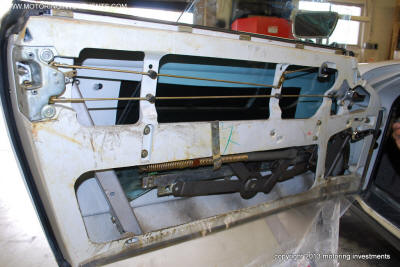 |
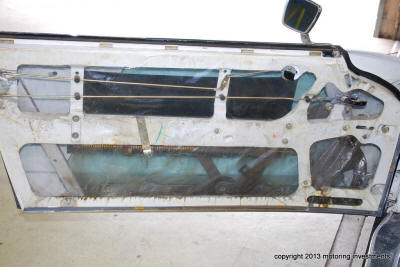
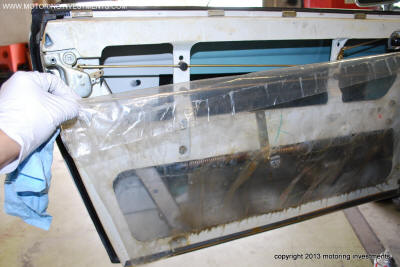
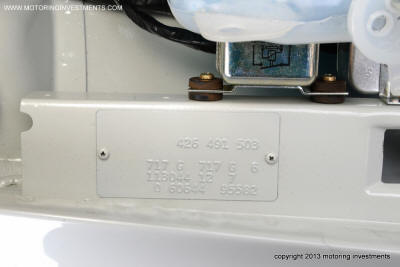
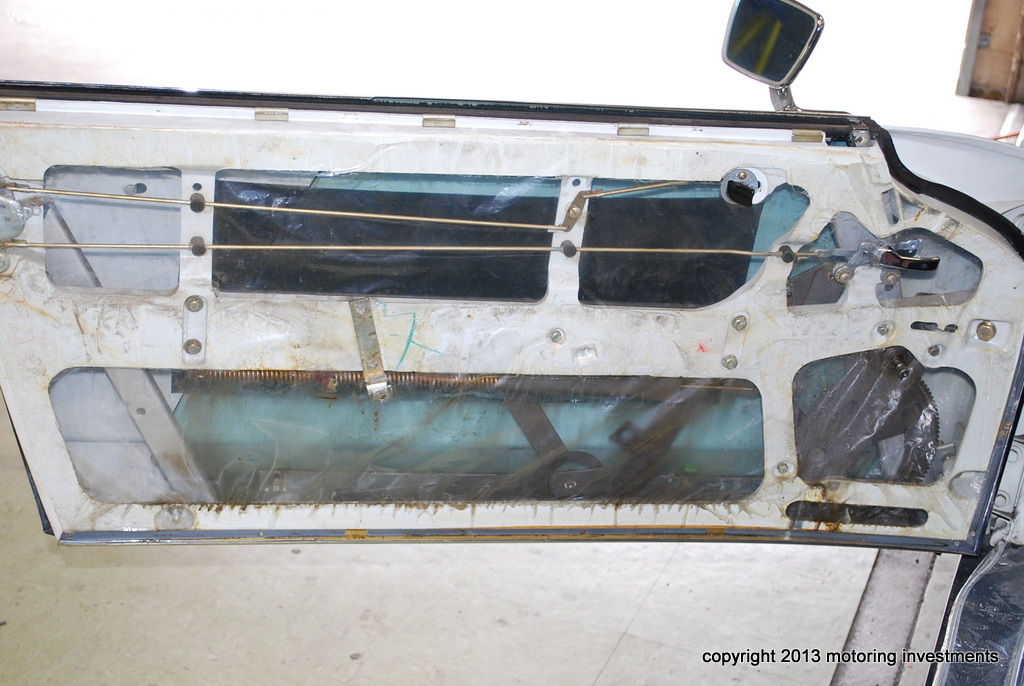
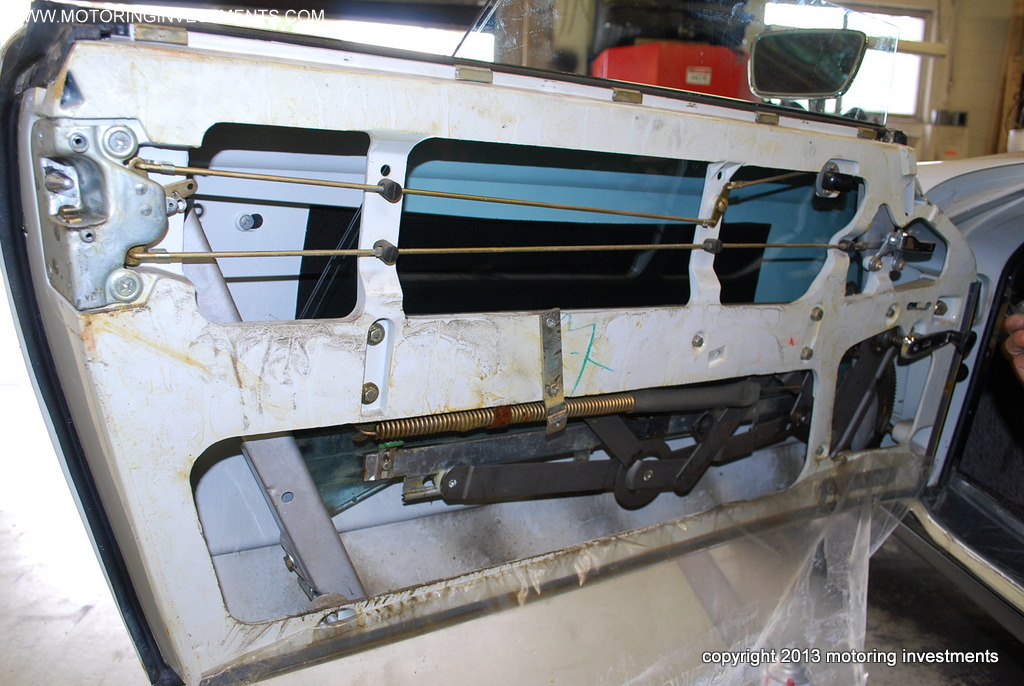
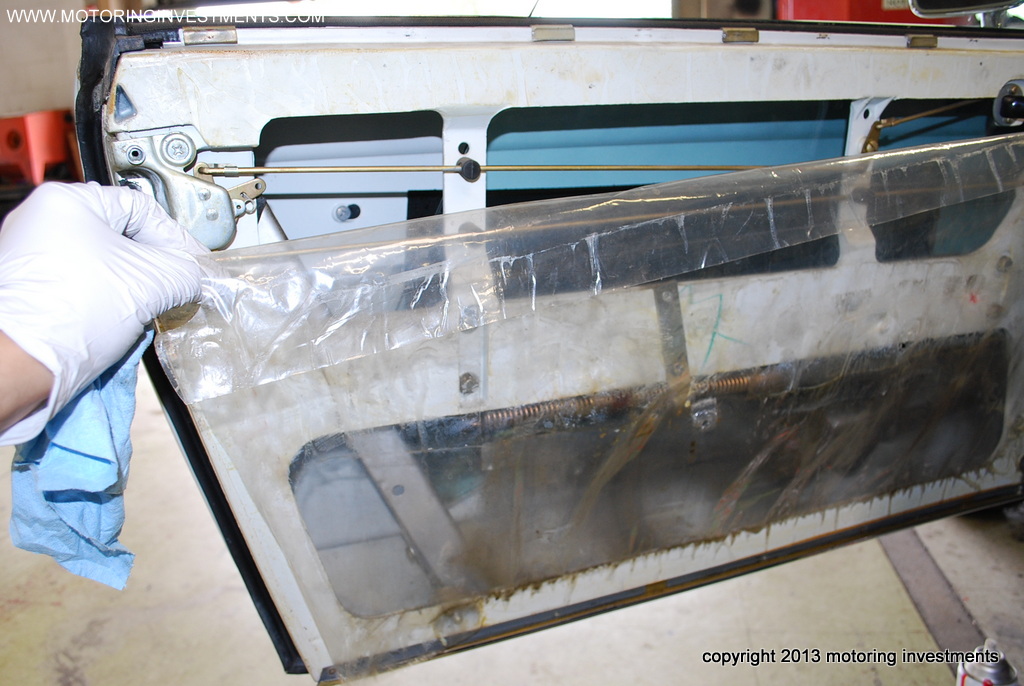
The
protective plastic liner under the door panel is still in place. This is
carefully removed and placed back into position as the
doors will be serviced for any rattles and loose window guides or
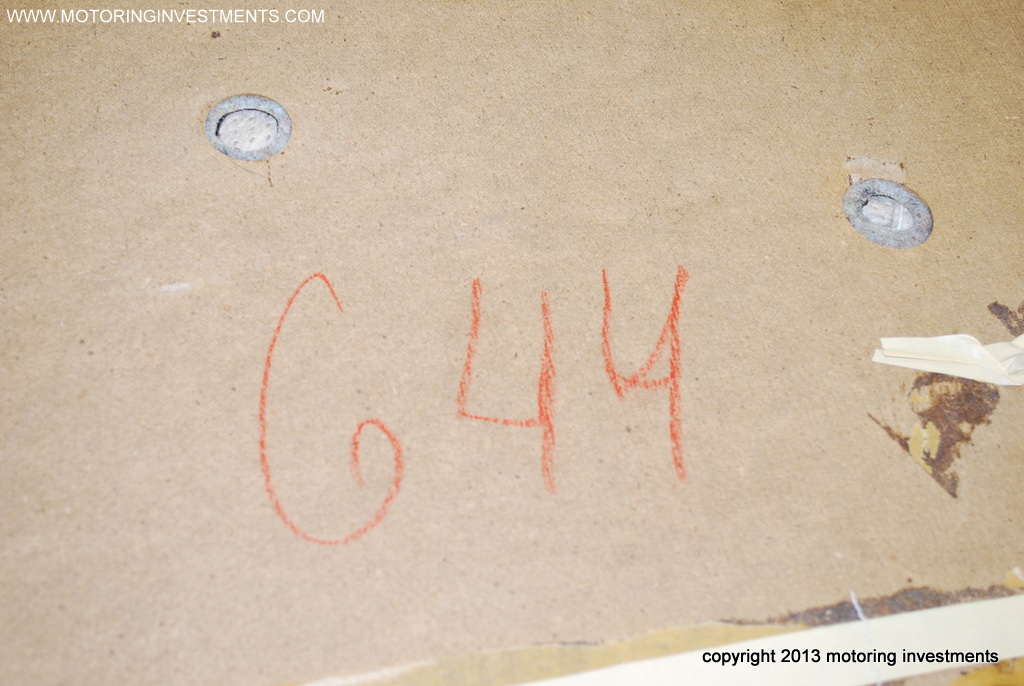
blocks. The number on the backside of the door panel
is also shown below. This number
is found on many interior panels, it
is called the production number. |
 |
 |
|
|
|
 |
 |
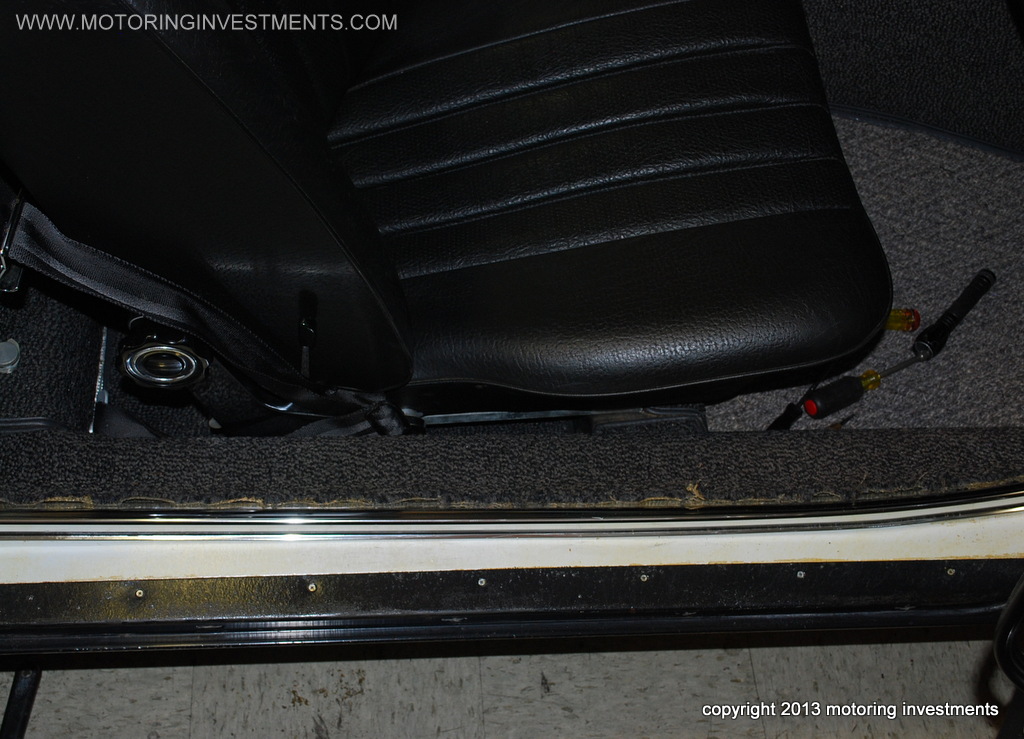
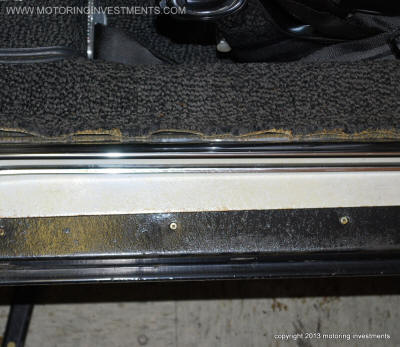
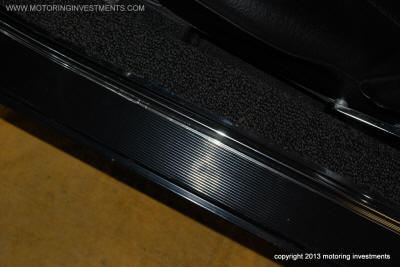
The car has the original carpet and
interior. Although 40 plus years of use did scuff up the
door threshold trims. We carefully remove the old trims from the
original carpet. We then remove and re-glue all the correct
spacer washers to the backside of the threshold trims and install back
into car. |
_small.JPG) |
 |
|
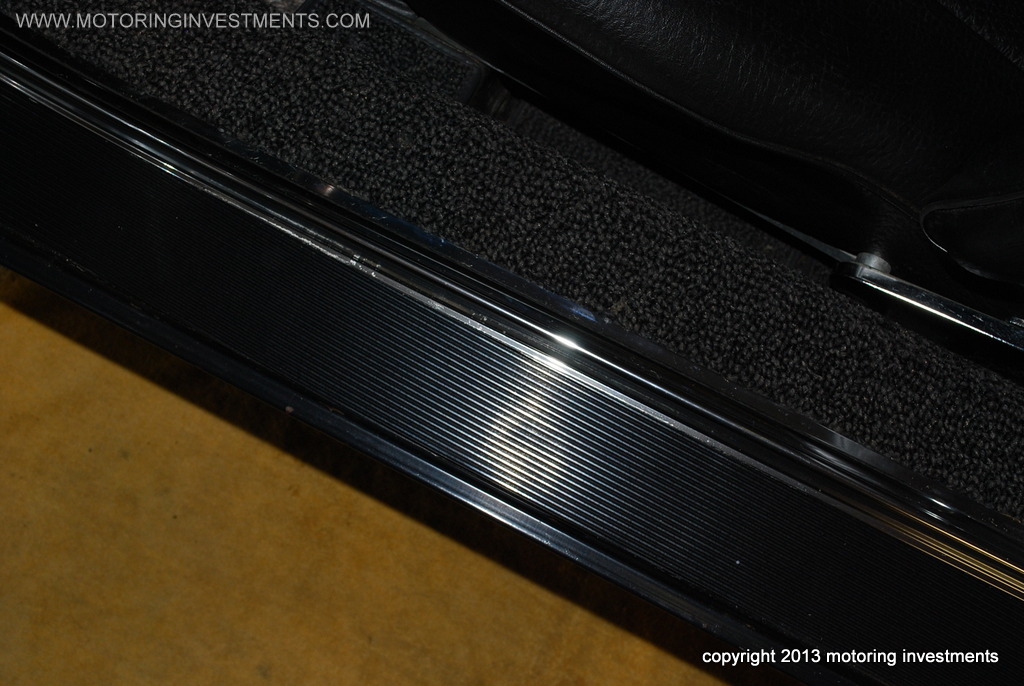
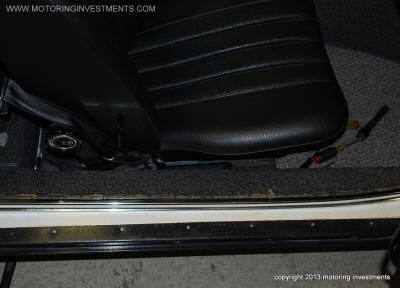
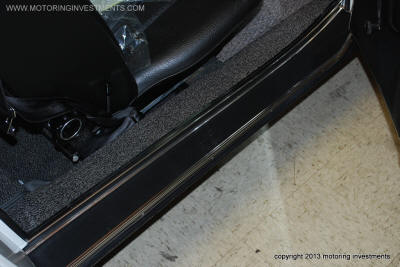
These pictures below highlight the finished
threshold trims. |
 |
 |
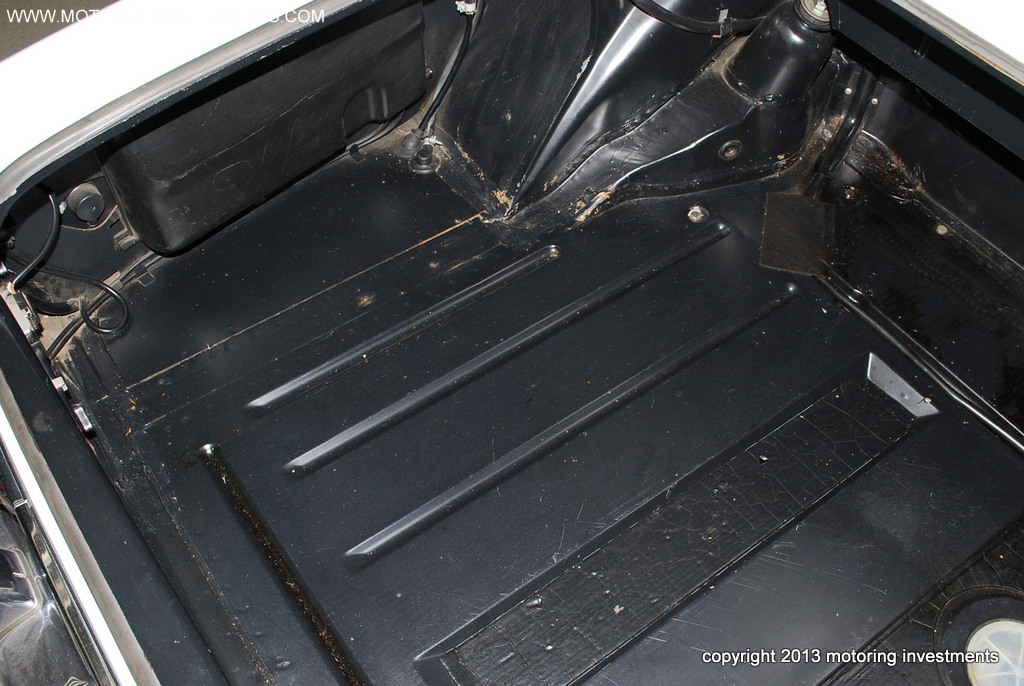
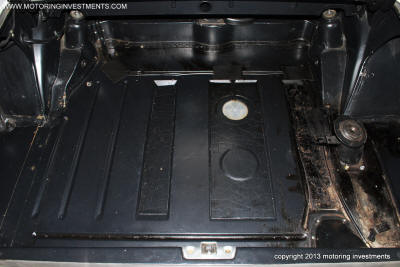
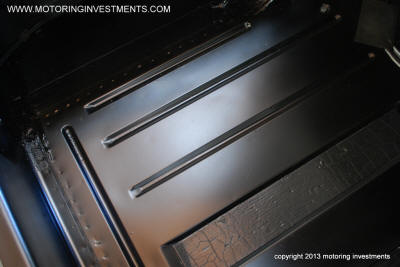
The trunk is
corrosion free but does need to be re-finished.
The tar pads must not to be painted over. These secure the
fuel sending units' wiring to the trunk floor. |
 |
 |
| Above are the
before pictures. Below, the after pictures are
displayed, highlighting the correct satin black finish. |
 |
 |
| |
|
 |
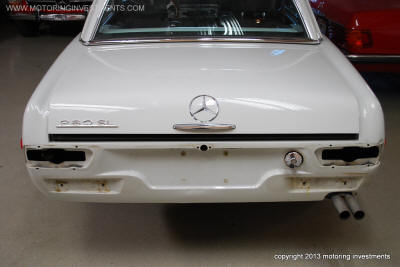 |
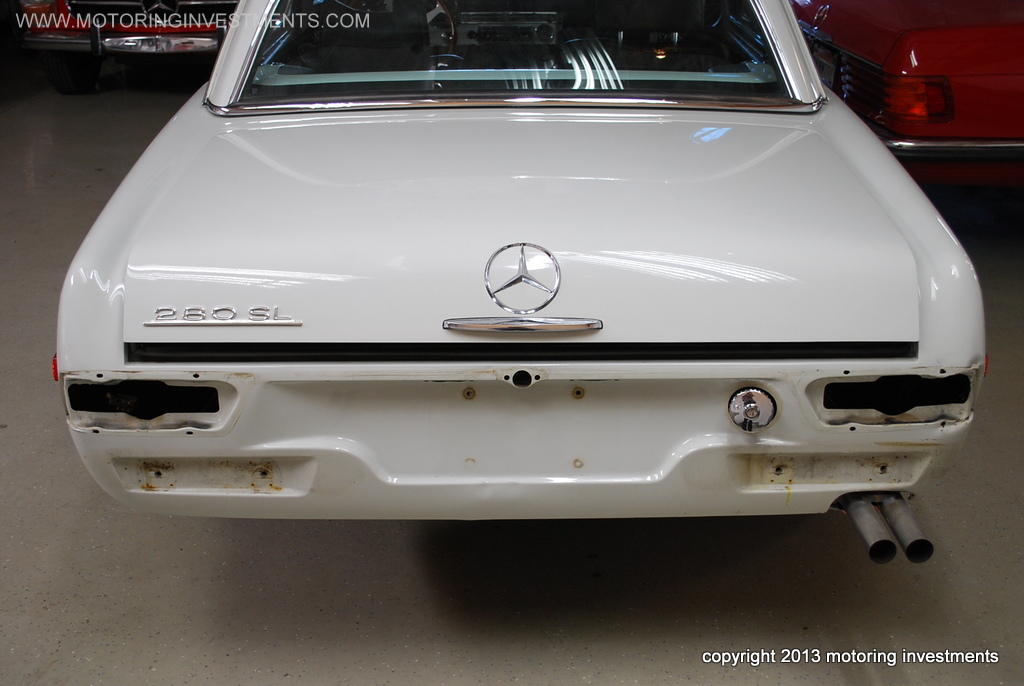
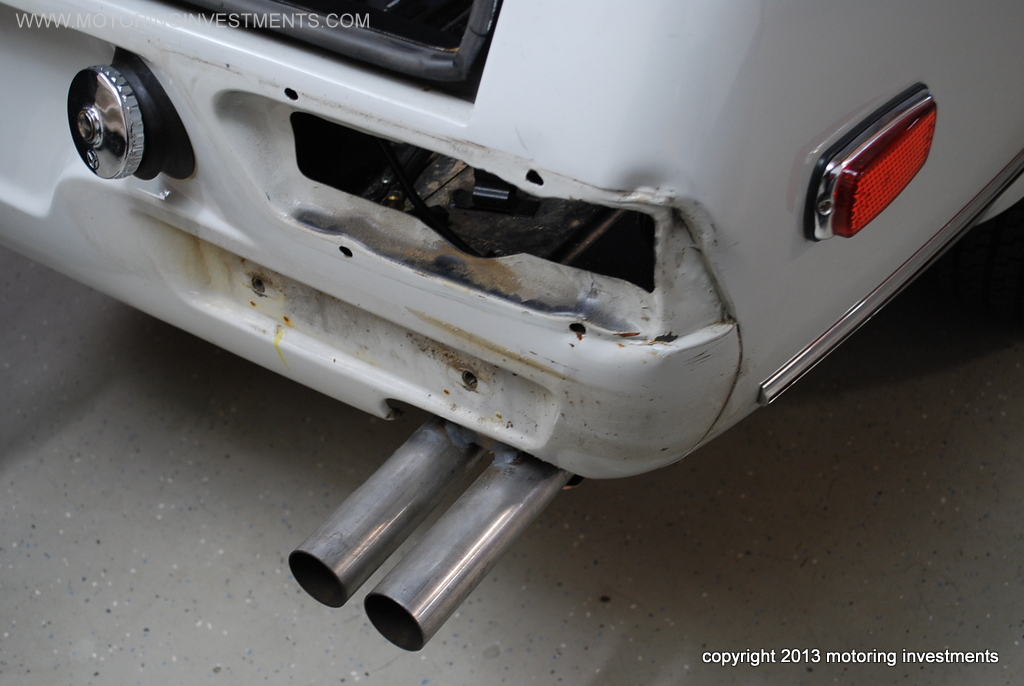
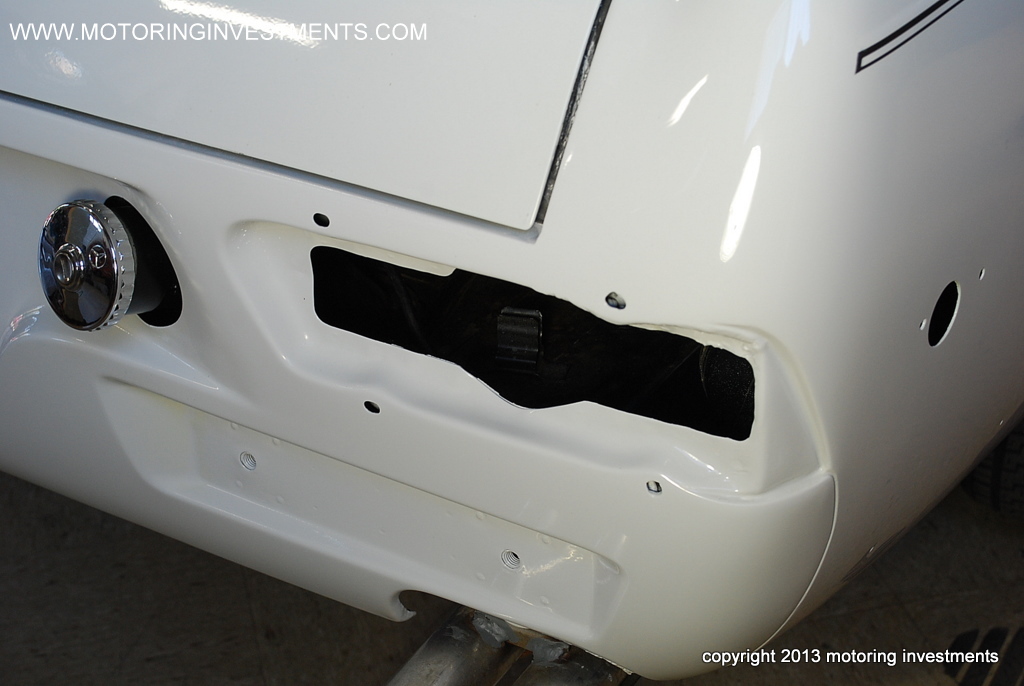
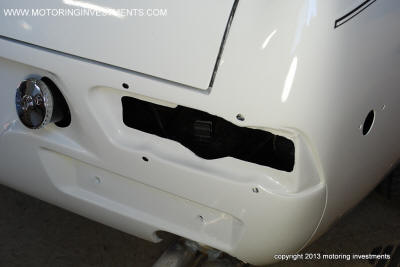
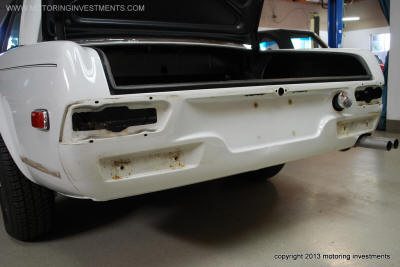
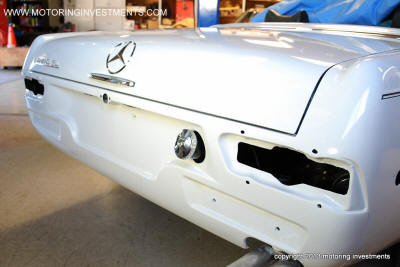
The pictures
above are of the car being disassembled to refinish the right rear
corner.
The images below are of the corner, close-up. |
 |
 |
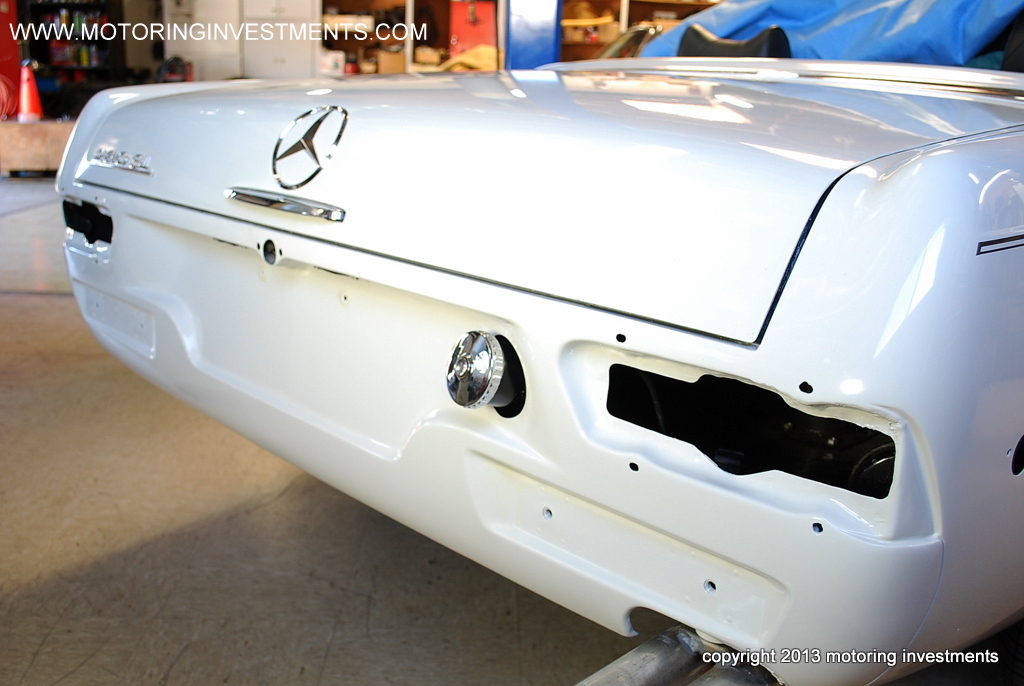
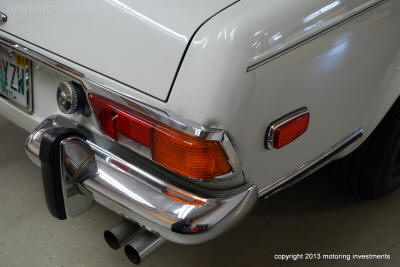
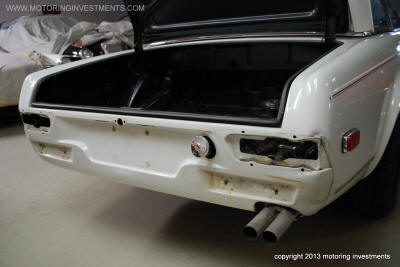
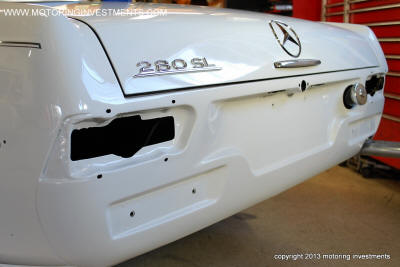
| The images
below display the right rear corner after we refinished in our body
shop. |
 |
 |
| |
|
 |
 |
| |
 |
 |
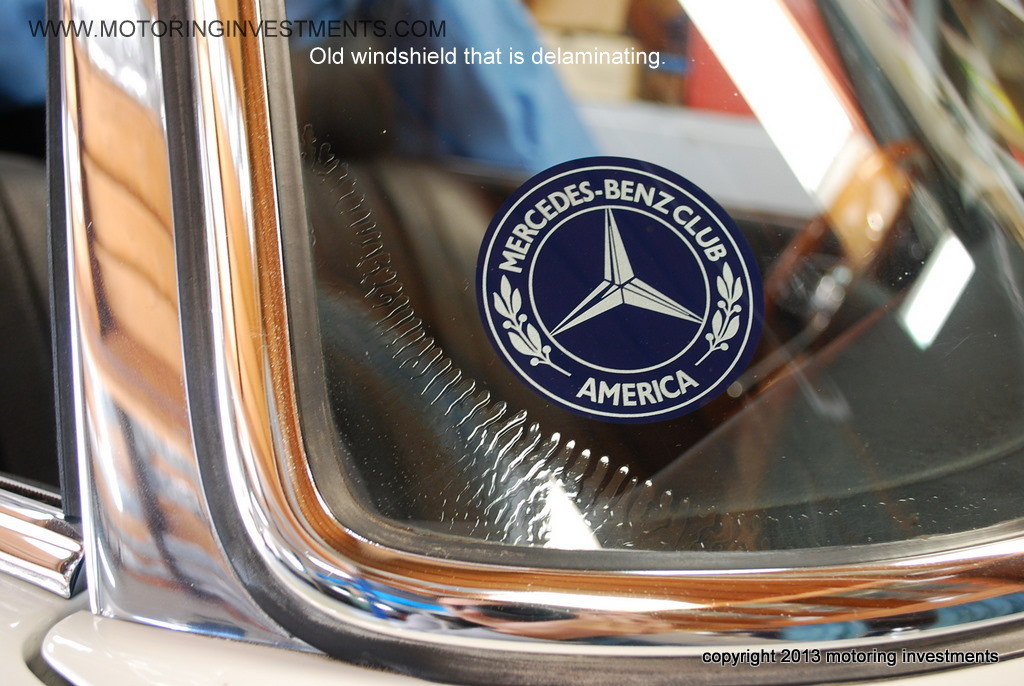
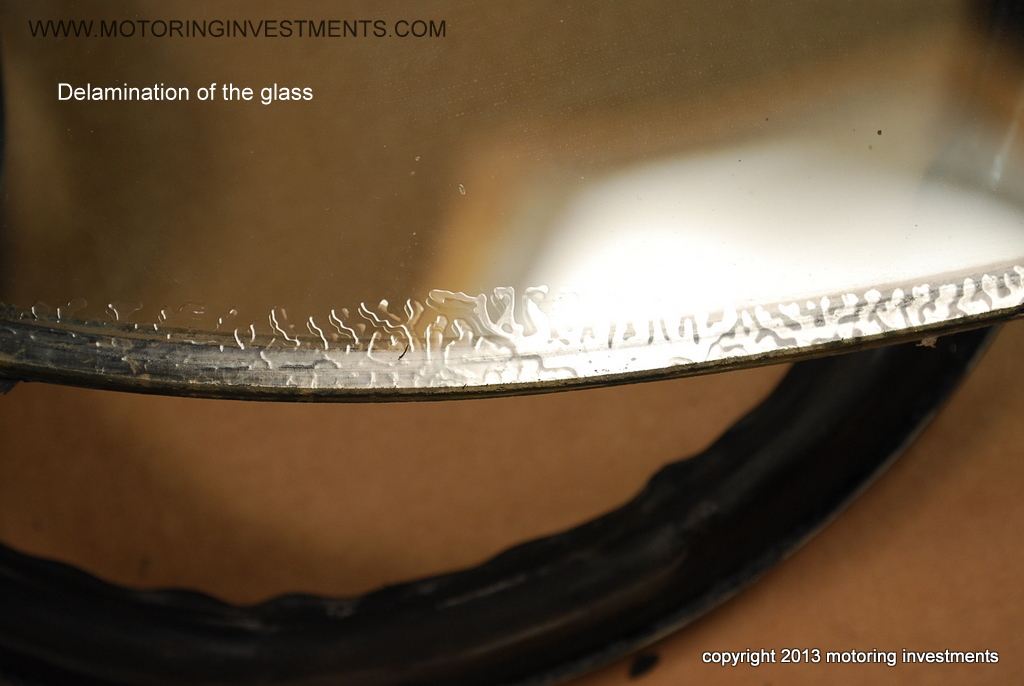
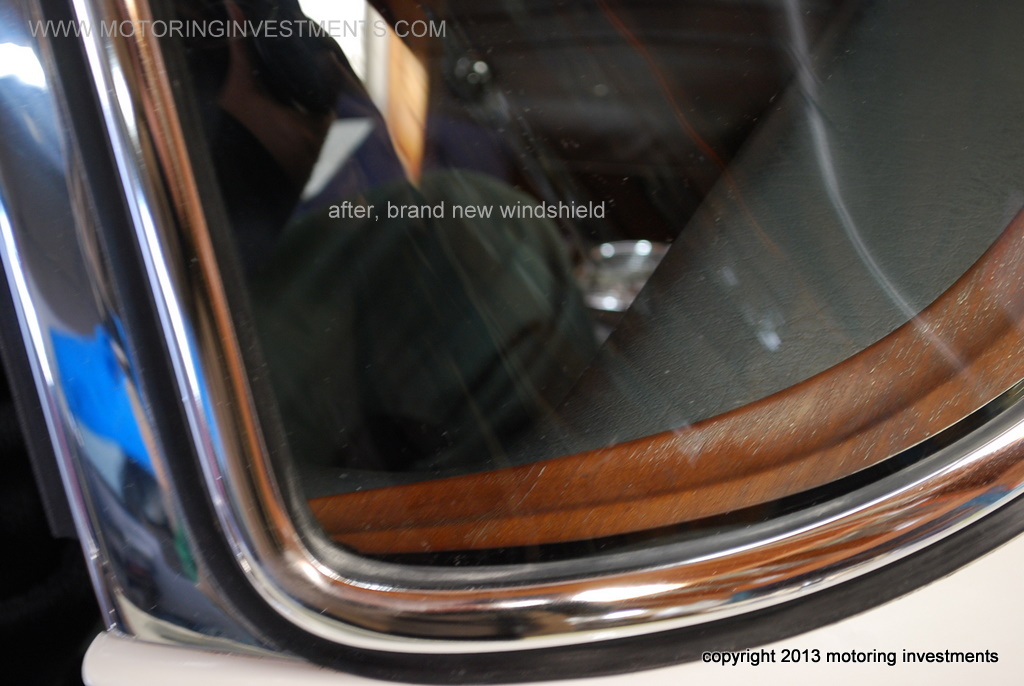
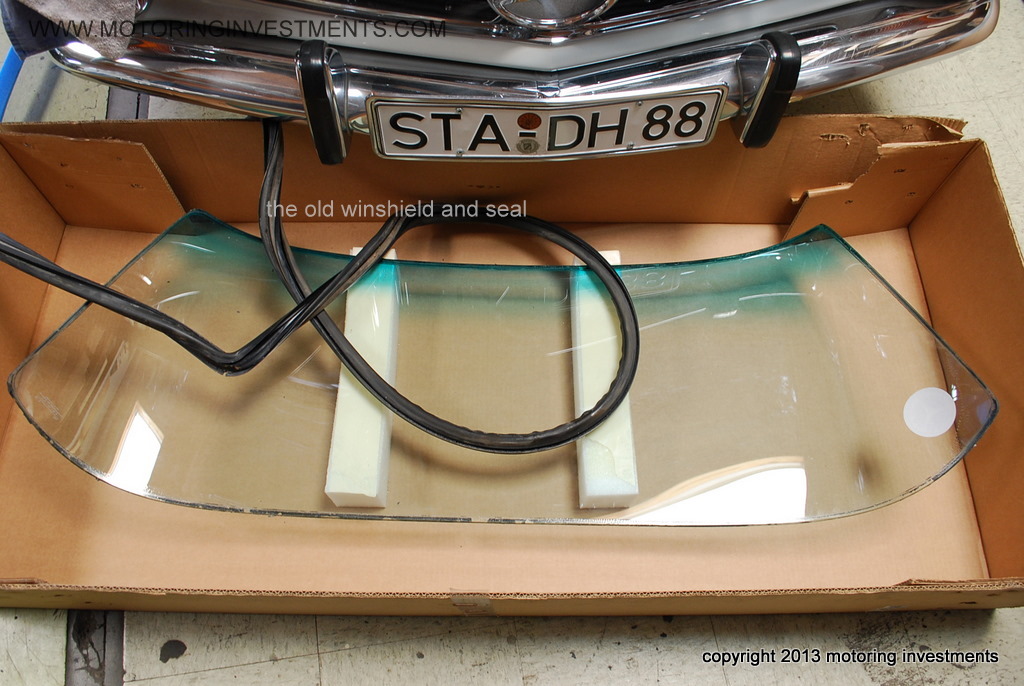
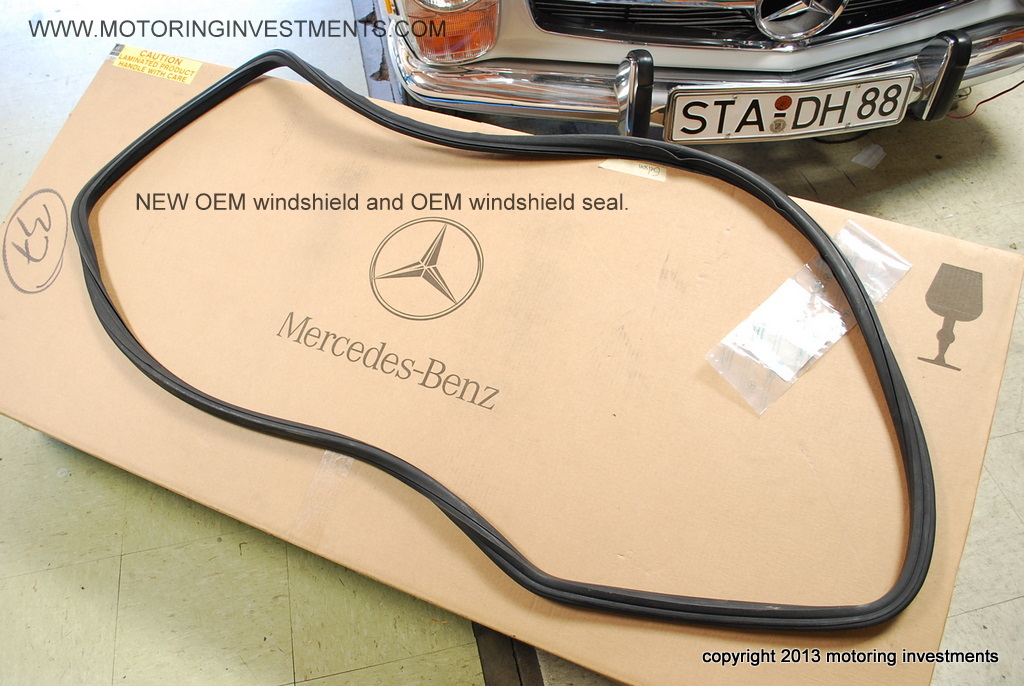
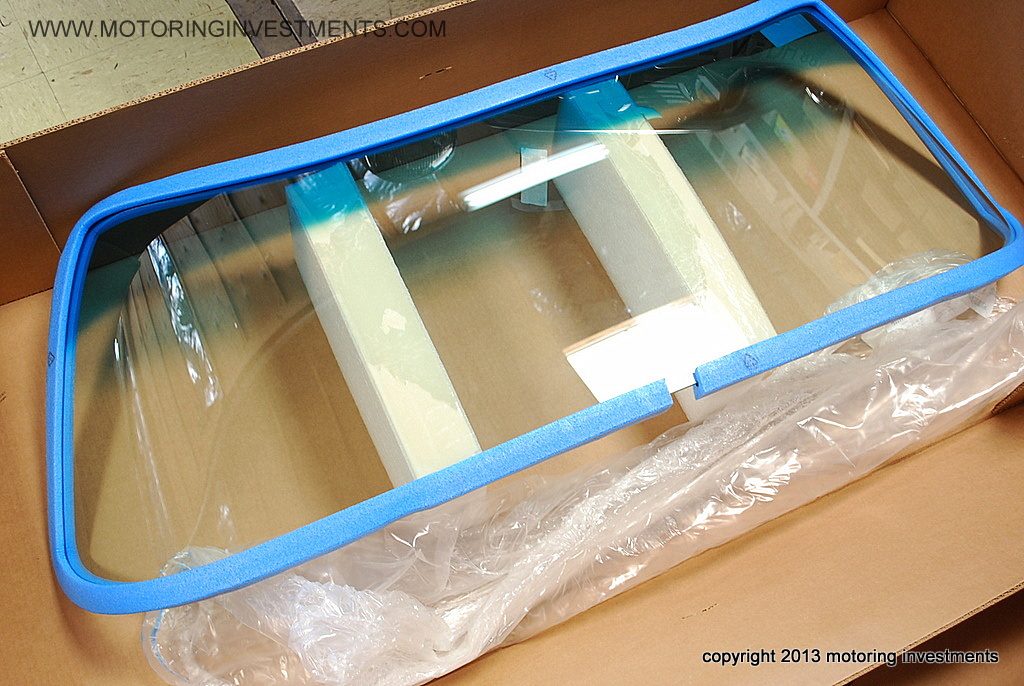
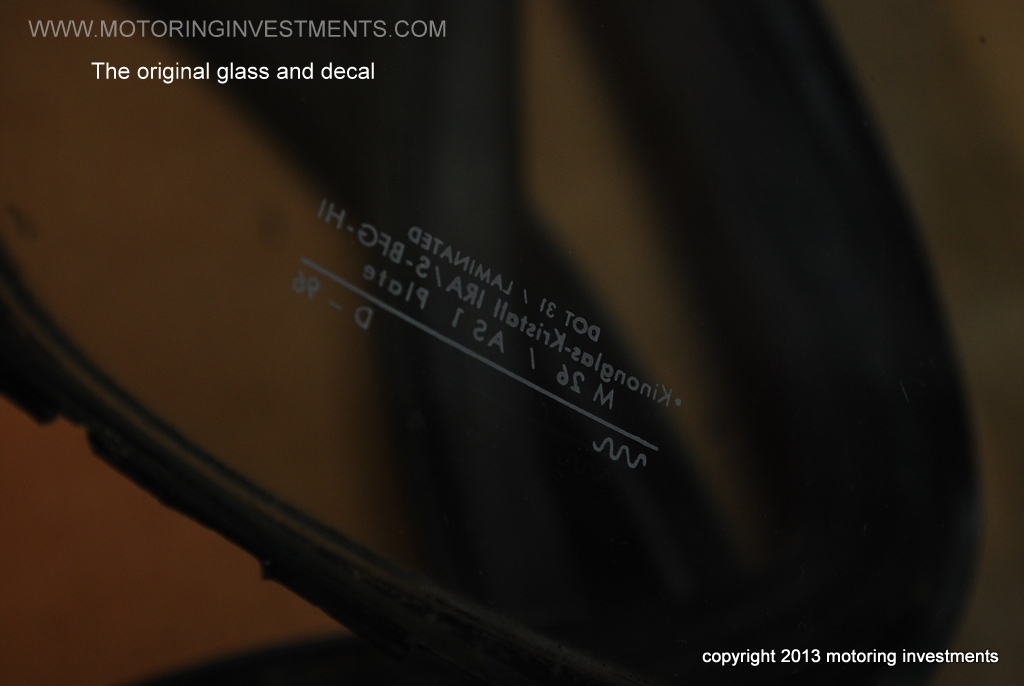
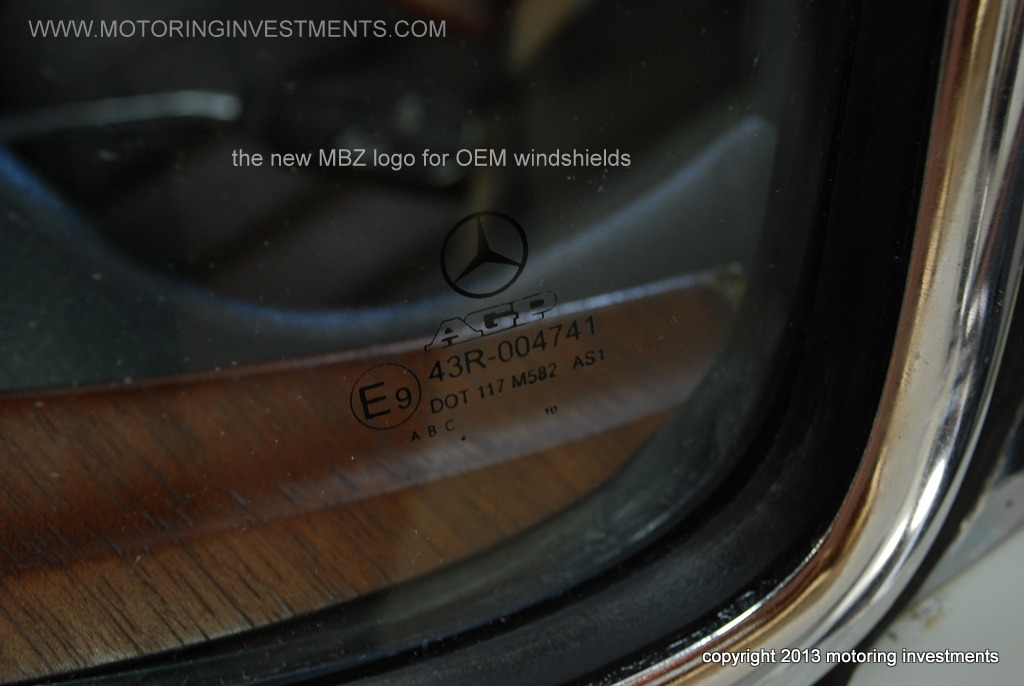
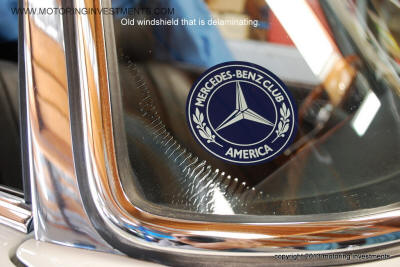
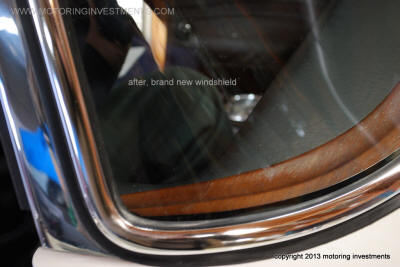
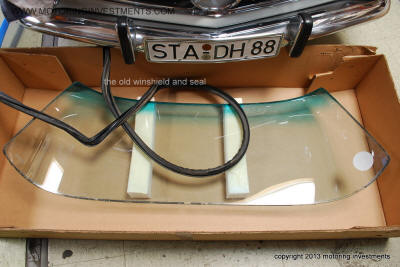
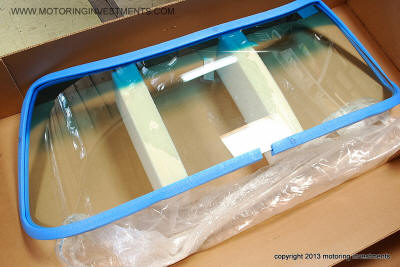
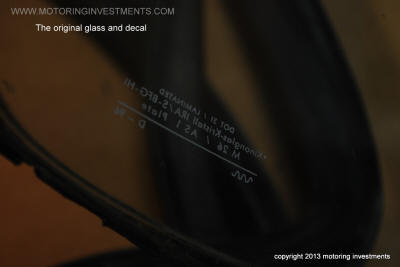
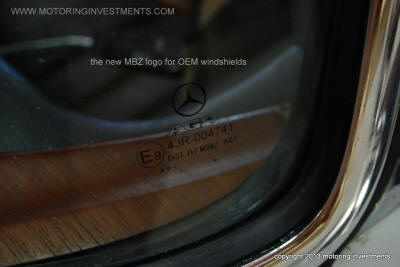
The original
windshield, although in great condition from cracks and chips, is
delaminating.
Below, are pictures of the car receiving a new OEM windshield and new
seal. |
 |
 |
| |
|
 |
 |
| |
|
 |
 |
 |
| |
 |
 |
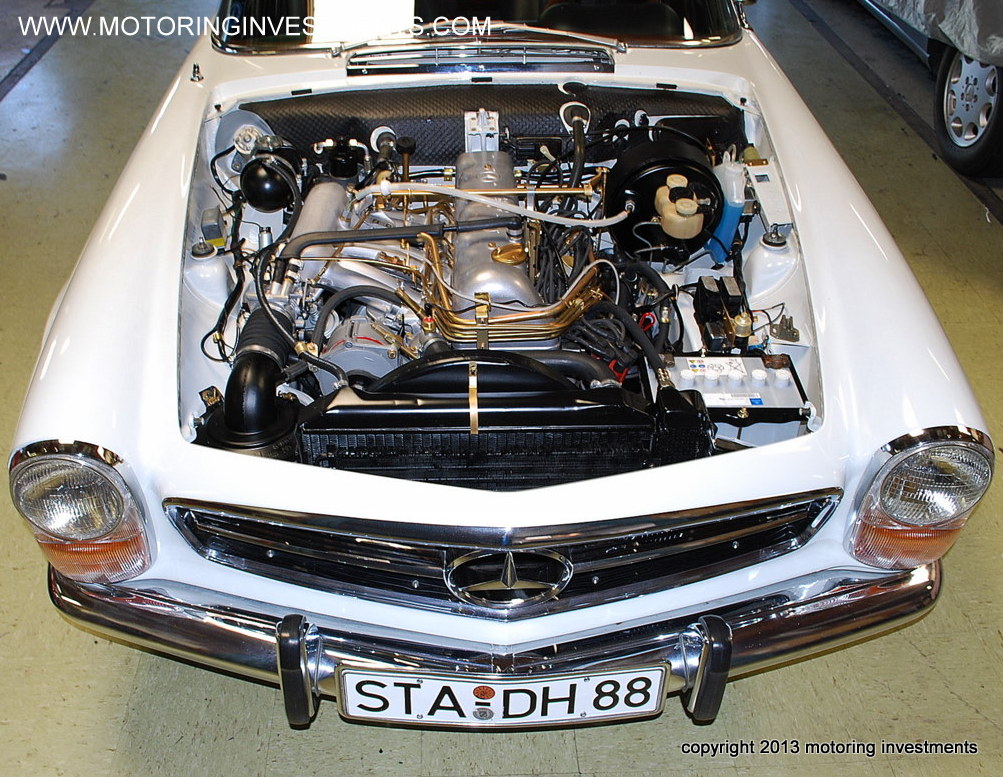
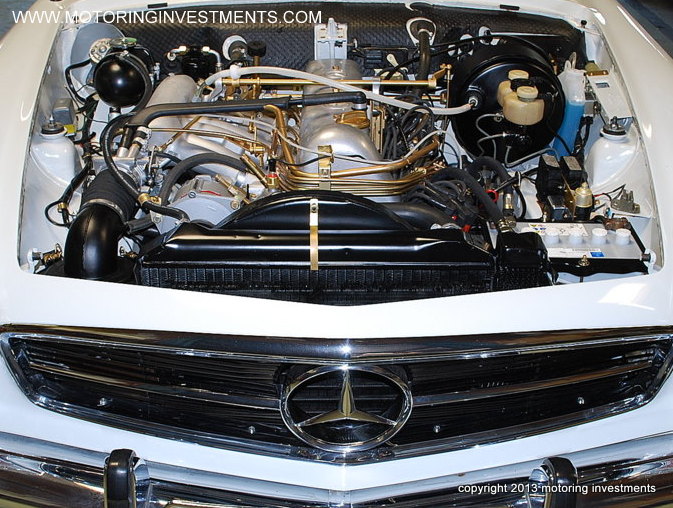
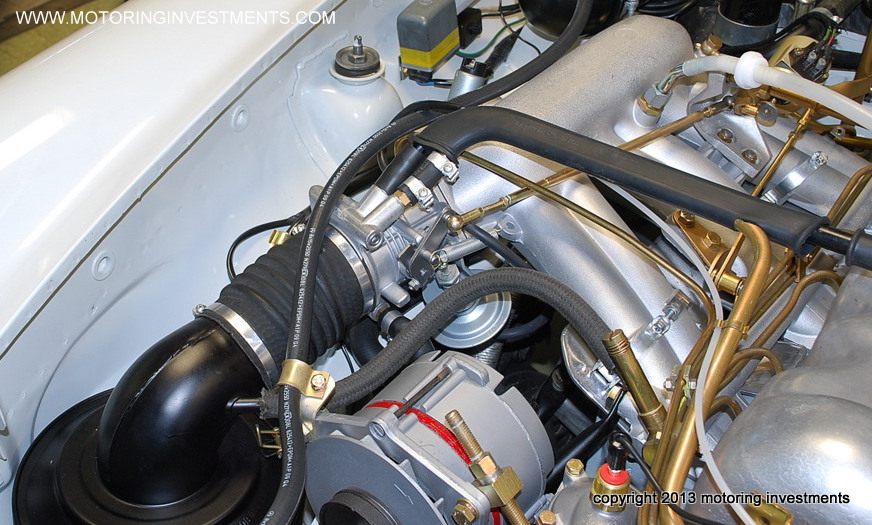
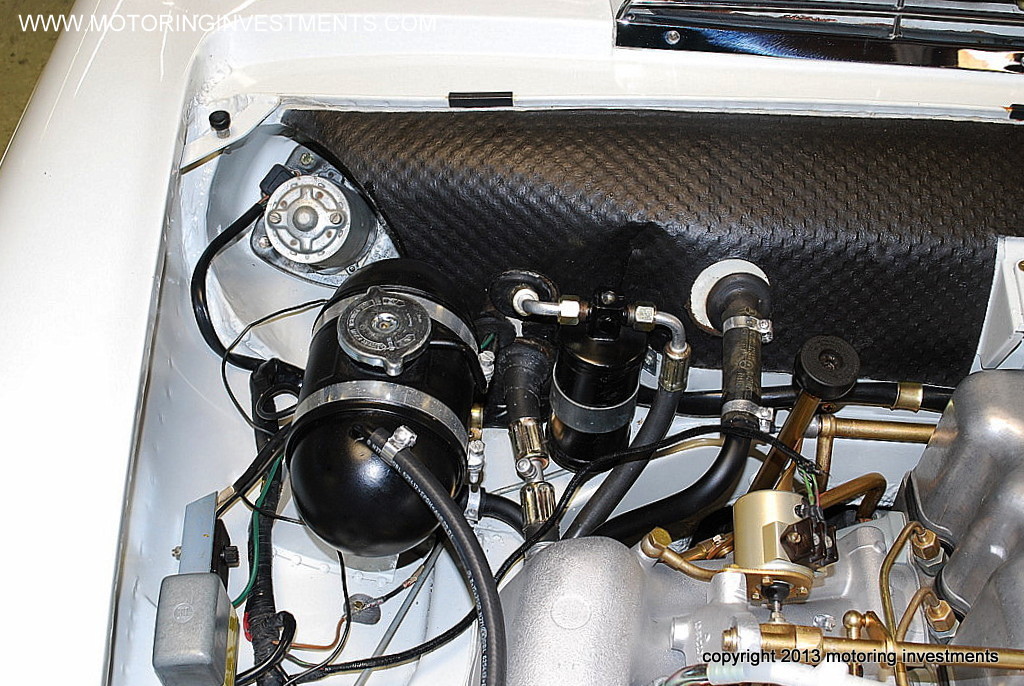
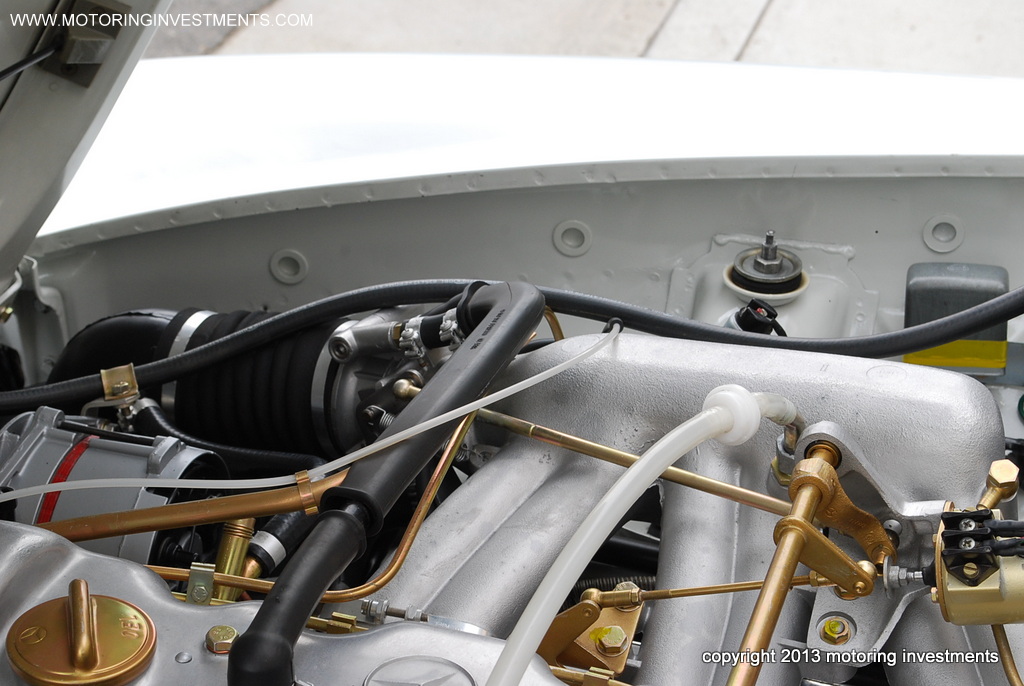
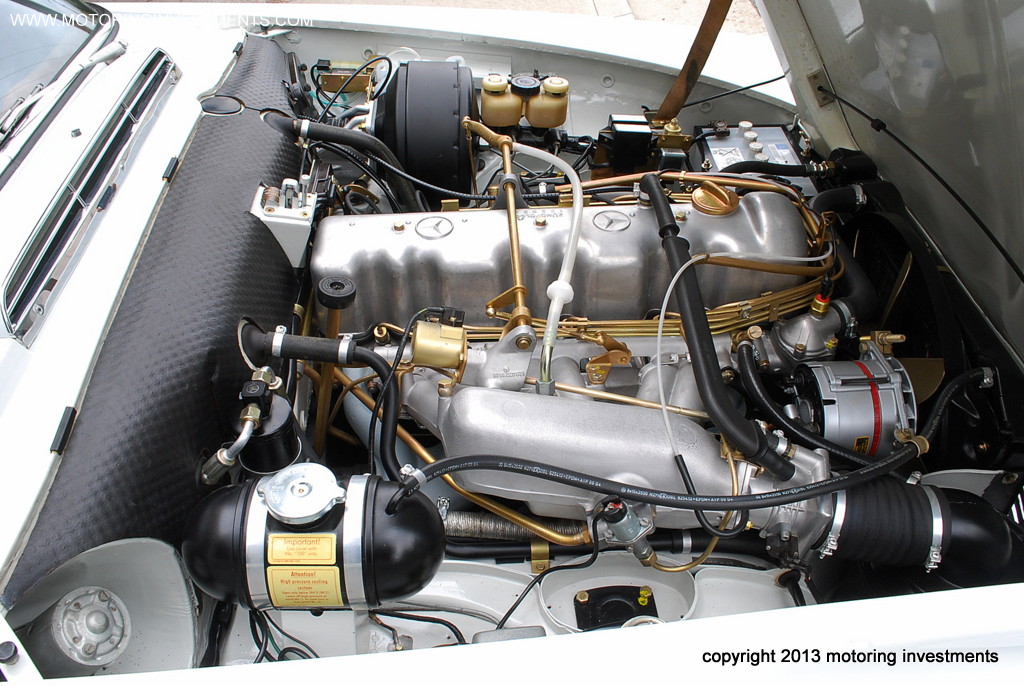
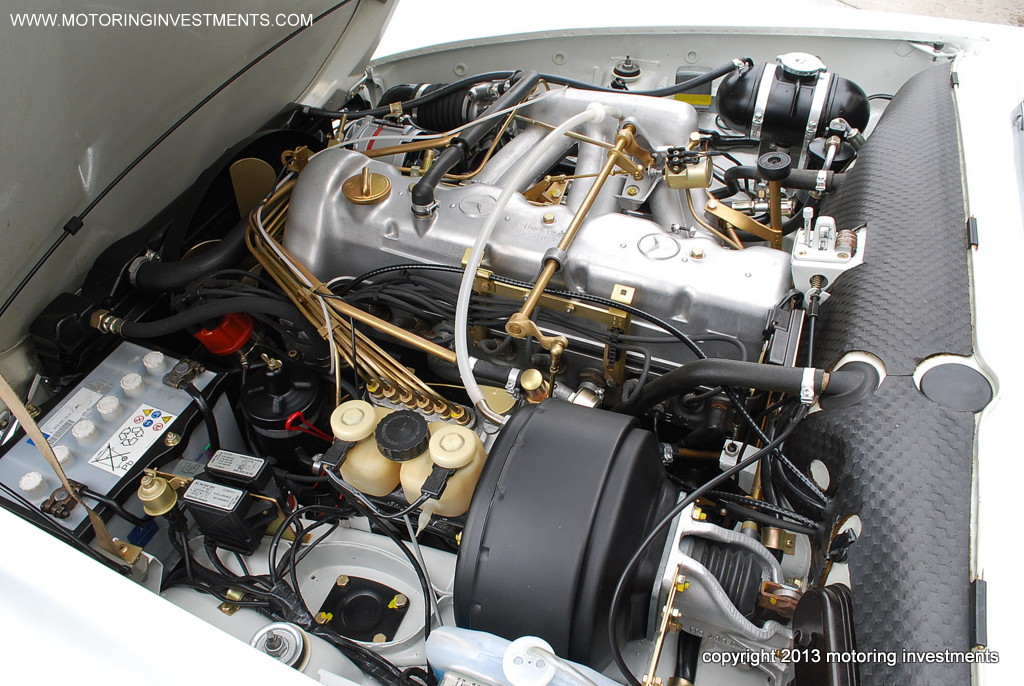
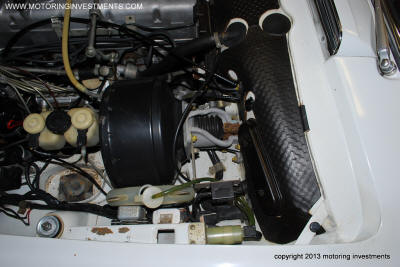
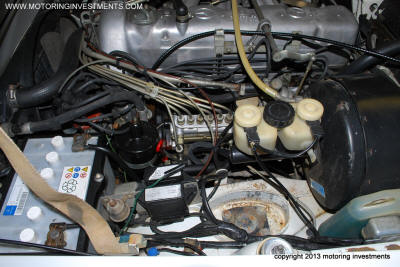
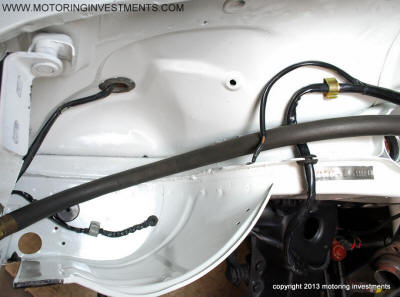
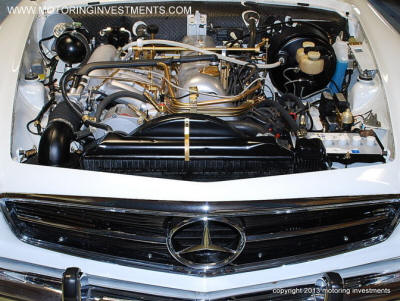
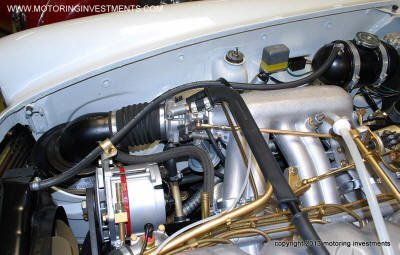
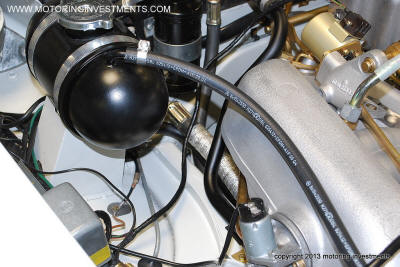
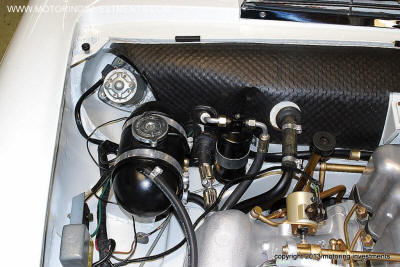
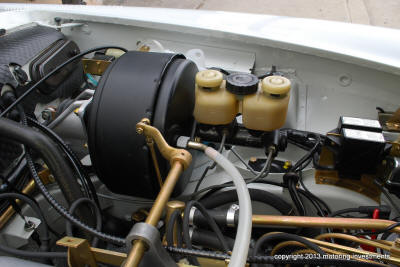
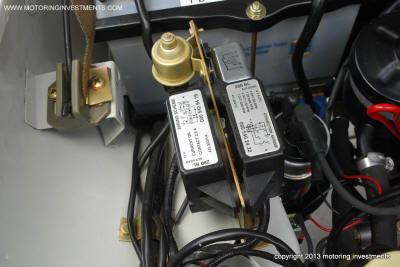
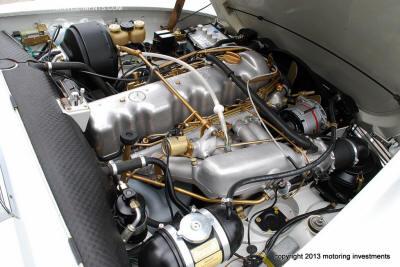
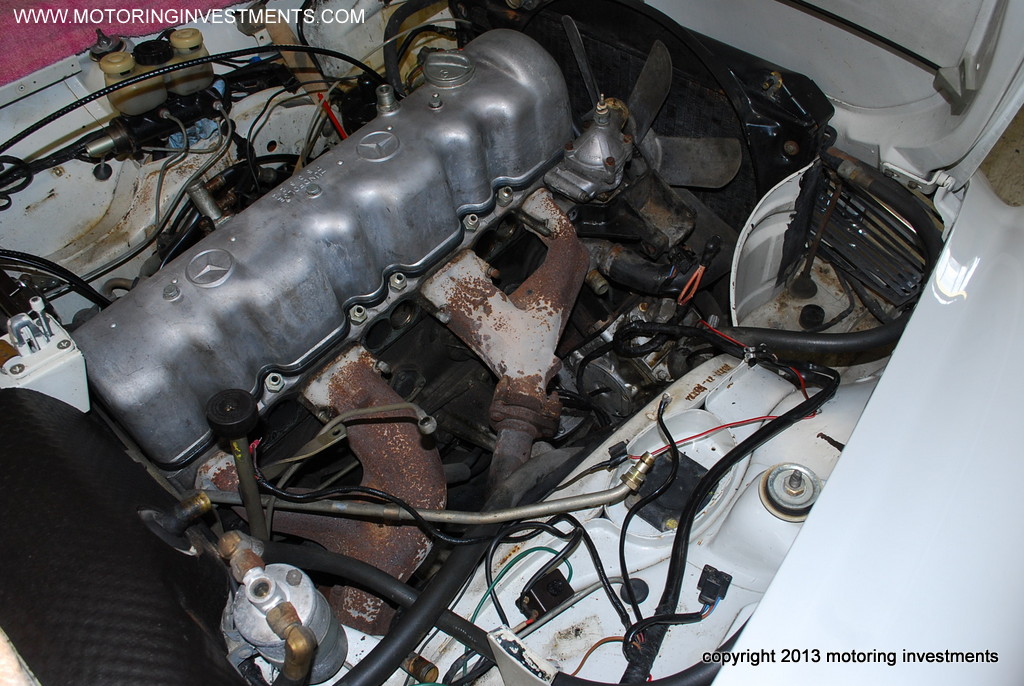
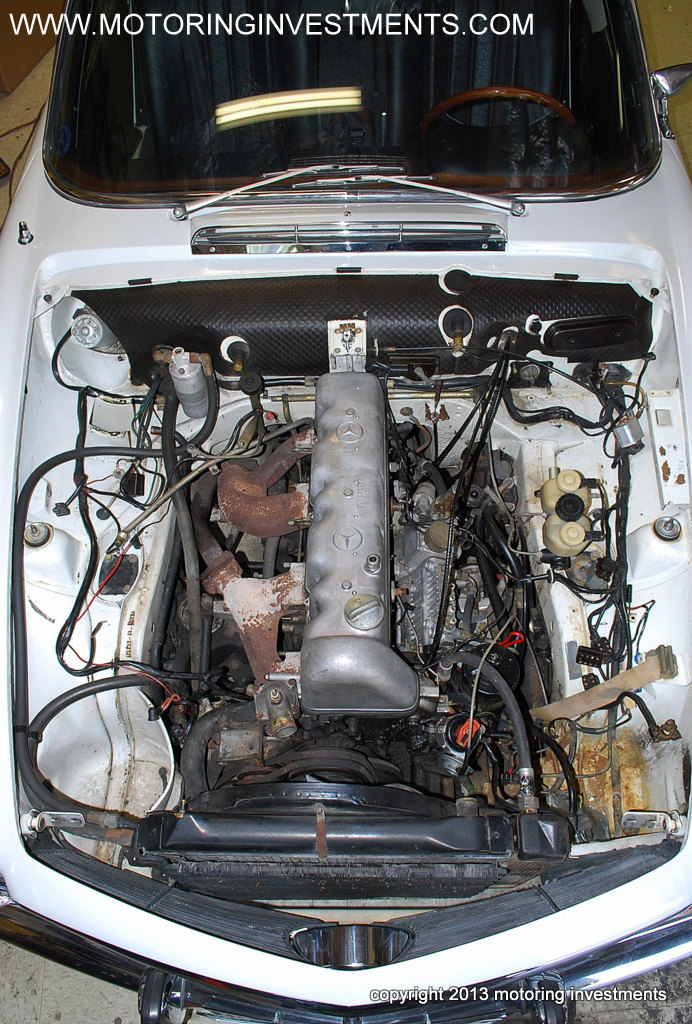
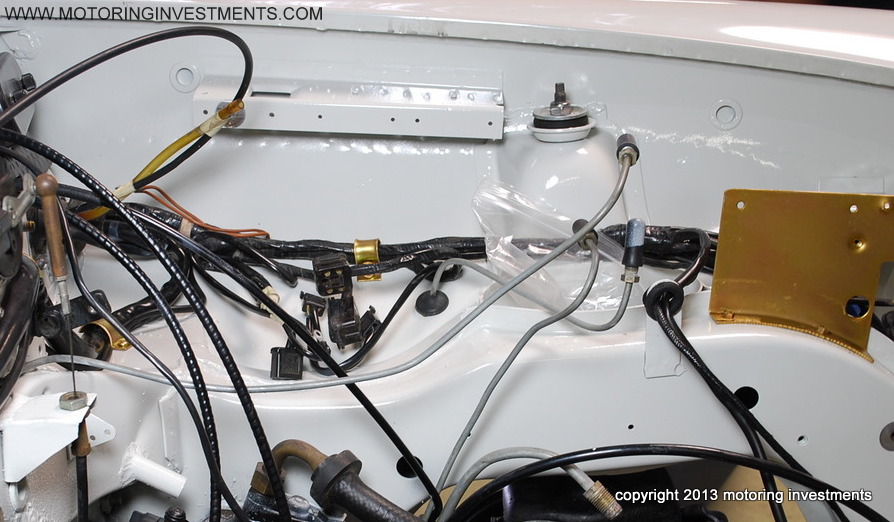
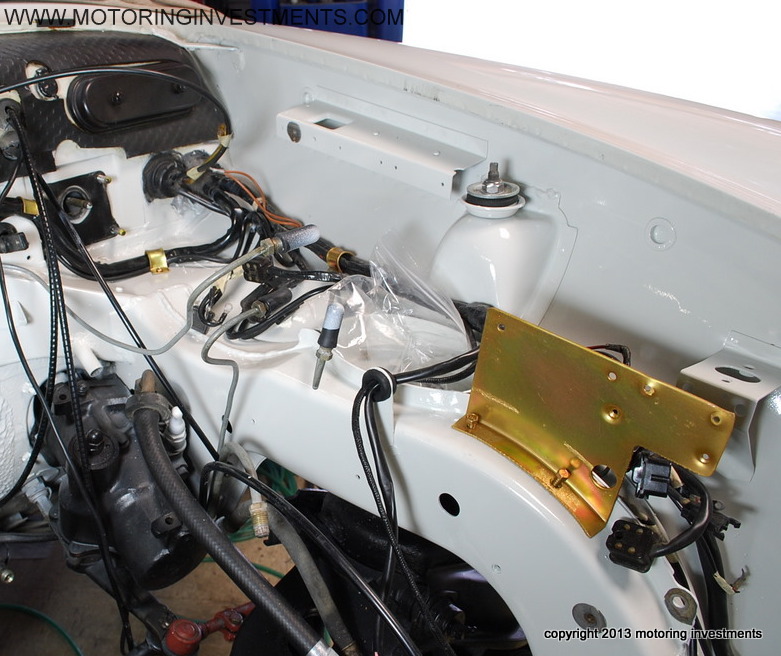
| The engine
bay is now completed and shown in the pictures below. |
 |
 |
| |
|
 |
 |
| |
|
 |
 |
| |
|
 |
 |
| |
|
 |
 |
| |
|
 |
 |
| |
|
 |
 |
| |
|
 |
 |
| |
|
 |
 |
| |
|
 |
 |
| |
|
 |
 |
| |
|
 |
 |
| |
|
 |
 |
| |
|
 |
 |
| |
|
 |
 |
| |
|
 |
 |
| |
|
 |
 |
| |
|
 |
 |
 |
 |
 |
| |
|
 |
 |
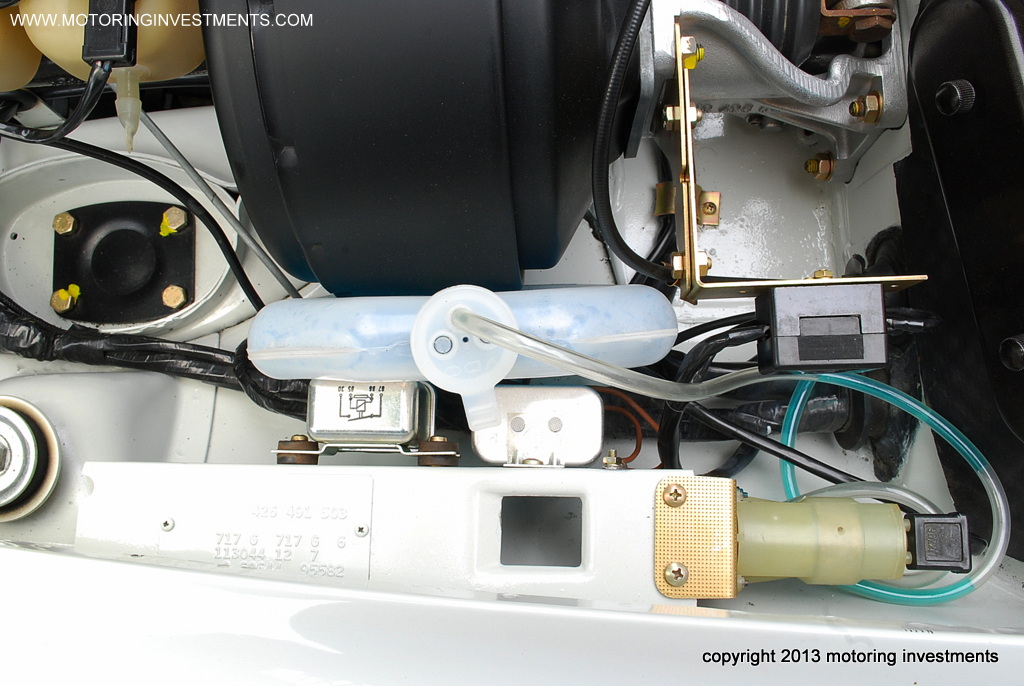
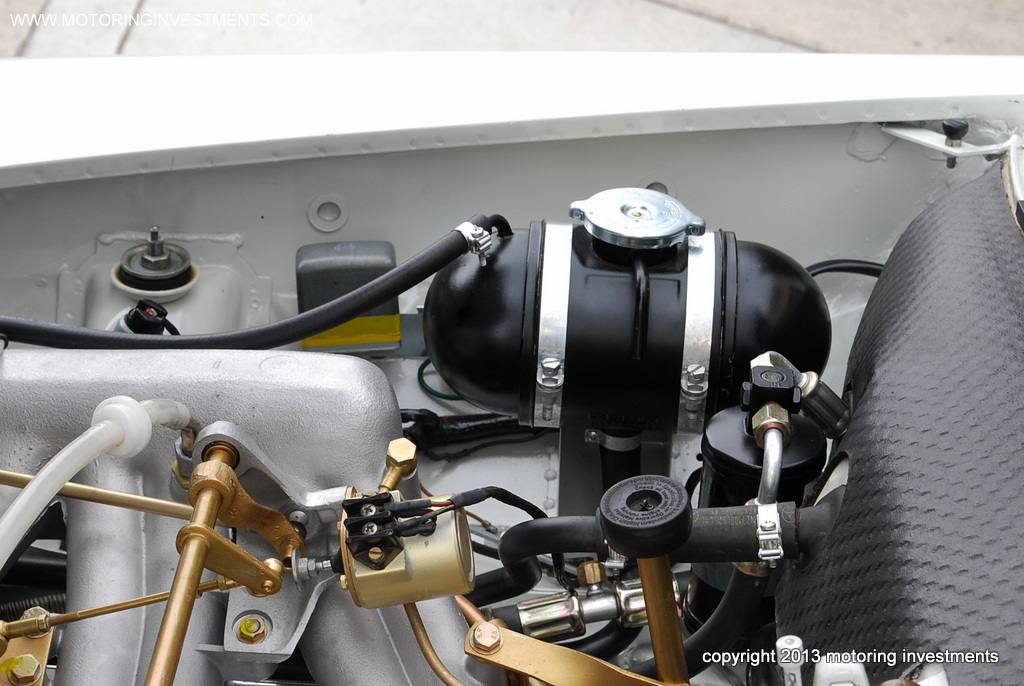
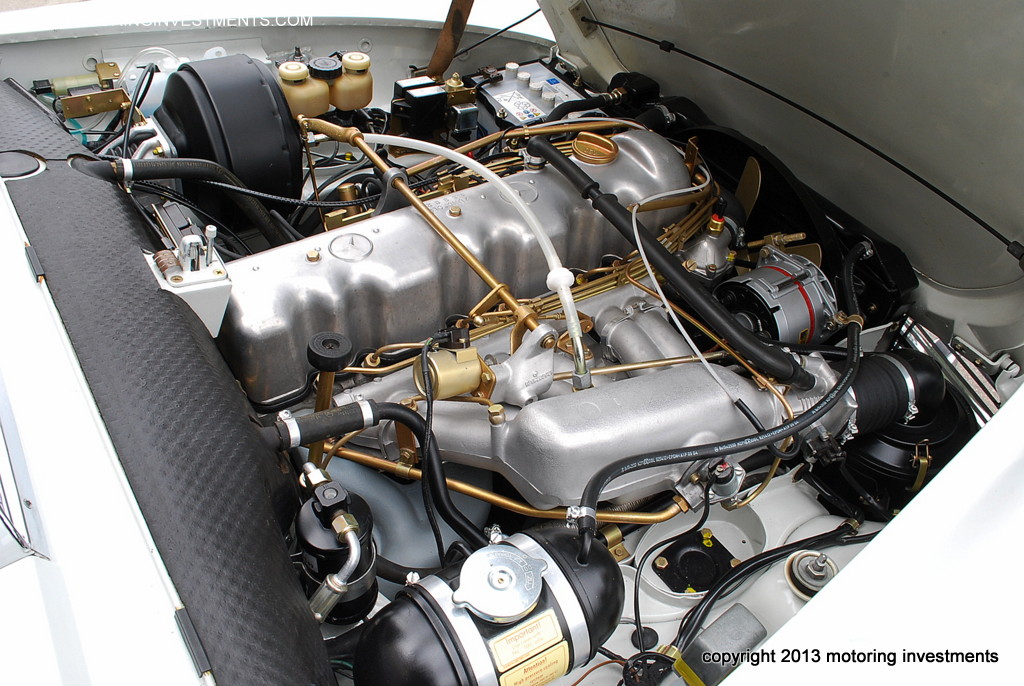
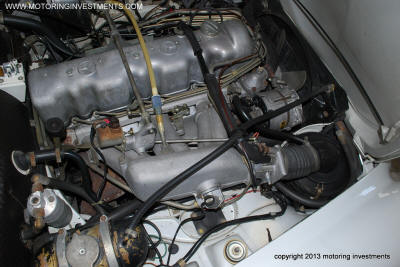
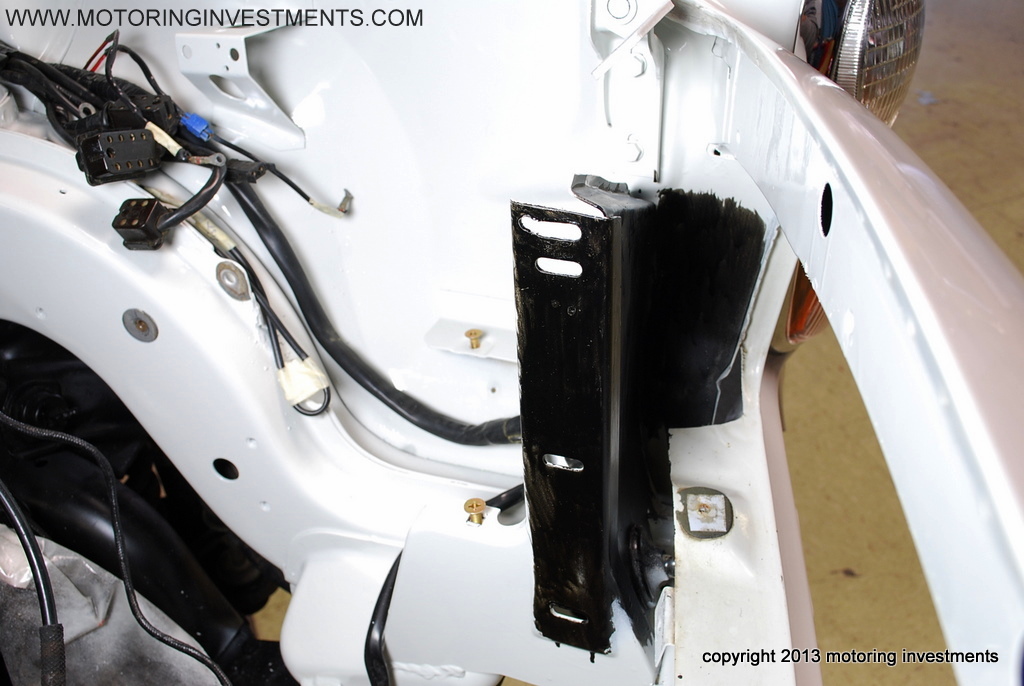
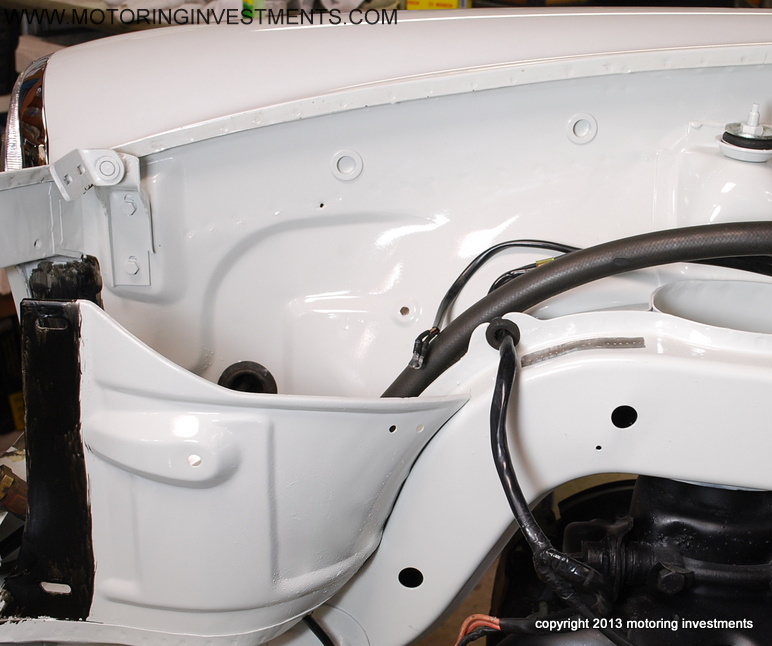
| The engine
bay images in the finished stage. |
 |
 |
| |
|
 |
 |
 |
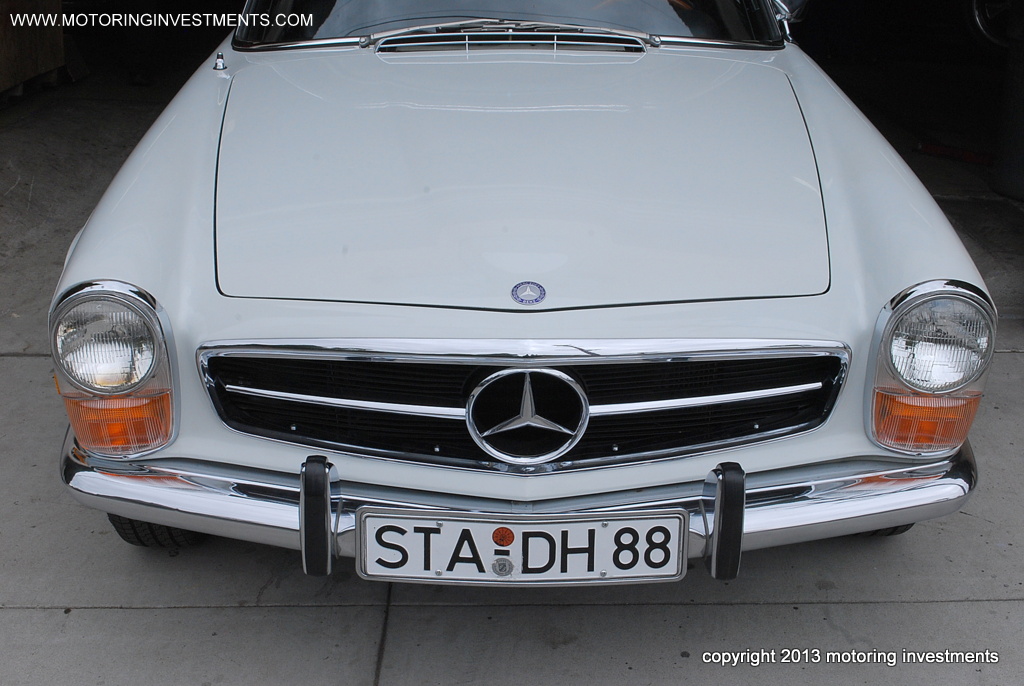
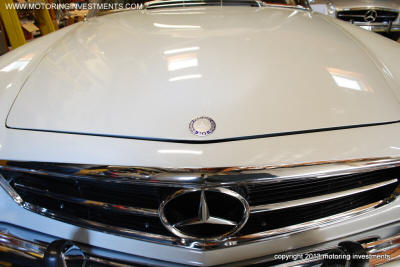
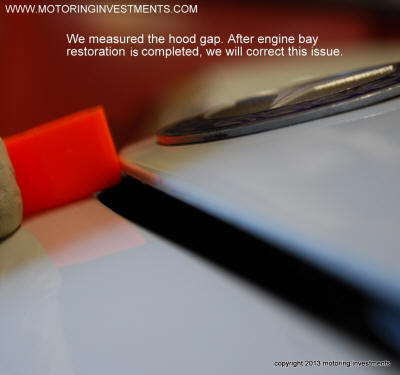
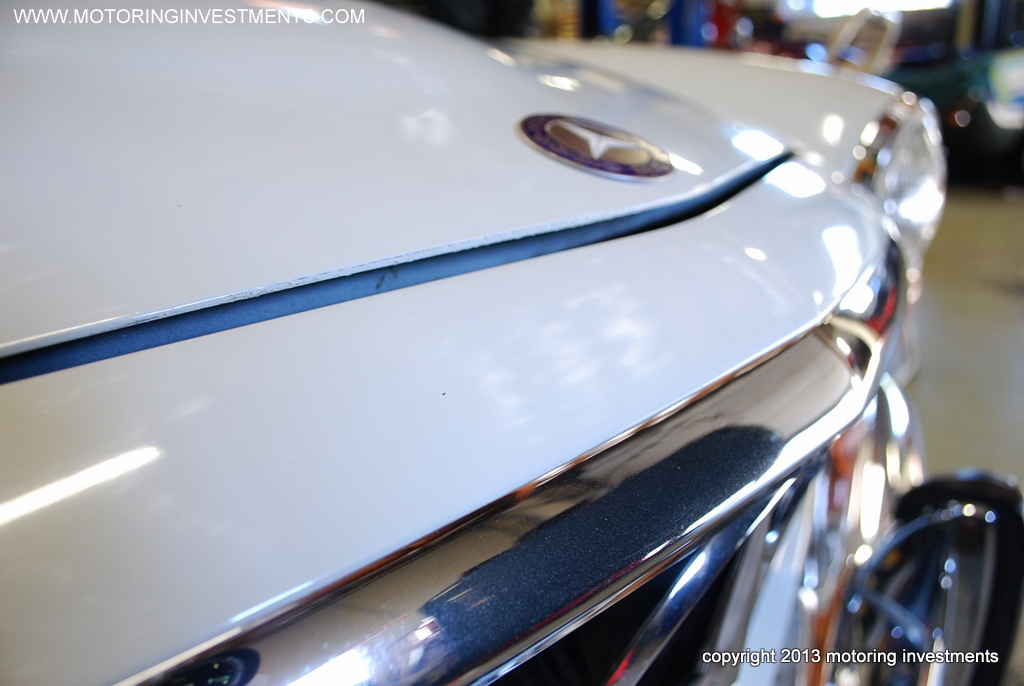
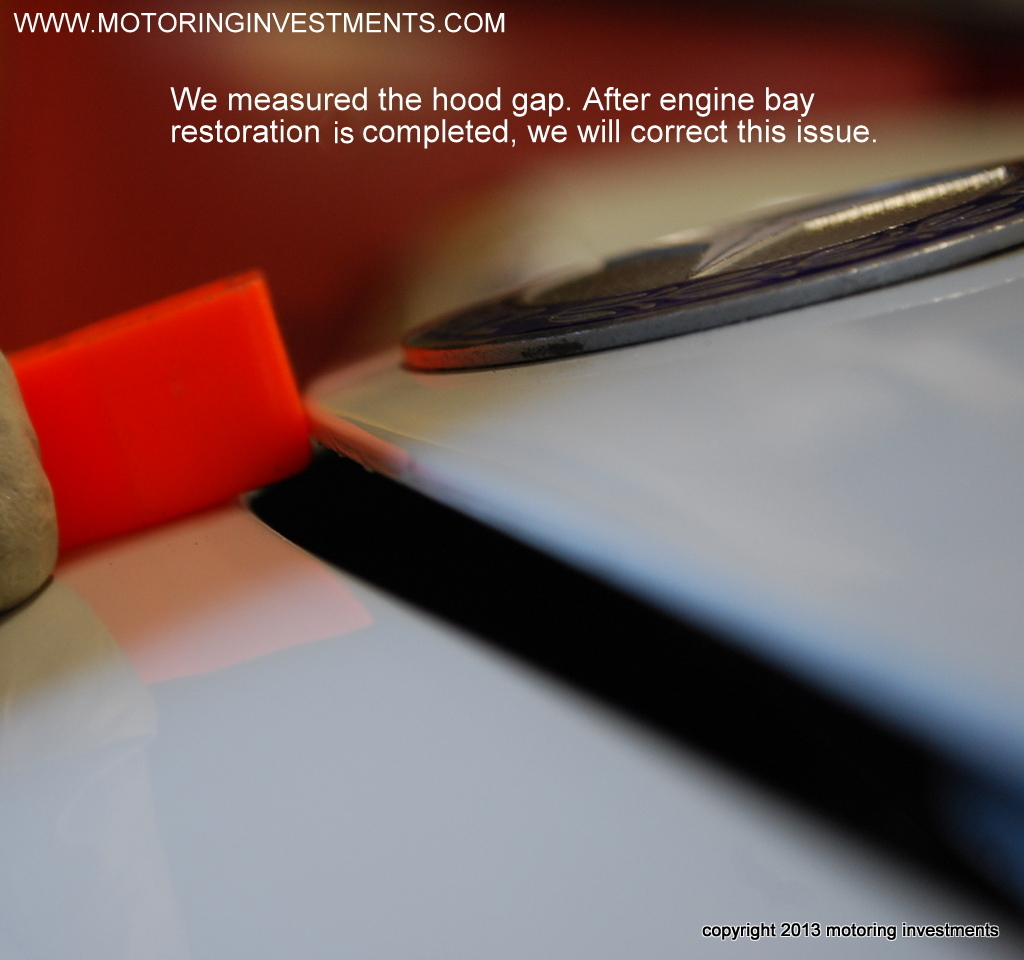
The picture
above is the hood gap before the
adjustments. |
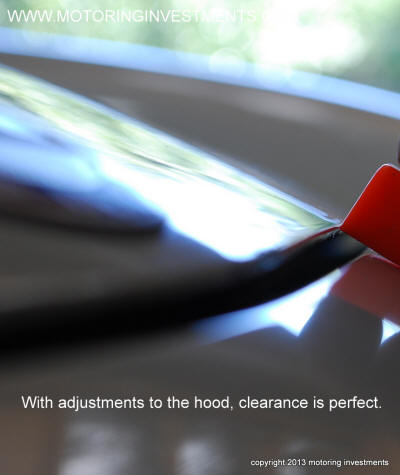
The image
above and to the right are after
the necessary hood adjustments. |
Hood
clearance is perfect. |
 |
 |
| |
|
 |


.JPG)